Note
Hello, welcome to the SunFounder Raspberry Pi & Arduino & ESP32 Enthusiasts Community on Facebook! Dive deeper into Raspberry Pi, Arduino, and ESP32 with fellow enthusiasts.
Why Join?
Expert Support: Solve post-sale issues and technical challenges with help from our community and team.
Learn & Share: Exchange tips and tutorials to enhance your skills.
Exclusive Previews: Get early access to new product announcements and sneak peeks.
Special Discounts: Enjoy exclusive discounts on our newest products.
Festive Promotions and Giveaways: Take part in giveaways and holiday promotions.
👉 Ready to explore and create with us? Click [here] and join today!
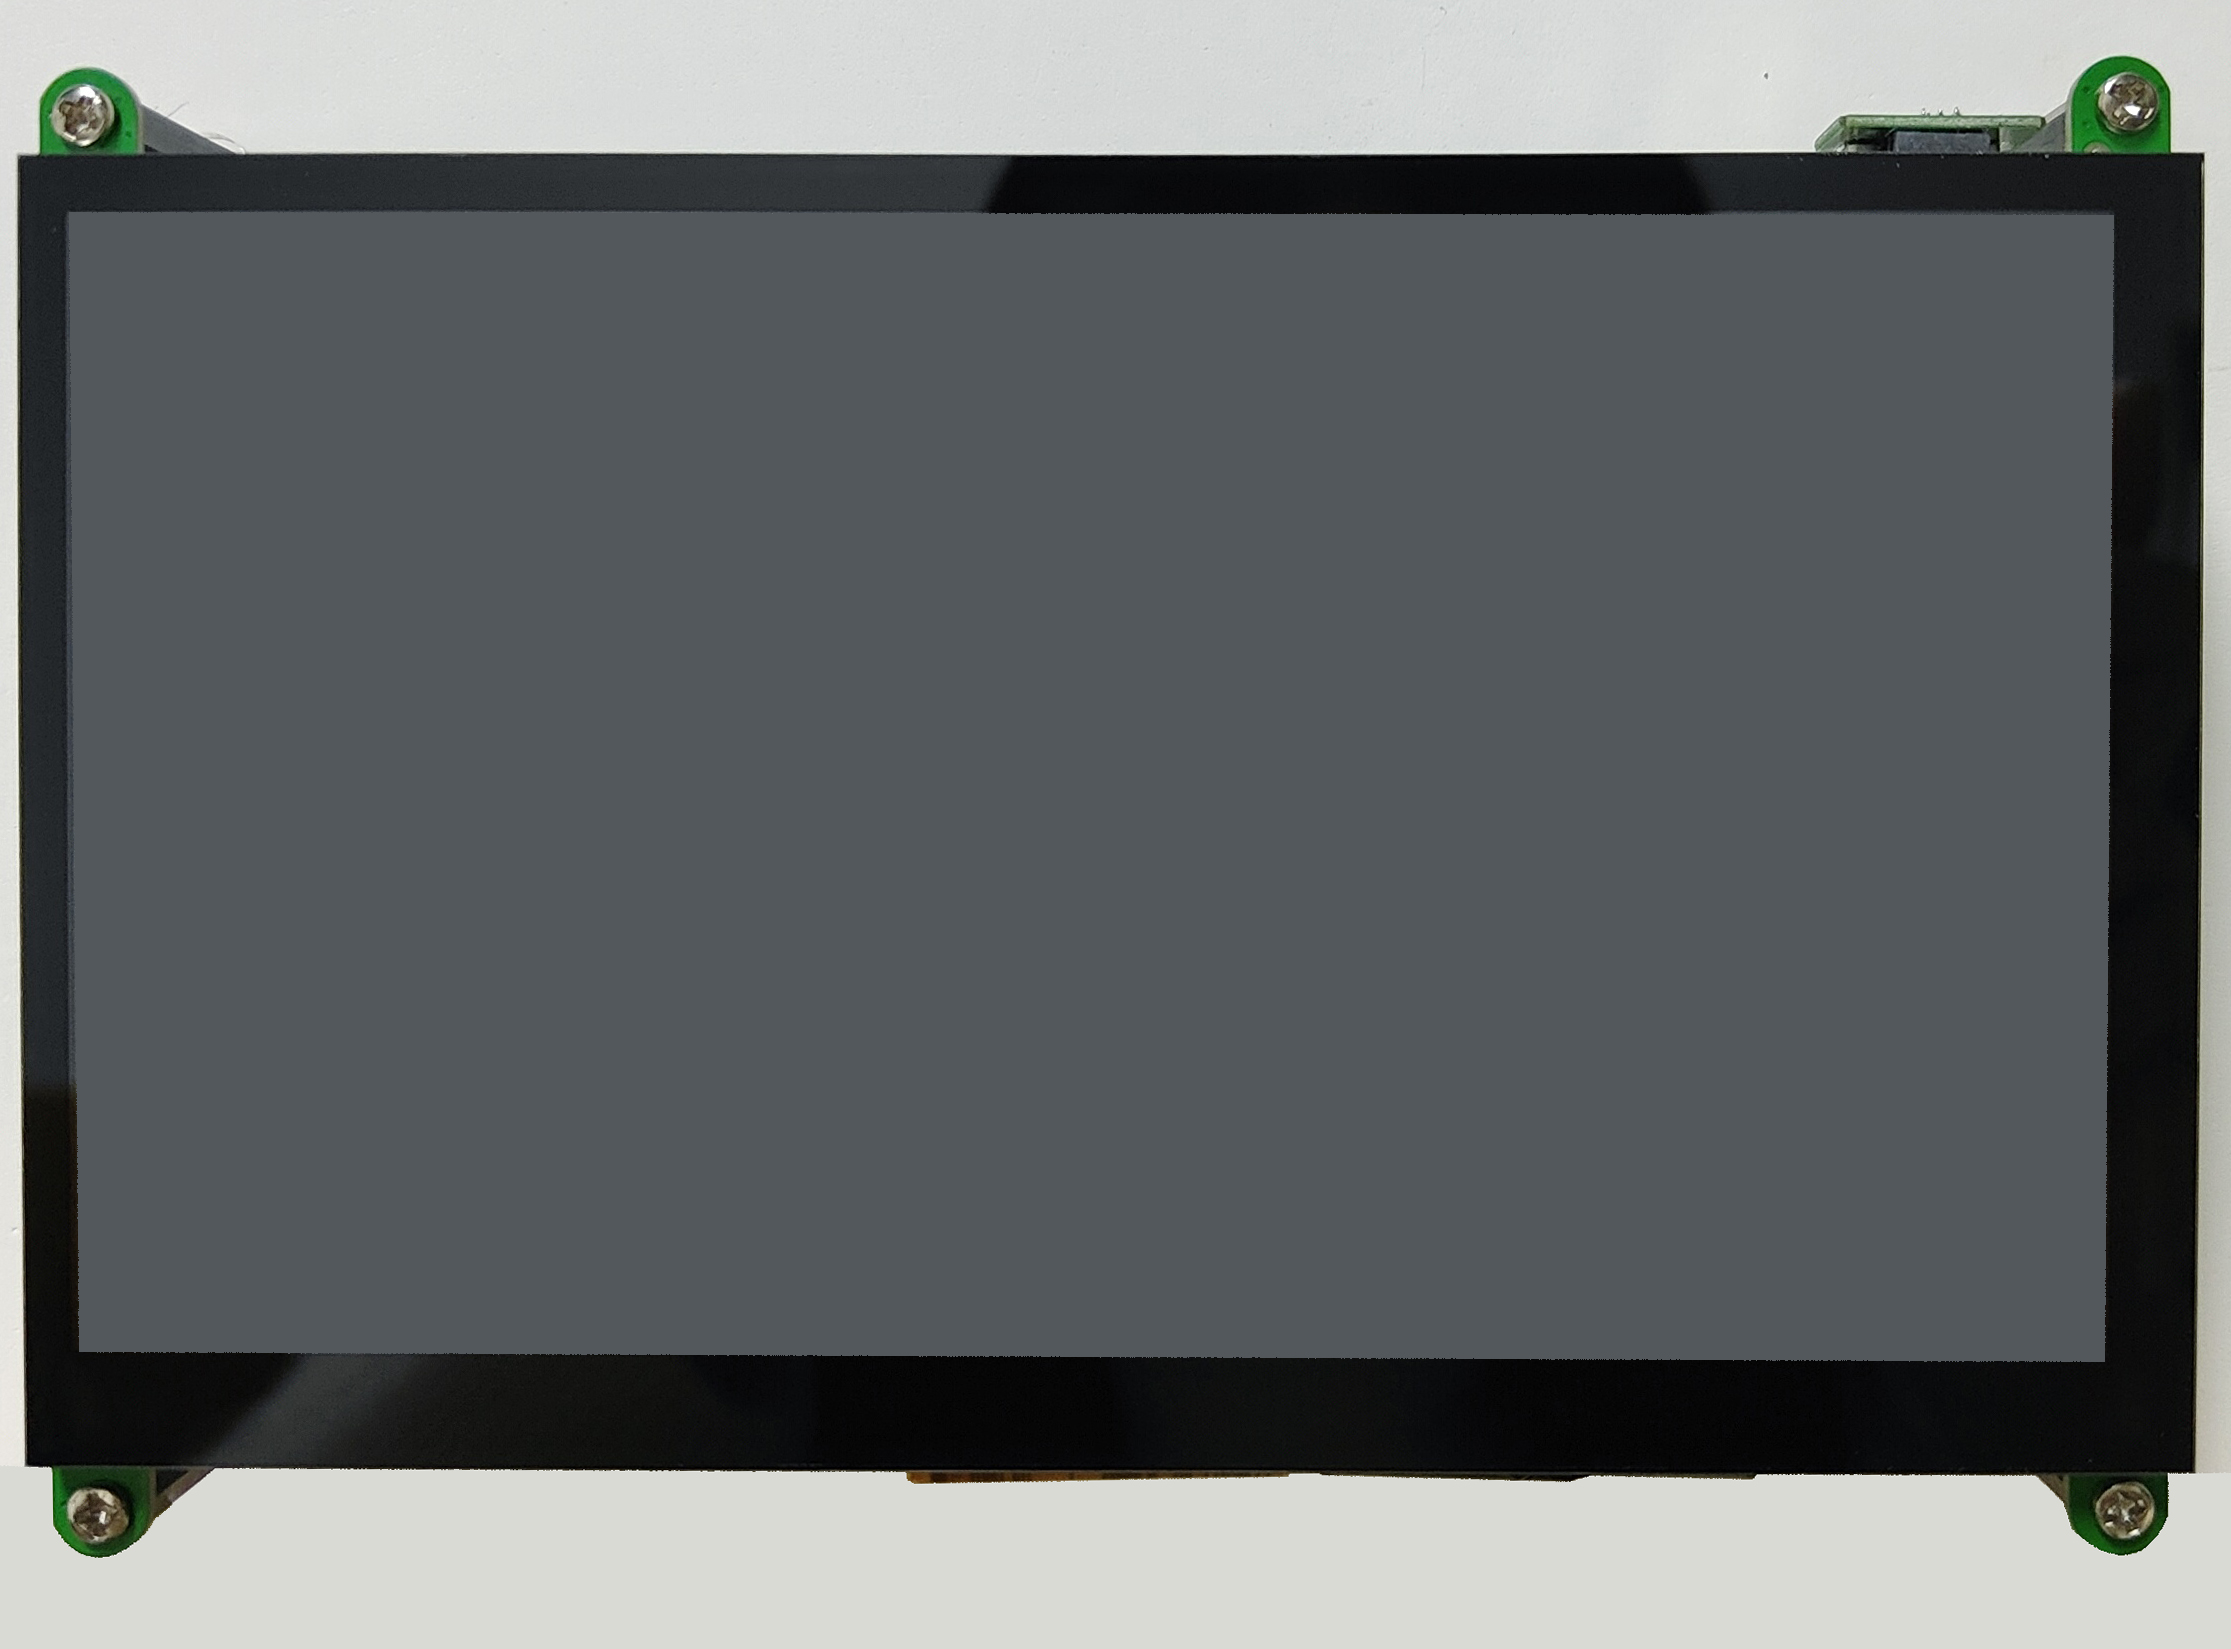
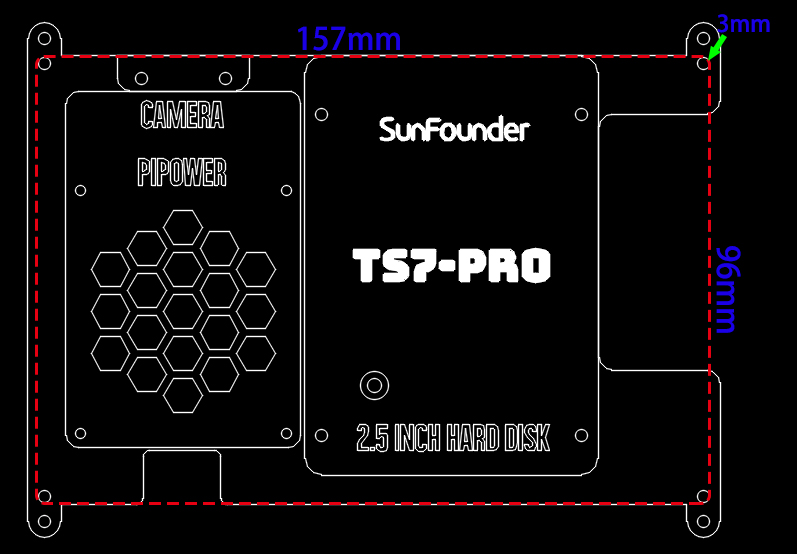
Hang on the Wall
Hole size for wall hanging:
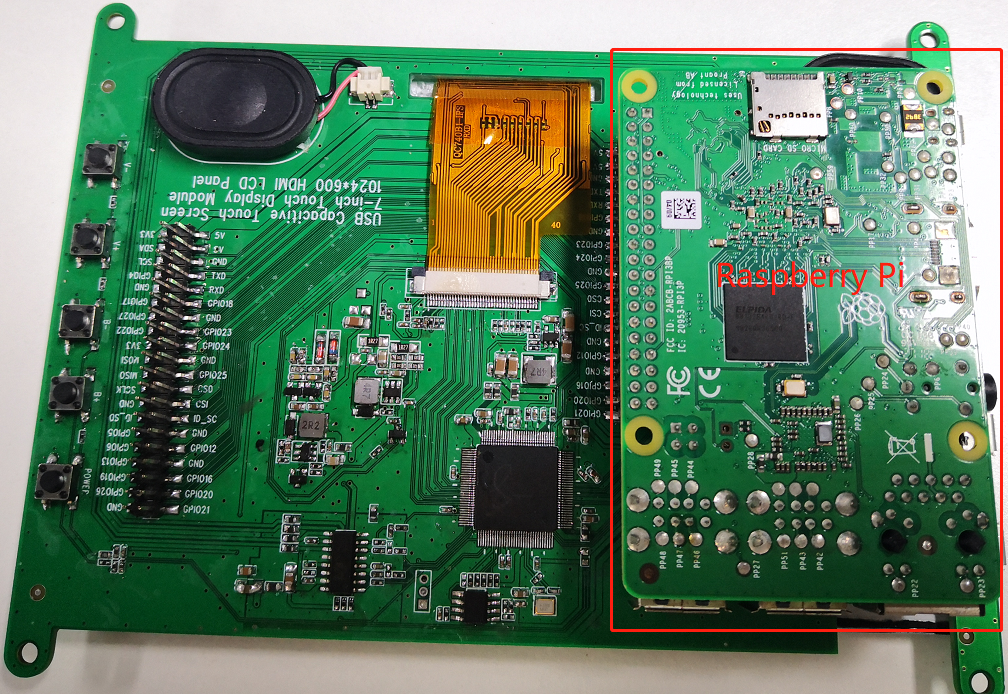
Flip the Raspberry Pi over and insert it into the expansion board of the touch screen.
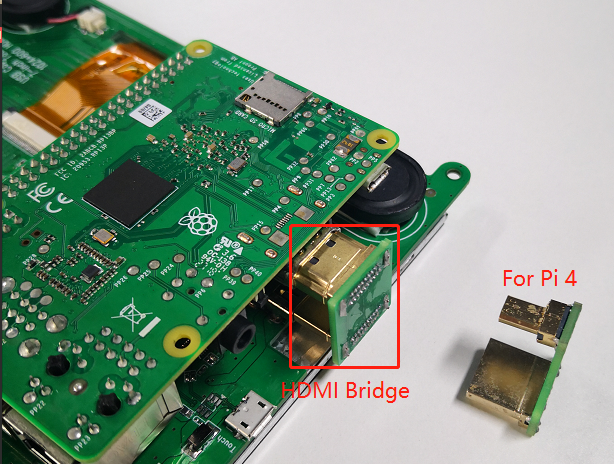
Plug in the HDMI Bridge and provide both Pi3 and Pi4 versions, you can choose as you need.
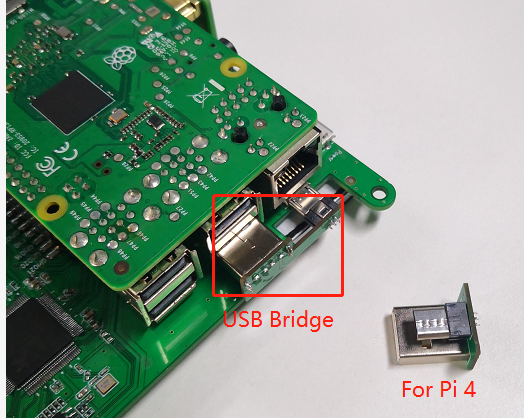
Insert the USB Bridge.
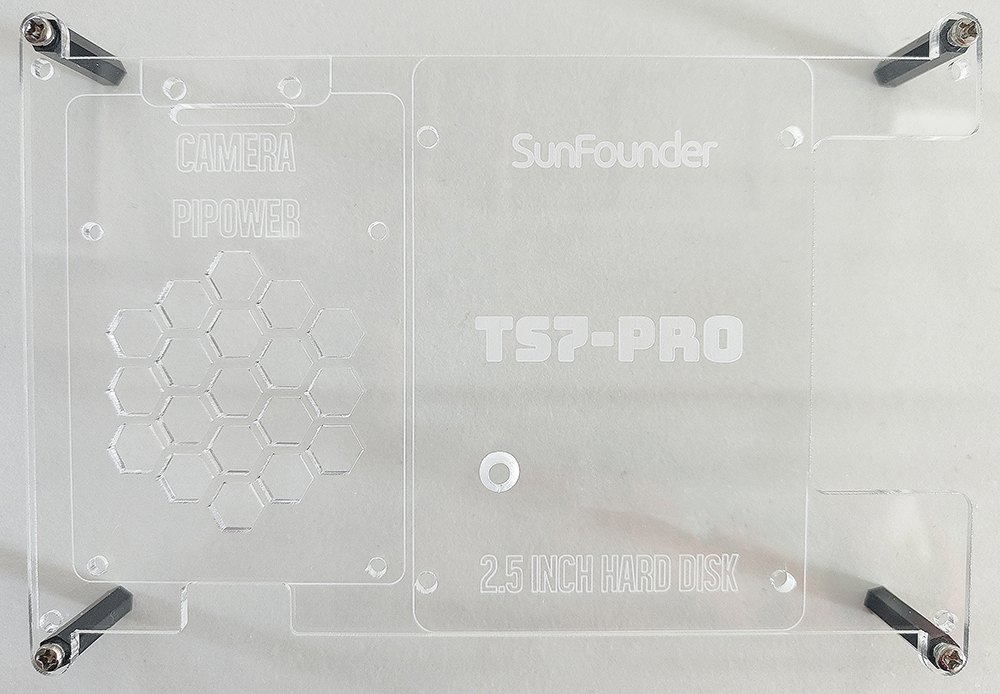
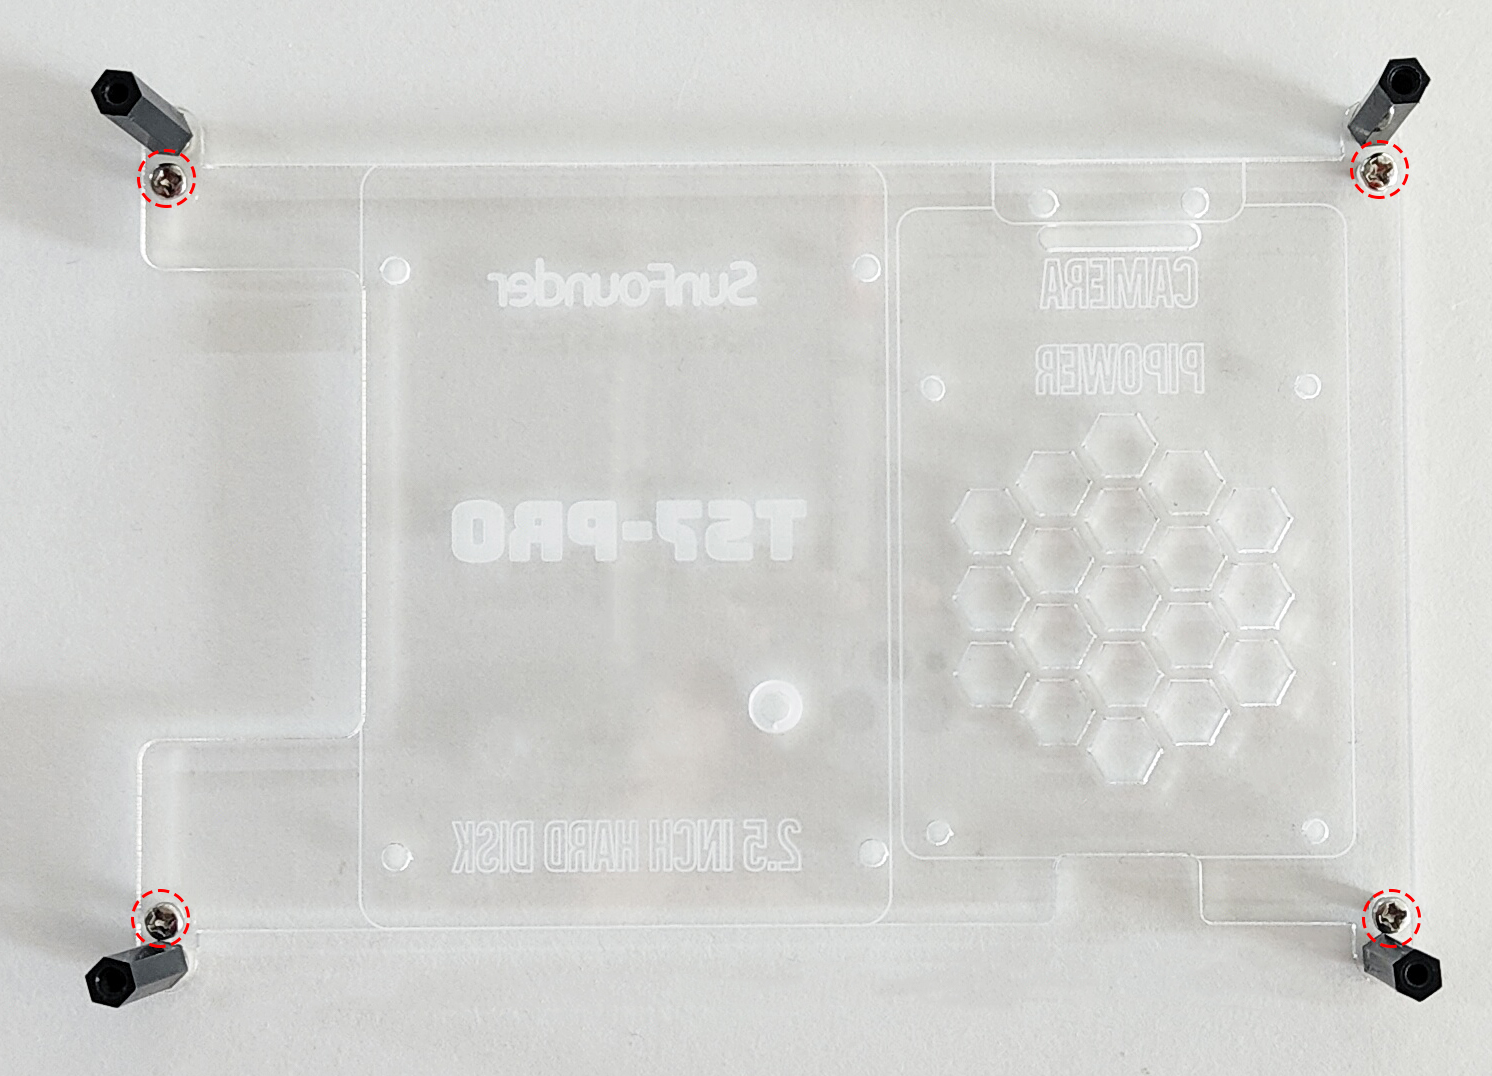
Screw 4 sets of M3x6 screws and M3 x 25 Standoff into the protective cover plate with the stanoffs on the back.
Turn the protective cover plate over and fasten it to the wall with 4 M3xxx screws.
Secure the TS7-Pro screen to the standoffs with 4 M3x6 screws.