2.1.9 Joystick
Introduction
In this project, We’re going to learn how joystick works. We manipulate the Joystick and display the results on the screen.
Required Components
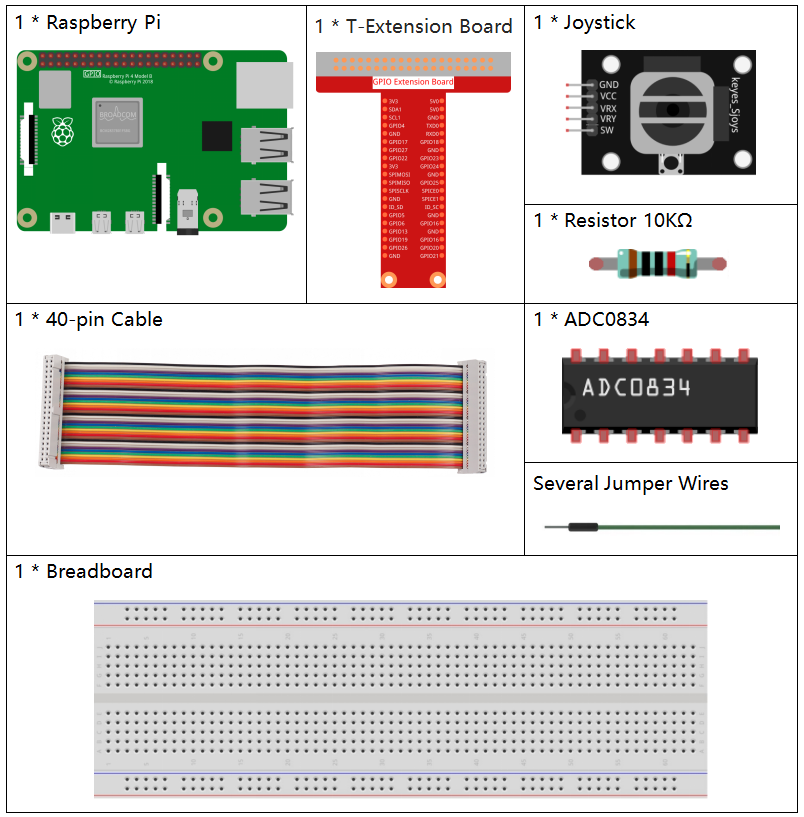
In this project, we need the following components.

It’s definitely convenient to buy a whole kit, here’s the link:
Name |
ITEMS IN THIS KIT |
LINK |
|---|---|---|
Raphael Kit |
337 |
You can also buy them separately from the links below.
COMPONENT INTRODUCTION |
PURCHASE LINK |
|---|---|
- |
|
- |
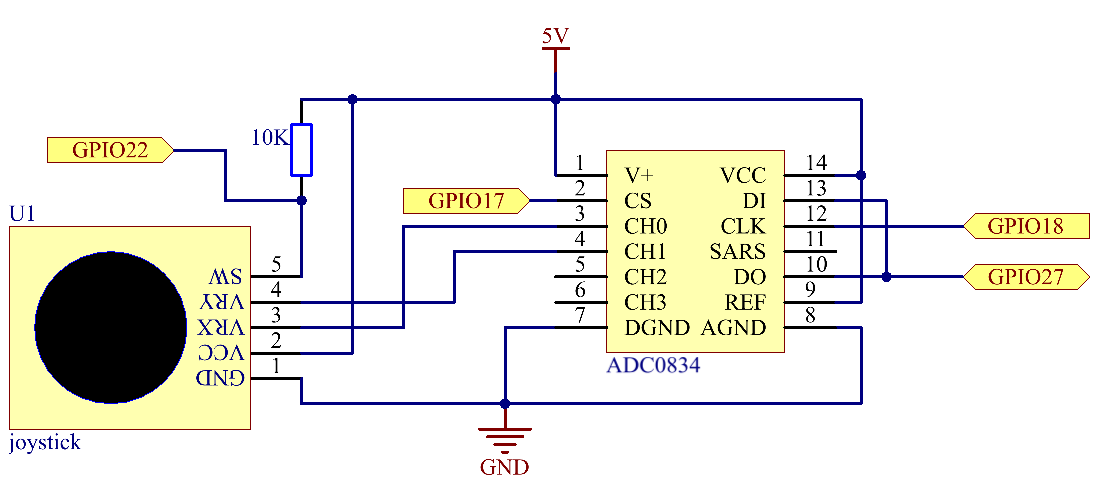
Schematic Diagram
When the data of joystick is read, there are some differents between axis: data of X and Y axis is analog, which need to use ADC0834 to convert the analog value to digital value. Data of Z axis is digital, so you can directly use the GPIO to read, or you can also use ADC to read.


Experimental Procedures
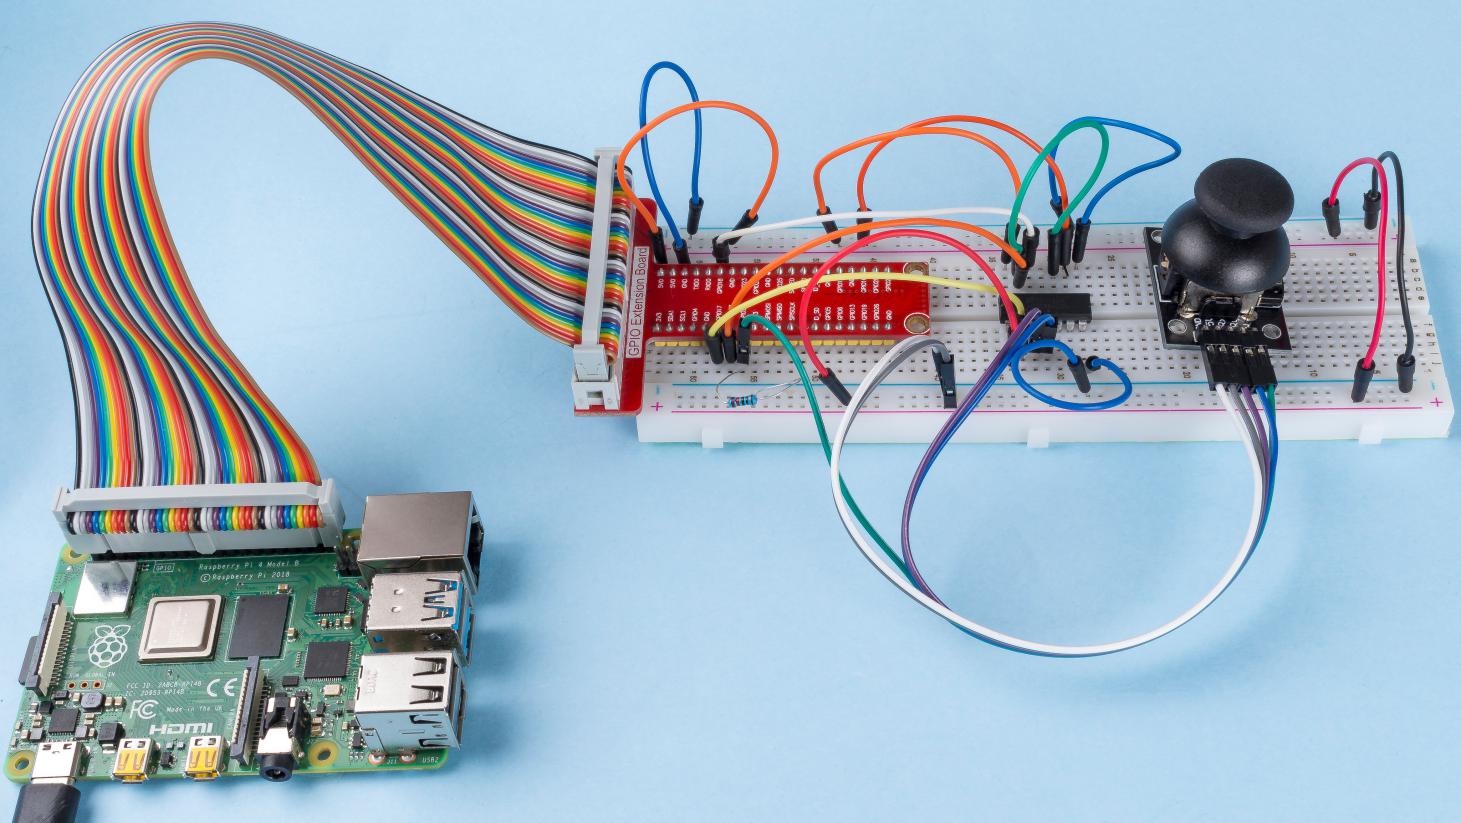
Step 1: Build the circuit.

Step 2: Go to the folder of the code.
cd ~/raphael-kit/nodejs/
Step 3: Run the code.
sudo node joystick.js
After the code runs, turn the Joystick, then the corresponding values of x, y, Btn are displayed on screen.
Code
const Gpio = require('pigpio').Gpio;
const ADC0834 = require('./adc0834.js').ADC0834;

const adc = new ADC0834(17, 18, 22);
const btn = new Gpio(25, {
    mode: Gpio.INPUT,
    pullUpDown: Gpio.PUD_UP,
});

setInterval(async() => {

    x_val = await adc.read(0);
    y_val = await adc.read(1);

    btn_val = btn.digitalRead();
    console.log(`x = ${x_val}, y = ${y_val}, btn = ${btn_val}\n`);
}, 100);
Code Explanation
const ADC0834 = require('./adc0834.js').ADC0834;
We import an ADC0834 constructor to use the adc0834 module.
setInterval(async() => {

    x_val = await adc.read(0);
    y_val = await adc.read(1);

    btn_val = btn.digitalRead();
    console.log(`x = ${x_val}, y = ${y_val}, btn = ${btn_val}\n`);
}, 100);
When reading the values of multiple channels of ADC0834 at the same time, asynchronous programming is required. We build a promise function here, And use the await instruction of async function to elegantly write this complex asynchronous task.
Phenomenon Picture
