Note
Hello, welcome to the SunFounder Raspberry Pi & Arduino & ESP32 Enthusiasts Community on Facebook! Dive deeper into Raspberry Pi, Arduino, and ESP32 with fellow enthusiasts.
Why Join?
Expert Support: Solve post-sale issues and technical challenges with help from our community and team.
Learn & Share: Exchange tips and tutorials to enhance your skills.
Exclusive Previews: Get early access to new product announcements and sneak peeks.
Special Discounts: Enjoy exclusive discounts on our newest products.
Festive Promotions and Giveaways: Take part in giveaways and holiday promotions.
👉 Ready to explore and create with us? Click [here] and join today!
Install Ubuntu / Kali Linux / RetroPie
This section guides you through installing Ubuntu, Kali Linux, or RetroPie on your Raspberry Pi using Raspberry Pi Imager.
Required Components
A computer (Windows, macOS, or Linux)
A microSD card (16GB or larger; recommended: SanDisk, Samsung)
A microSD card reader
Supported Operating Systems
Warning
This guide applies only to the operating systems listed below.
If you use a different OS version, the 3.5’’ IPS screen may NOT work properly after installing the driver.
Ubuntu
ubuntu-24.04.4-preinstalled-desktop-arm64+raspi (Raspberry Pi 4 only)
Kali Linux
RetroPie
Retropie Download page (Raspberry Pi 4 only)
1. Install Raspberry Pi Imager
Visit the official Raspberry Pi Imager download page: Raspberry Pi Imager and download the version for your operating system.

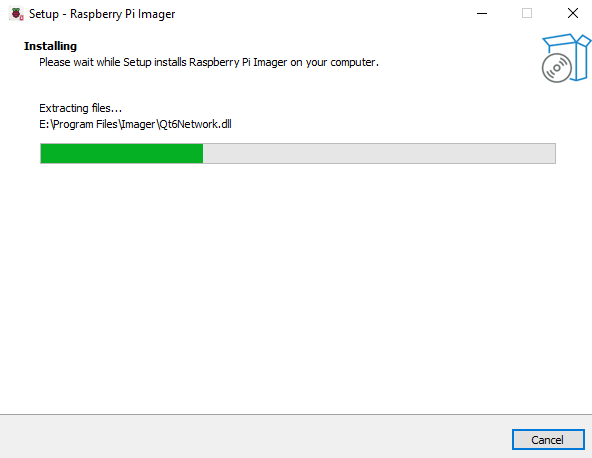
Follow the installation instructions (language, installation path, confirmation). After installation, launch Raspberry Pi Imager.
2. Flash the OS to the microSD Card
Insert the microSD card into your computer using a card reader. Back up any important data before proceeding.

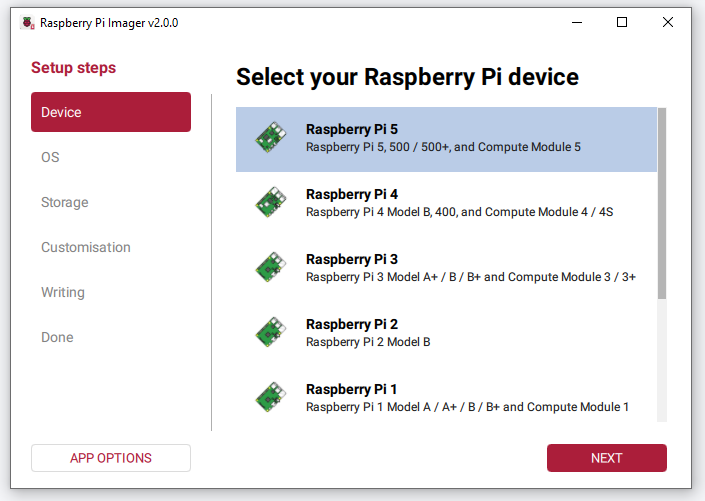
Open Raspberry Pi Imager and select your device (e.g., Raspberry Pi 5 or Raspberry Pi 4).
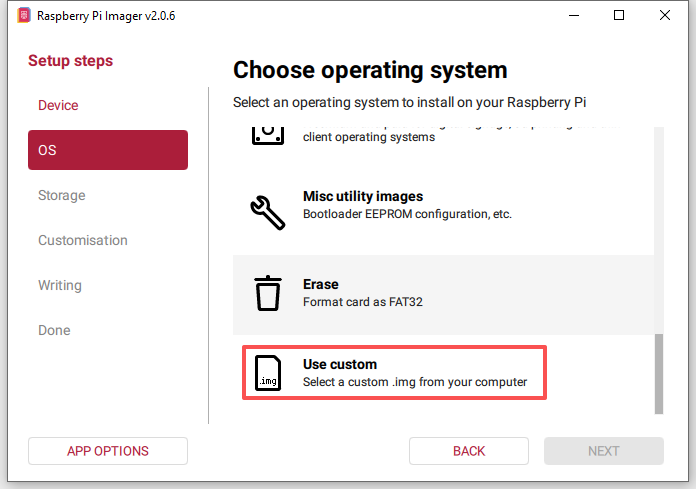
Click OS:
Scroll to the bottom and select Use Custom.
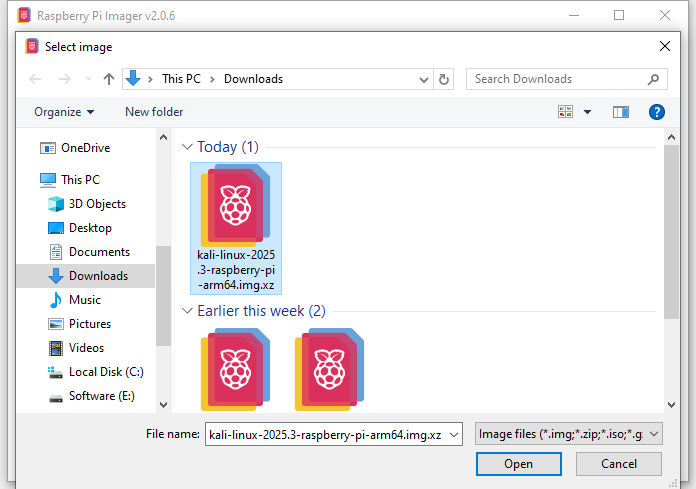
Navigate to the folder where you downloaded the OS image, then select the image file.
In the Storage section, select your microSD card.
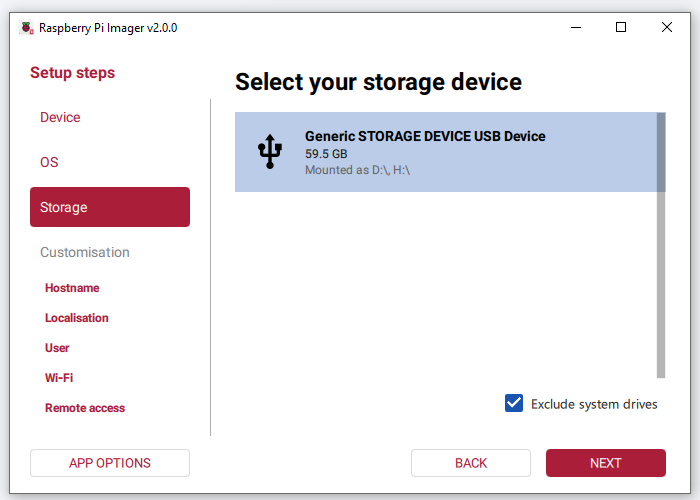
Review all settings and click WRITE.

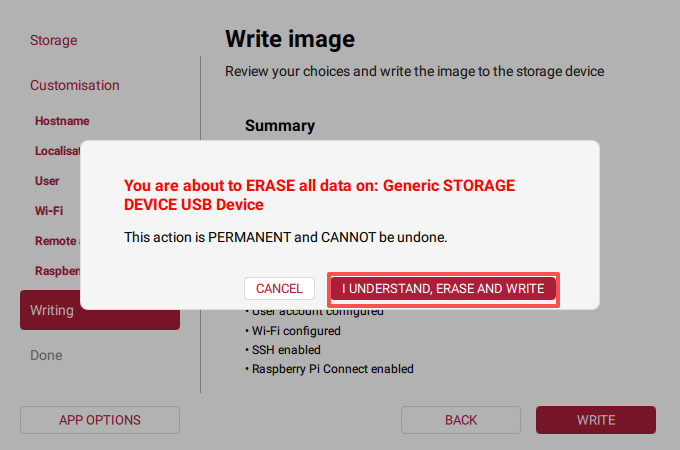
If the card already contains data, Raspberry Pi Imager will display a warning that all data will be erased. Confirm that you selected the correct drive, then click I UNDERSTAND, ERASE AND WRITE.
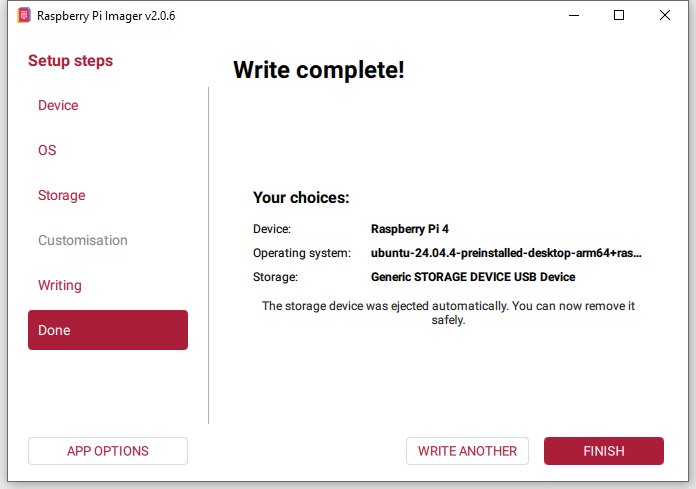
Wait for the writing and verification process to complete. When finished, you will see Write complete! The storage device will be safely ejected automatically.
Remove the microSD card and insert it into your Raspberry Pi. Your Raspberry Pi is now ready to boot with the new operating system.
