Note
Welcome to the SunFounder Raspberry Pi, Arduino & ESP32 Community on Facebook!
Get technical support and troubleshooting help.
Learn and share projects, tips, and tutorials.
Access early product previews and updates.
Enjoy exclusive discounts and giveaways.
👉 Join us here: [here]
Setting up Home Assistant
Home Assistant is a home automation platform running on top of a central hub (Raspberry Pi, PC, etc.). It can be used to control and monitor all kinds of devices, from lights and thermostats to security cameras and smart home appliances.
Preparation
Before you start, make sure you have the following:
A Raspberry Pi that can run Home Assistant.
A stable internet connection.
An account on Home Assistant Cloud (optional, but recommended for remote access).
Installation
Open the terminal and enter the following commands:
Install Docker
curl -sSL https://raw.githubusercontent.com/sunfounder/sunfounder-installer-scripts/main/install_docker.sh | sudo bash
Install Home Assistant
sudo docker pull homeassistant/home-assistant
Run Home Assistant Container
Here, we use Docker Compose to run Home Assistant. You can think of Docker Compose as an “automation script.” It will write all the configurations (such as image name, ports, volume mounts, environment variables, etc.) into a docker-compose.yml file. After that, with just a simple command docker compose up -d, Docker will automatically create and start all configured containers according to this “script.”
Enter the project directory: Go into that folder.
cd ~/homeassistant
Create the configuration file: In the
~/homeassistantdirectory, create a file nameddocker-compose.ymland copy the above configuration into it.
sudo nano docker-compose.yml
Paste the following content into the
docker-compose.ymlfile:Note
Please replace the
- TZ=Asia/Shanghaiwith your timezone.version: '3' services: homeassistant: image: ghcr.io/home-assistant/raspberrypi5-64-homeassistant:stable container_name: homeassistant restart: unless-stopped privileged: true network_mode: host environment: - TZ=Asia/Shanghai volumes: - ./config:/config
Ctrl+Xto exit the editor, and then pressYto save the changes.Start Home Assistant: In the
~/homeassistantdirectory, run the following command. Docker Compose will automatically pull the image and start the container.
sudo docker compose up -d
up: Create and start services.
-d: Run in the background (detached mode).
Check the running status:
docker compose ps
You should see the status of
homeassistantasUp.
View the logs (if there are startup issues):
docker compose logs -f
For more command, please check:
docker compose --help
Setting Up
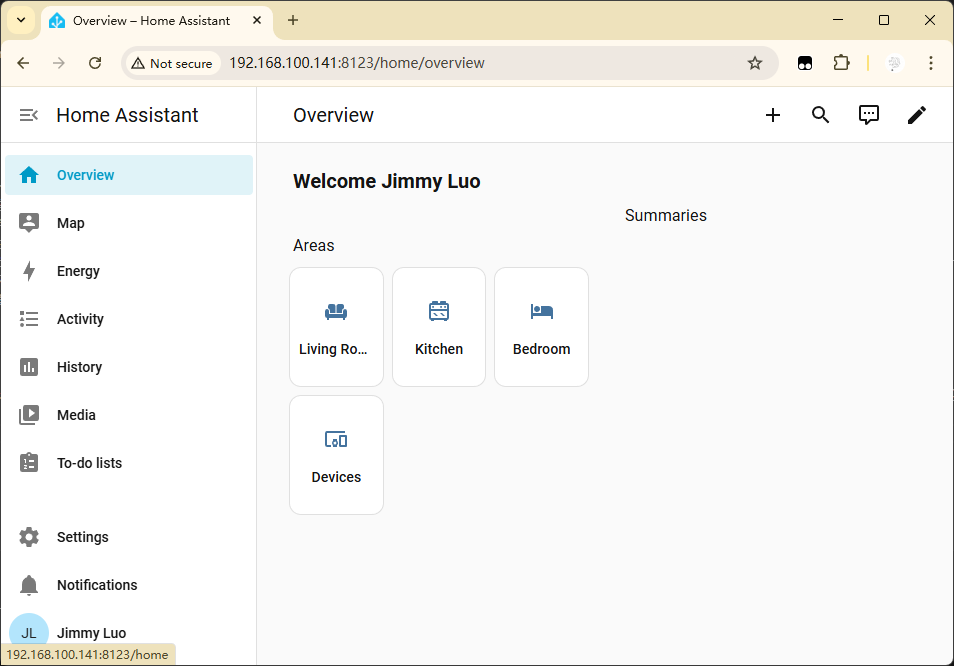
Now, you can open your computer’s browser and enter: http://<Your Raspberry Pi Address>:8123 to access Home Assistant.
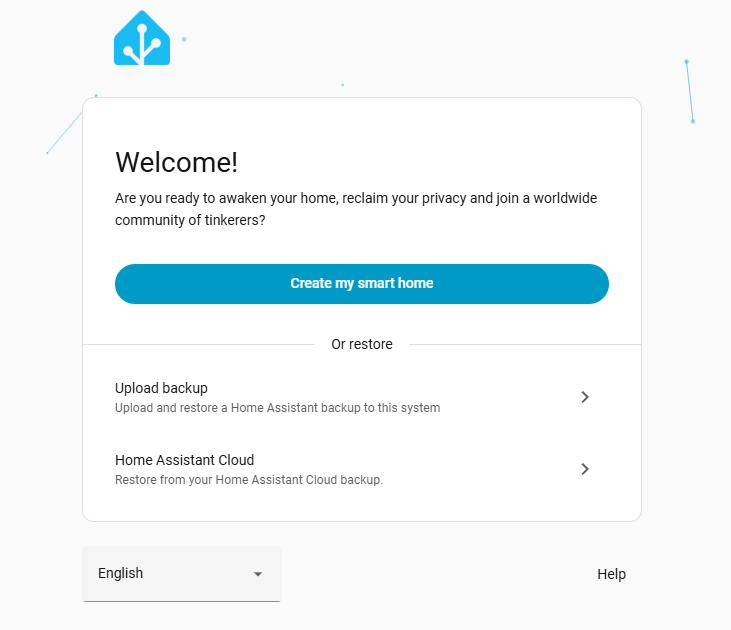
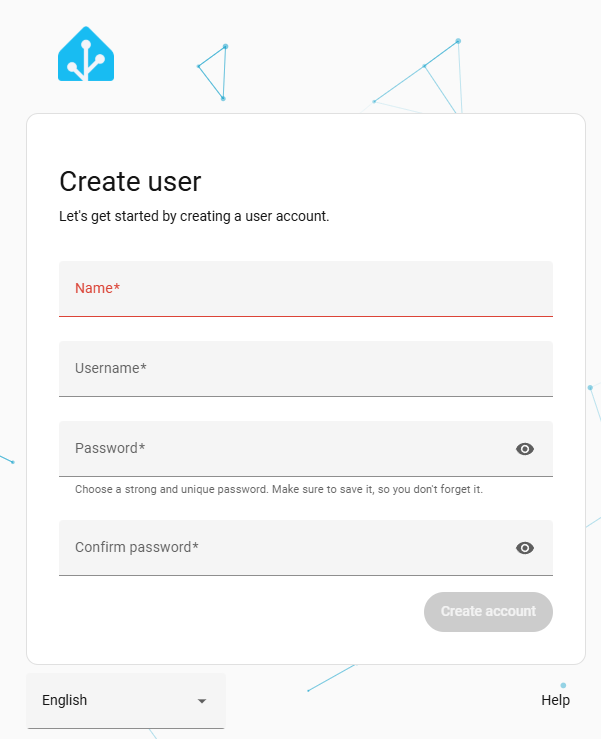
Select CREATE MY SMART HOME, and then create your account.
Follow the prompts to choose your location and other configurations. Once completed, you will enter the Home Assistant dashboard.