Note
Hello, welcome to the SunFounder Raspberry Pi & Arduino & ESP32 Enthusiasts Community on Facebook! Dive deeper into Raspberry Pi, Arduino, and ESP32 with fellow enthusiasts.
Why Join?
Expert Support: Solve post-sale issues and technical challenges with help from our community and team.
Learn & Share: Exchange tips and tutorials to enhance your skills.
Exclusive Previews: Get early access to new product announcements and sneak peeks.
Special Discounts: Enjoy exclusive discounts on our newest products.
Festive Promotions and Giveaways: Take part in giveaways and holiday promotions.
👉 Ready to explore and create with us? Click [here] and join today!
15. TTS with Piper and OpenAI
In the previous lesson, we tried two built-in TTS engines on Raspberry Pi (Espeak and Pico2Wave). Now let’s explore two more powerful options: Piper (offline, neural network-based) and OpenAI TTS (online, cloud-based).
Piper: a local TTS engine that runs offline on Raspberry Pi.
OpenAI TTS: an online service that provides very natural, human-like voices.
Before You Start
Make sure you‘ve completed:
Install All the Modules(Important) — Install
robot-hat,vilib,pidogmodules, then run the scripti2samp.sh.
Testing Piper
Steps to try it out:
Create a new file:
cd ~/pidog/examples
sudo nano test_tts_piper.py
Copy the example code below into the file. Press
Ctrl+X, thenY, and finallyEnterto save and exit.from pidog.tts import Piper tts = Piper() # List supported languages print(tts.available_countrys()) # List models for English (en_us) print(tts.available_models('en_us')) # Set a voice model (auto-download if not already present) tts.set_model("en_US-amy-low") # Say something tts.say("Hello! I'm Piper TTS.")
available_countrys(): print supported languages.available_models(): list available models for that language.set_model(): set the voice model (downloads automatically if missing).say(): convert text to speech and play it.
Run the program:
sudo python3 test_tts_piper.py
The first time you run it, the selected voice model will be downloaded automatically.
You should then hear the Pidog say:
Hello! I'm Piper TTS.You can change to another language model by calling
set_model()with a different name.
Testing OpenAI TTS
Get and save your API Key
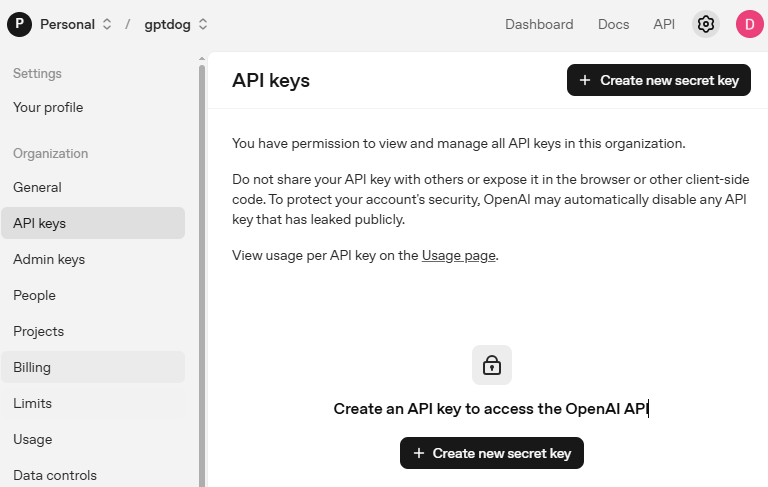
Go to OpenAI Platform and log in. On the API keys page, click Create new secret key.
Fill in the details (Owner, Name, Project, and permissions if needed), then click Create secret key.
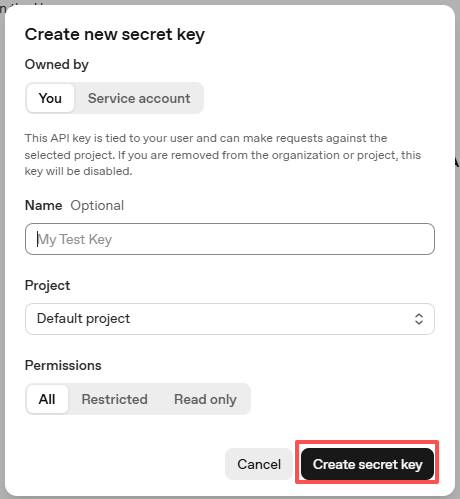
Once the key is created, copy it right away — you won’t be able to see it again. If you lose it, you must generate a new one.

In your project folder (for example:
/pidog/examples), create a file calledsecret.py:cd ~/pidog/examples sudo nano secret.py
Paste your key into the file like this:
# secret.py
# Store secrets here. Never commit this file to Git.
OPENAI_API_KEY = "sk-xxx"
Write and Run a Test Program
Create a new file:
cd ~/pidog/examples
sudo nano test_tts_openai.py
Copy the example code below into the file. Press
Ctrl+X, thenY, and finallyEnterto save and exit.from pidog.tts import OpenAI_TTS from secret import OPENAI_API_KEY # or use the try/except version shown above # Initialize OpenAI TTS tts = OpenAI_TTS(api_key=OPENAI_API_KEY) tts.set_model('gpt-4o-mini-tts') # low-latency TTS model tts.set_voice('alloy') # pick a voice # Quick hello (sanity check) tts.say("Hello! I'm OpenAI TTS.")
Run the program:
sudo python3 test_tts_openai.py
You should hear the Pidog say:
Hello! I'm OpenAI TTS.
Troubleshooting
No module named ‘secret’
This means
secret.pyis not in the same folder as your Python file. Movesecret.pyinto the same directory where you run the script, e.g.:ls ~/pidog/examples # Make sure you see both: secret.py and your .py file
OpenAI: Invalid API key / 401
Check that you pasted the full key (starts with
sk-) and there are no extra spaces/newlines.Ensure your code imports it correctly:
from secret import OPENAI_API_KEY
Confirm network access on your Pi (try
ping api.openai.com).
OpenAI: Quota exceeded / billing error
You may need to add billing or increase quota in the OpenAI dashboard.
Try again after resolving the account/billing issue.
Piper: tts.say() runs but no sound
Make sure a voice model is actually present:
ls ~/.local/share/piper/voicesConfirm your model name matches exactly in code:
tts.set_model("en_US-amy-low")
Make sure the Robot HAT speaker is enabled. If you haven’t run any PiDog example code yet, enable it:
robot_hat enable_speakerThis only needs to be done once per boot.
Check the audio output device/volume on your Pi (
alsamixer), and that speakers are connected and powered.
ALSA / sound device errors (e.g., “Audio device busy” or “No such file or directory”)
Close other programs using audio.
Reboot the Pi if the device stays busy.
For HDMI vs. headphone jack output, select the correct device in Raspberry Pi OS audio settings.
Permission denied when running Python
Try with
sudoif your environment requires it:sudo python3 test_tts_piper.py
Comparison of TTS Engines
Item |
Espeak |
Pico2Wave |
Piper |
OpenAI TTS |
|---|---|---|---|---|
Runs on |
Built-in on Raspberry Pi (offline) |
Built-in on Raspberry Pi (offline) |
Raspberry Pi / PC (offline, needs model) |
Cloud (online, needs API key) |
Voice quality |
Robotic |
More natural than Espeak |
Natural (neural TTS) |
Very natural / human-like |
Controls |
Speed, pitch, volume |
Limited controls |
Choose different voices/models |
Choose model and voices |
Languages |
Many (quality varies) |
Limited set |
Many voices/languages available |
Best in English (others vary by availability) |
Latency / speed |
Very fast |
Fast |
Real-time on Pi 4/5 with “low” models |
Network-dependent (usually low latency) |
Setup |
Minimal |
Minimal |
Download |
Create API key, install client |
Best for |
Quick tests, basic prompts |
Slightly better offline voice |
Local projects with better quality |
Highest quality, rich voice options |