6. motors.py (Control Car)
Although we already have the motor.py library to simplify the code a bit, we need to write the speed for each motor separately when the car is moving.
left_front.run(power)
right_front.run(power)
left_rear.run(power)
right_rear.run(power)
This would make the code very long, so in this project we will create a motors.py module(library) to further optimize and simplify the code for the 4 motors.
For example, after optimization, you can make the car move forward with just the following command.
move(forward, 50)
The steps are as follows.
Now, create a new script on Thonny. Copy all the below code into this script. You will see here that
motor.pyis imported as a library.from motor import Motor import time # init left_front = Motor(17, 16, dir=-1) right_front = Motor(15, 14, dir= 1) left_rear = Motor(13, 12, dir=-1) right_rear = Motor(11, 10, dir= 1) motors = [left_front, right_front, left_rear, right_rear] # run all 4 motors def set_motors_power(powers:list): ''' set motors power powers list, 1*4 list powers of each motor, the order is [left_front, right_front, left_rear, right_rear] ''' if len(powers) != 4: raise ValueError("powers should be a 1*4 list.") for i, motor in enumerate(motors): motor.run(powers[i]) def move(action, power=0): if action == "forward": set_motors_power([power, power, power, power]) elif action == "backward": set_motors_power([-power, -power, -power, -power]) elif action == "left": set_motors_power([-power, power, -power, power]) elif action == "right": set_motors_power([power, -power, power, -power]) else: set_motors_power([0, 0, 0, 0]) # call the car move funtion if __name__ == "__main__": speed = 50 act_list = [ "forward", "backward", "left", "right", "stop", ] for act in act_list: print(act) move(act, speed) time.sleep(1)
After pressing
Ctrl+S, select Raspberry Pi Pico as the save path.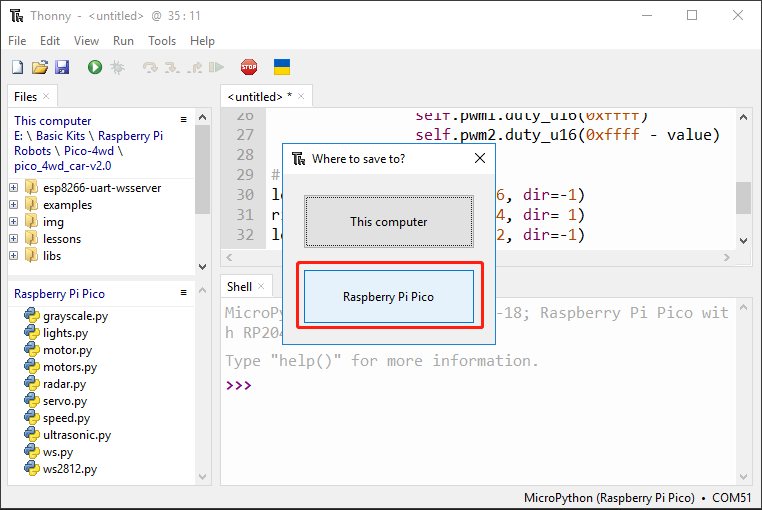
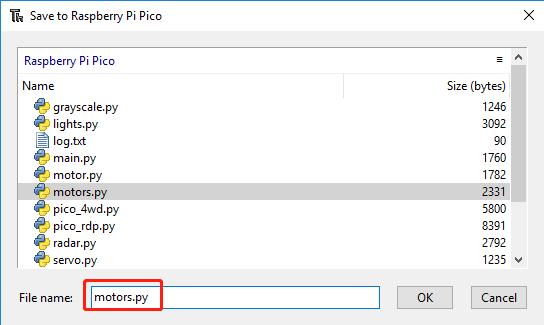
Fill in
motors.pyas the filename.Note
You will notice that the Raspberry Pi Pico already has a file called
motors.pyin it.The Pico 4WD car already has the modules(libraries) pre-installed, so it can be played right out of the box.
So here you can choose to overwrite to the original file.
To run the script, click the
 button or press
 F5. When you power up the Pico 4WD car, you will see it move forward, backward, turn left, turn right and stop.
Warning
At the moment, this motors.py is not the final version. It needs a smooth speed effect, which is included in the 7. Smooth Speed Effect project.