5. motor.py Module (Control Motor)
When Pico 4WD’s various components work together, the code can be very long and difficult to understand.
So here we will learn how to encapsulate the motor code into a module (library), so that later we can import the library and call the functions inside.
The steps are as follows.
Now encapsulate the motor code from the previous project as
Motor()Class.from machine import Pin, PWM def mapping(x, in_min, in_max, out_min, out_max): return (x - in_min) * (out_max - out_min) / (in_max - in_min) + out_min class Motor(): def __init__(self, pin_a, pin_b, dir=1): self.pwm1 = PWM(Pin(pin_a, Pin.OUT)) self.pwm2 = PWM(Pin(pin_b, Pin.OUT)) self.pwm1.freq(20000) self.pwm2.freq(20000) self.dir = dir def run(self, power:int): if power == 0: self.pwm1.duty_u16(0xffff) self.pwm2.duty_u16(0xffff) else: value = mapping(abs(power), 0, 100, 20, 100) # power less than 20 is useless value = int(value / 100.0 * 0xffff) if power*self.dir > 0: self.pwm1.duty_u16(0xffff - value) self.pwm2.duty_u16(0xffff) else: self.pwm1.duty_u16(0xffff) self.pwm2.duty_u16(0xffff - value)
To use this class, first declare four
Motorobjects.left_front = Motor(17, 16, dir=-1) right_front = Motor(15, 14, dir= 1) left_rear = Motor(13, 12, dir=-1) right_rear = Motor(11, 10, dir= 1)
Then use the
run()function to get the individual motors to turn. Here the speed is set to a positivepower(80), so the car will move forward.power = 80 left_front.run(power) right_front.run(power) left_rear.run(power) right_rear.run(power)
Then, the complete code is shown below.
from machine import Pin, PWM


def mapping(x, in_min, in_max, out_min, out_max):
    return (x - in_min) * (out_max - out_min) / (in_max - in_min) + out_min

class Motor():
    def __init__(self, pin_a, pin_b, dir=1):
        self.pwm1 = PWM(Pin(pin_a, Pin.OUT))
        self.pwm2 = PWM(Pin(pin_b, Pin.OUT))
        self.pwm1.freq(20000)
        self.pwm2.freq(20000)
        self.dir = dir

    def run(self, power:int):
        if power == 0:
            self.pwm1.duty_u16(0xffff)
            self.pwm2.duty_u16(0xffff)
        else:
            value = mapping(abs(power), 0, 100, 20, 100)
            value = int(value / 100.0 * 0xffff)

            if power*self.dir > 0:
                self.pwm1.duty_u16(0xffff - value)
                self.pwm2.duty_u16(0xffff)
            else:
                self.pwm1.duty_u16(0xffff)
                self.pwm2.duty_u16(0xffff - value)

if __name__ == '__main__':

    # init
    left_front  = Motor(17, 16, dir=-1)
    right_front = Motor(15, 14, dir= 1)
    left_rear   = Motor(13, 12, dir=-1)
    right_rear  = Motor(11, 10, dir= 1)

    try:
        # forward
        power = 80
        left_front.run(power)
        right_front.run(power)
        left_rear.run(power)
        right_rear.run(power)
        time.sleep(5)

    finally:
        # stop
        power = 0
        left_front.run(power)
        right_front.run(power)
        left_rear.run(power)
        right_rear.run(power)
        time.sleep(0.2)
Now, create a new script on Thonny. Copy all the above code into this script. After pressing
Ctrl+S, select Raspberry Pi Pico as the save path.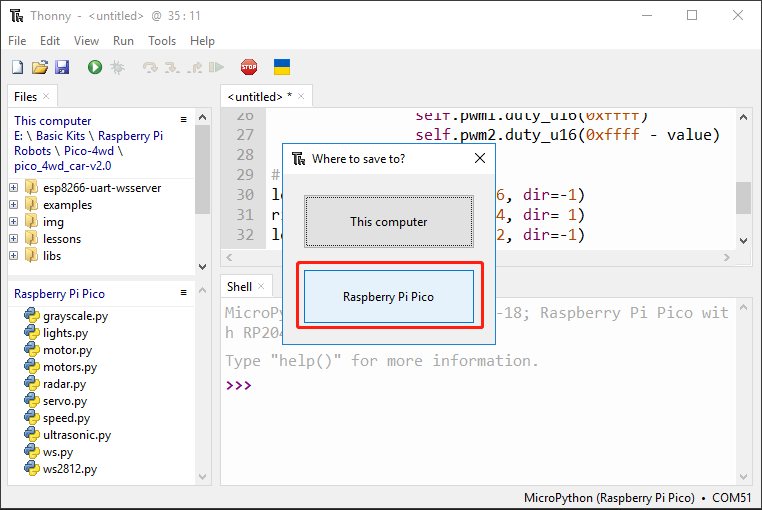
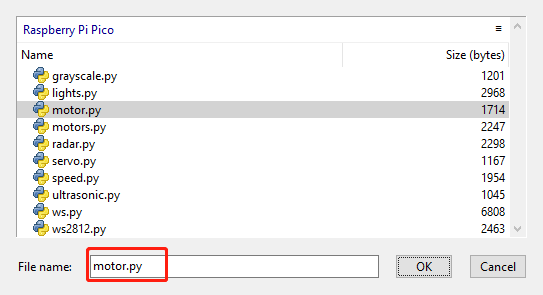
Fill in
motor.pyas the filename.Note
You will notice that the Raspberry Pi Pico already has a file called
motor.pyin it.The Pico 4WD car already has the modules(libraries) pre-installed, so it can be played right out of the box.
So here you can choose to overwrite to the original file.
To run the script, click the
 button or press
 F5. When you power up the Pico 4WD car, you will see it move forward.
Warning
At the moment, this motor.py is not the final version. It needs a smooth speed effect, which is included in the 7. Smooth Speed Effect project.