Check Photos
An easy way is to use Filezilla Software to drag and drop the photo files to the PC. However, its viewing experience is not very good. We recommend that you use Samba to turn the picture folder into an album that can be used in the local area network.
Install Samba
Run the command to set up Samba service.
sudo apt-get update
sudo apt-get install samba samba-common-bin
Configure Samba typing.
sudo nano /etc/samba/smb.conf
Note
Press ctrl+o to save what you modify in nano editor, ctrl+x to to exit.
Input the following content at the end of the file:
[share]
path = /home/pi/Pictures/ #This is your album path.
valid users = pi
browseable = yes
public = yes
writable = yes
Restart Samba service.
sudo service smbd restart
Add sharing account.
sudo smbpasswd -a pi
Note
A sharing account “pi” is created and you need to set your passcode.
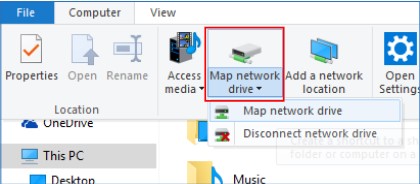
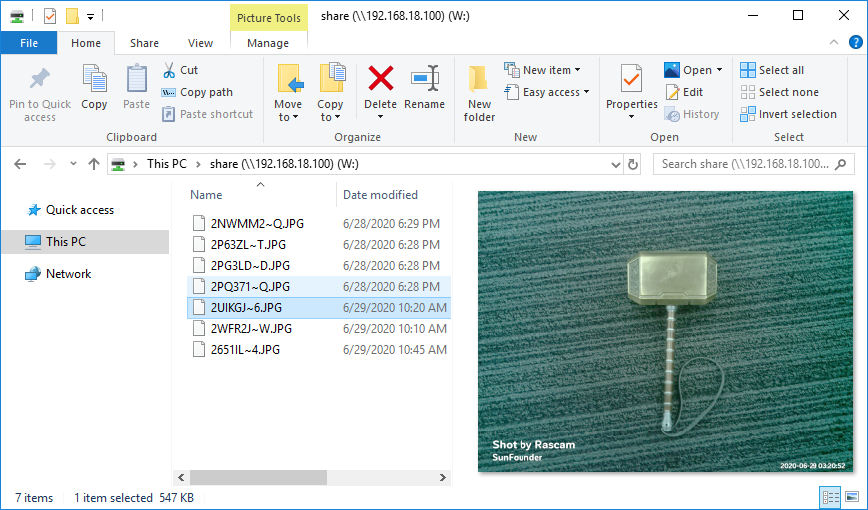
Mount Photo Album to Windows
Under This PC, click Map network drive.
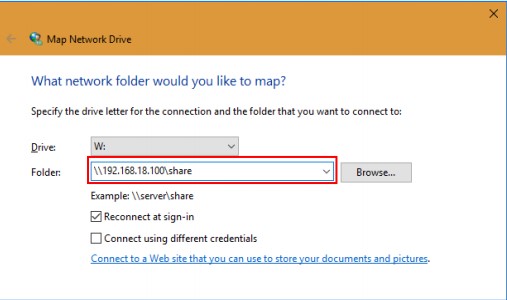
Type \\hostname or IP address\the name of the shared files in the path bar.
Type in the username and the password. Click OK button, and you can access the shared files.
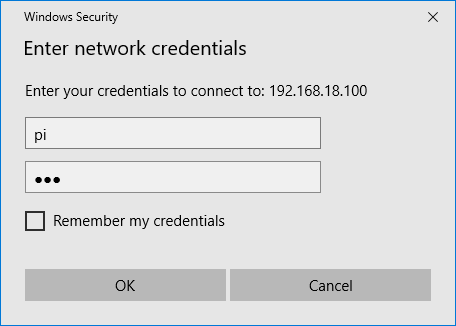
The album will appear as a new volume under this PC.
Mount Photo album to iOS
The system newer than iOS 13.0 can directly mount storage in Files. The older versions of iOS can use APPs like DS File.
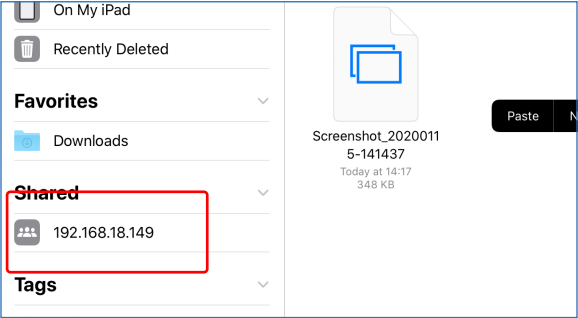
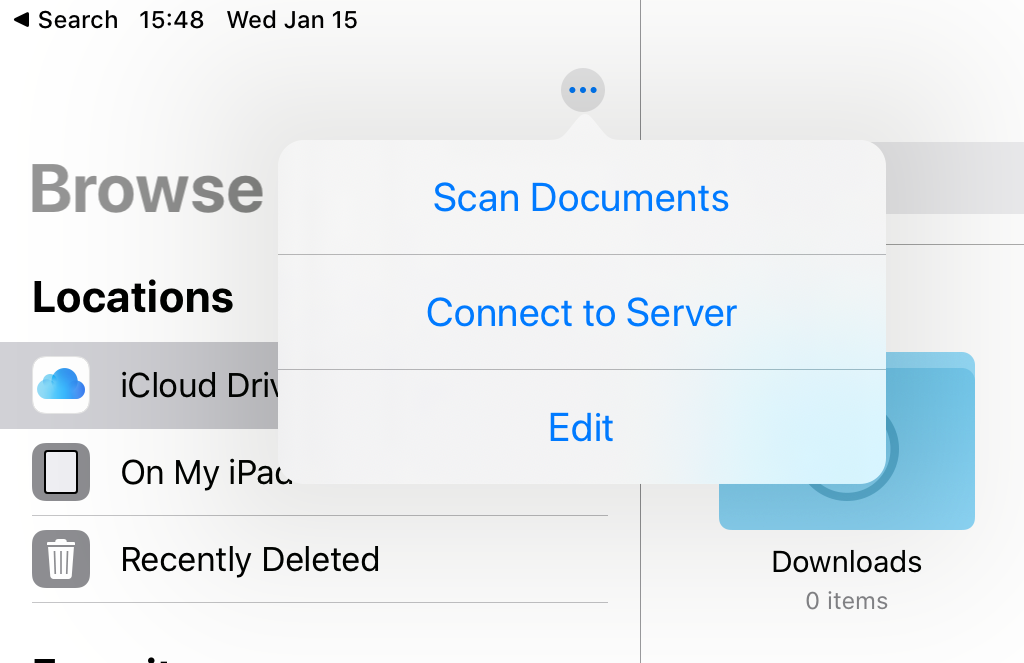
Open Files.

Tap Connect to Server in 「Menu」.
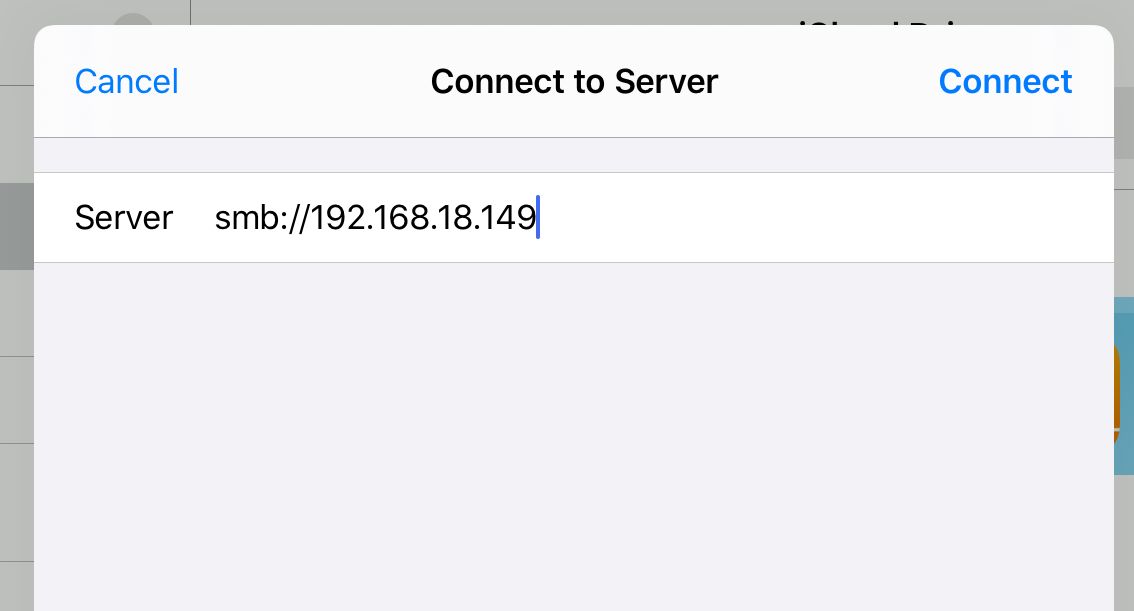
Enter your Rascam IP address.
Log in.
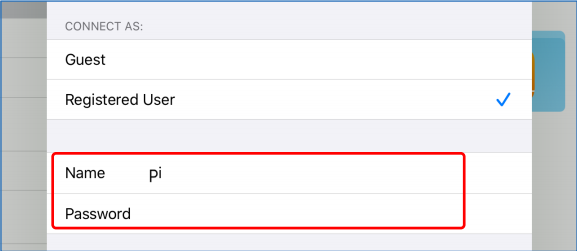
Now, you can directly access the photo album in File.