Note
Hello, welcome to the SunFounder Raspberry Pi & Arduino & ESP32 Enthusiasts Community on Facebook! Dive deeper into Raspberry Pi, Arduino, and ESP32 with fellow enthusiasts.
Why Join?
Expert Support: Solve post-sale issues and technical challenges with help from our community and team.
Learn & Share: Exchange tips and tutorials to enhance your skills.
Exclusive Previews: Get early access to new product announcements and sneak peeks.
Special Discounts: Enjoy exclusive discounts on our newest products.
Festive Promotions and Giveaways: Take part in giveaways and holiday promotions.
👉 Ready to explore and create with us? Click [here] and join today!
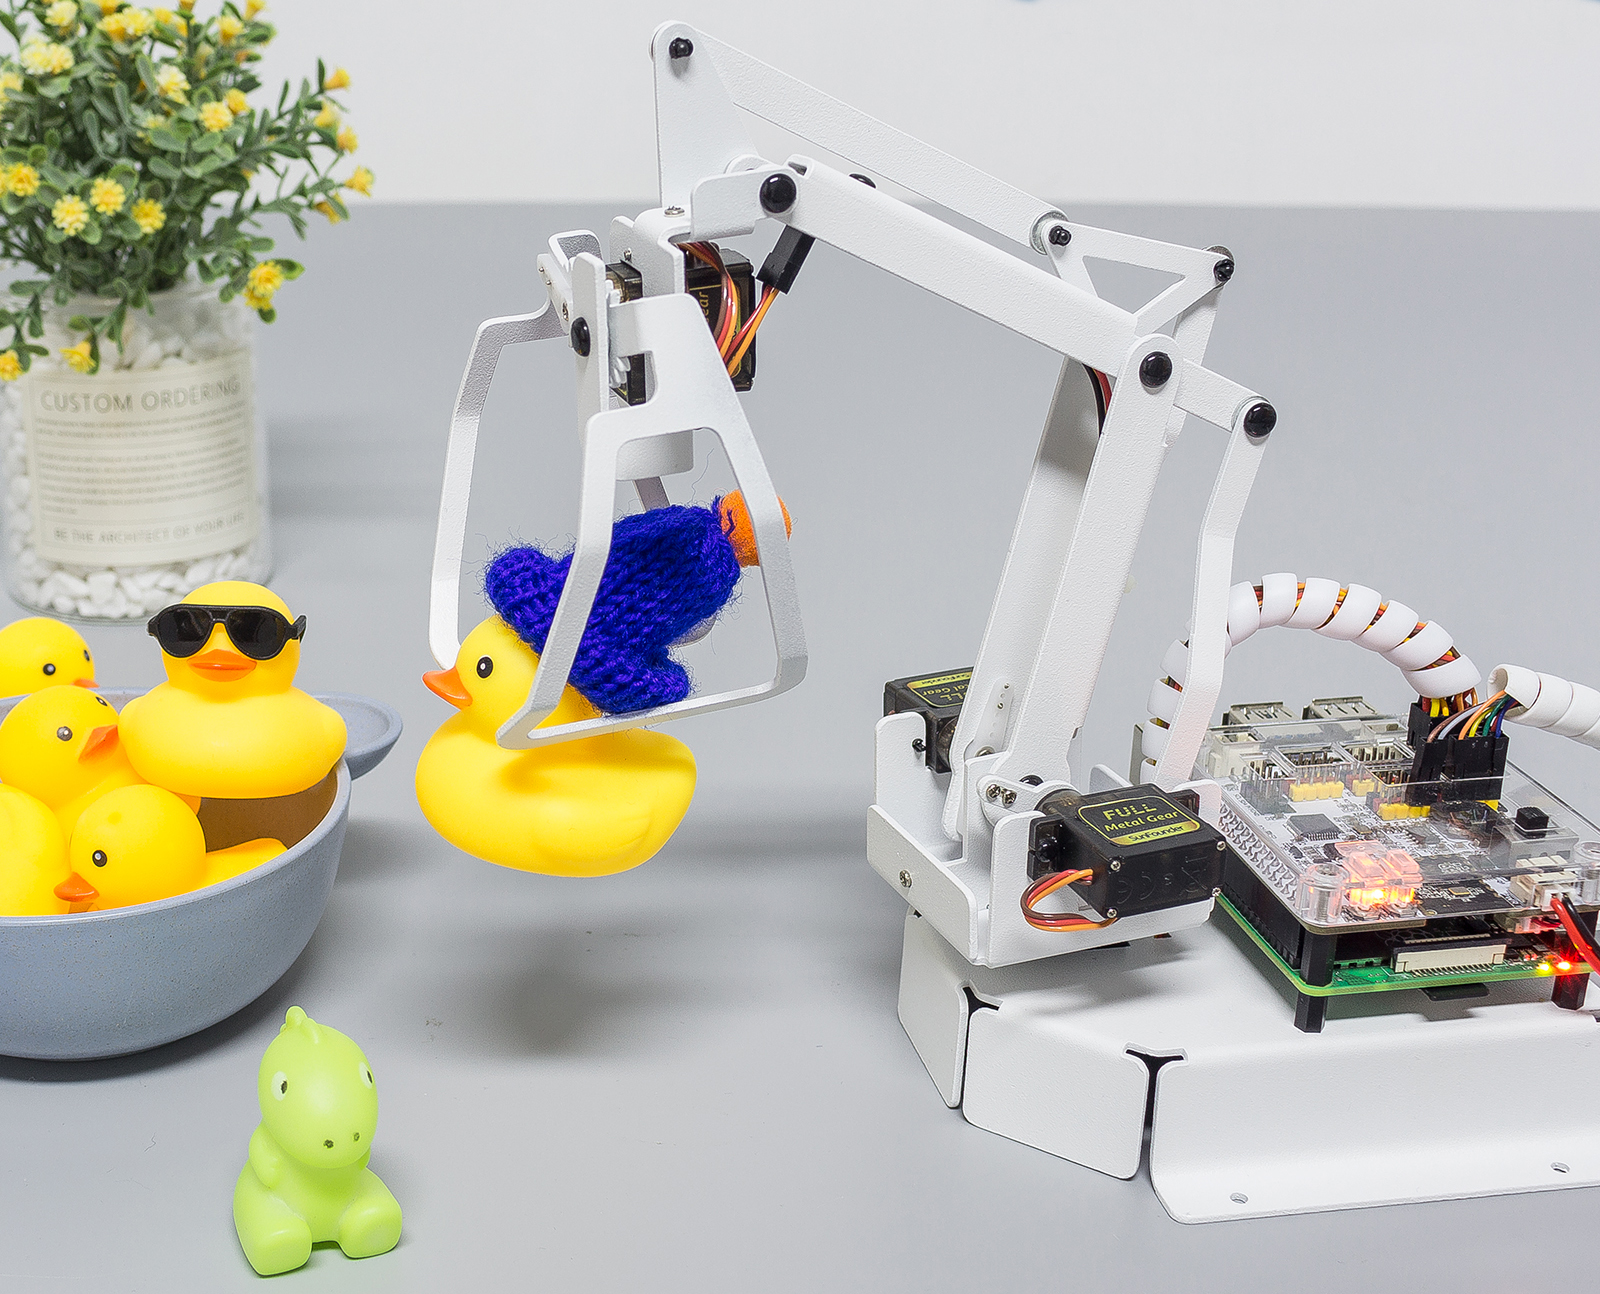
Hanging Clip
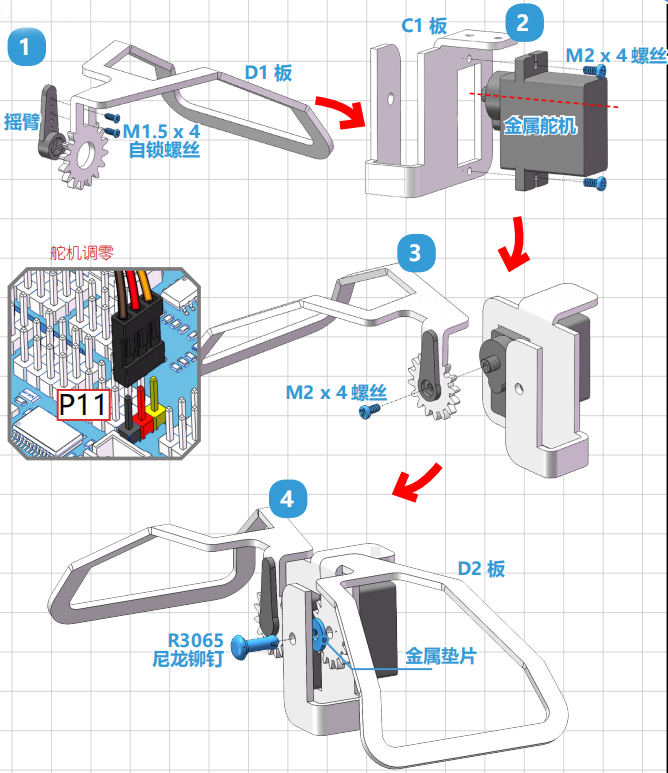
Assembly
Assemble the Hanging Clip as shown below.
Note
Note that in step 3 you need to insert the servo into the P11 for zeroing before inserting the D1 plate into the servo shaft in a vertical orientation.
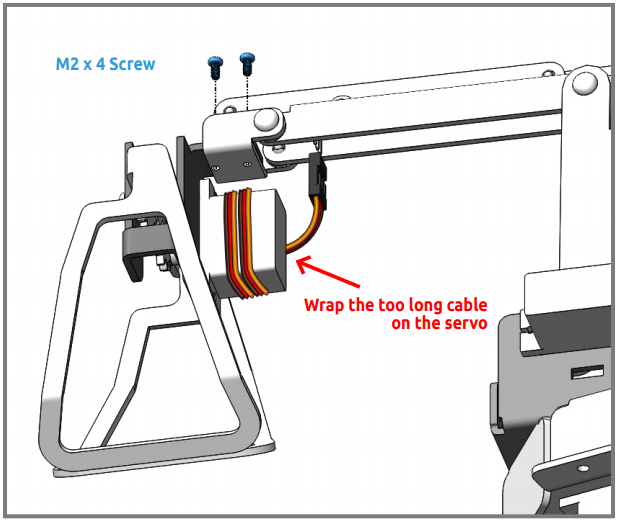
Attach the Hanging Clip to the end of the PiArm with the M2x4 screw.
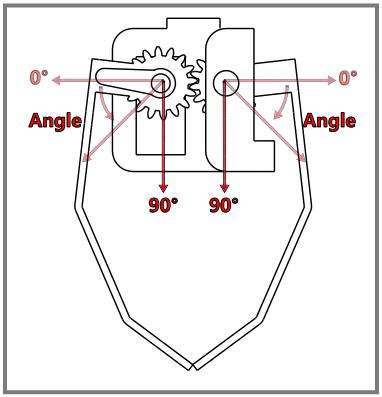
The angle range of the Hanging Clip is 0-90°.
Using range
The weight of the clamped object should be less than 150g.
The recommended height of the object to be clamped should be less than 4cm, width less than 8.5cm.
Slender objects need to find the right angle to clip up.