Note
Hello, welcome to the SunFounder Raspberry Pi & Arduino & ESP32 Enthusiasts Community on Facebook! Dive deeper into Raspberry Pi, Arduino, and ESP32 with fellow enthusiasts.
Why Join?
Expert Support: Solve post-sale issues and technical challenges with help from our community and team.
Learn & Share: Exchange tips and tutorials to enhance your skills.
Exclusive Previews: Get early access to new product announcements and sneak peeks.
Special Discounts: Enjoy exclusive discounts on our newest products.
Festive Promotions and Giveaways: Take part in giveaways and holiday promotions.
👉 Ready to explore and create with us? Click [here] and join today!
1.3 Install MicroPython on Your Pico
Now come to install MicroPython into Raspberry Pi Pico, Thonny IDE provides a very convenient way for you to install it with one click.
Note
If you do not wish to upgrade Thonny, you can use the Raspberry Pi official method by dragging and dropping an rp2_pico_xxxx.uf2 file into Raspberry Pi Pico.
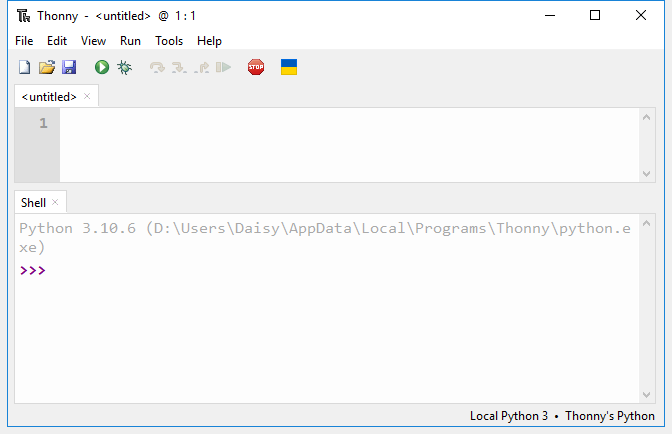
Open Thonny IDE.
Press and hold the BOOTSEL button and then connect the Pico to computer via a Micro USB cable. Release the BOOTSEL button after your Pico is mount as a Mass Storage Device called RPI-RP2.

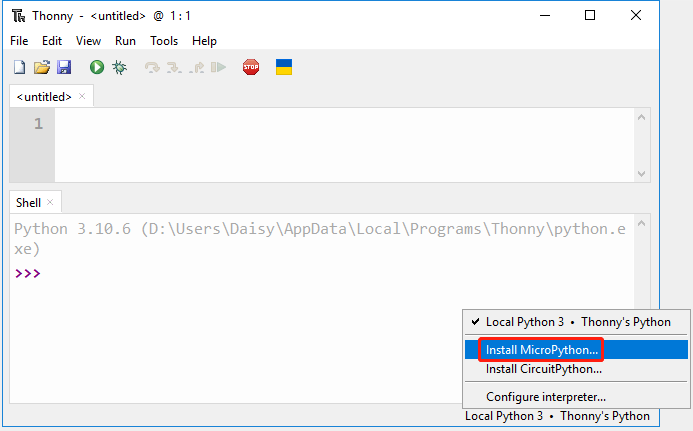
In the bottom right corner, click the interpreter selection button and select Install Micropython.
Note
If your Thonny does not have this option, please update to the latest version.
In the Target volume, the volume of the Pico you just plugged in will automatically appear, and in the Micropython variant, select Raspberry Pi.Pico W/Pico WH.
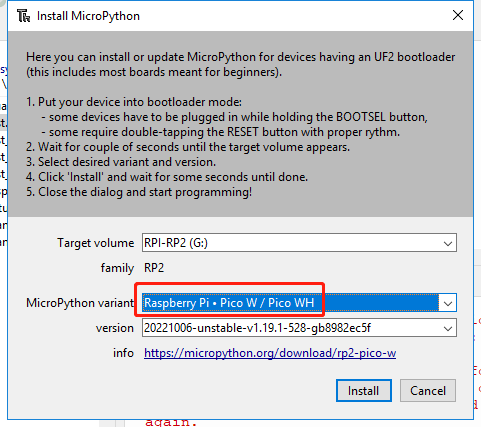
Click the Install button, wait for the installation to complete and then close this page.

Congratulations, now your Raspberry Pi Pico is ready to go.