How to create, open or Save the Sketch?
When you open the Arduino IDE for the first time or create a new sketch, you will see a page like this, where the Arduino IDE creates a new file for you, which is called a “sketch”.
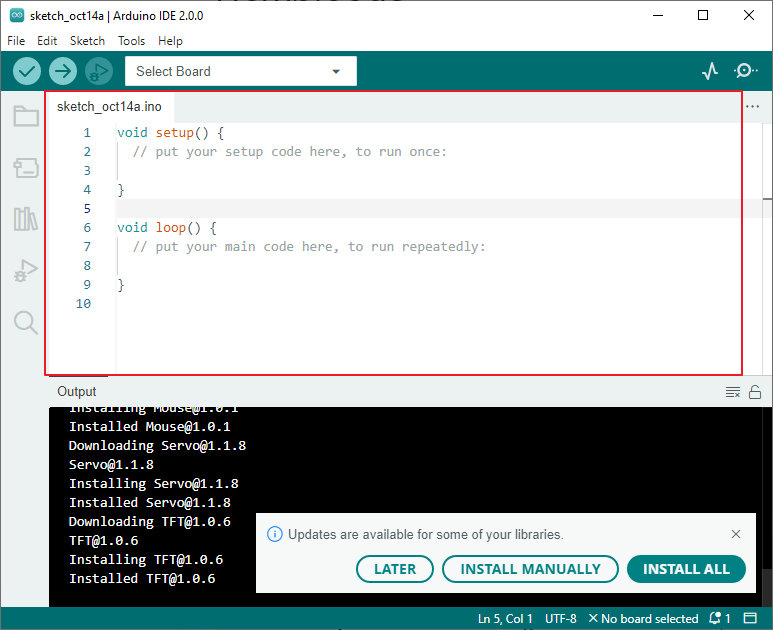
These sketch files have a regular temporary name, from which you can tell the date the file was created.
sketch_oct14a.inomeans October 14th first sketch,.inois the file format of this sketch.Now let’s try to create a new sketch. Copy the following code into the Arduino IDE to replace the original code.

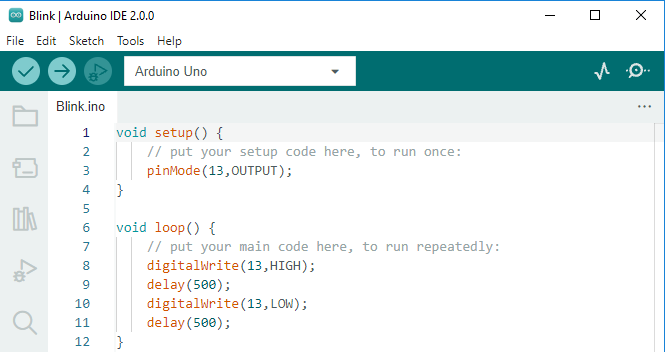
void setup() {
    // put your setup code here, to run once:
    pinMode(13,OUTPUT);
}

void loop() {
    // put your main code here, to run repeatedly:
    digitalWrite(13,HIGH);
    delay(500);
    digitalWrite(13,LOW);
    delay(500);
}
Press
Ctrl+Sor click File -> Save. The Sketch is saved in:C:\Users\{your_user}\Documents\Arduinoby default, you can rename it or find a new path to save it.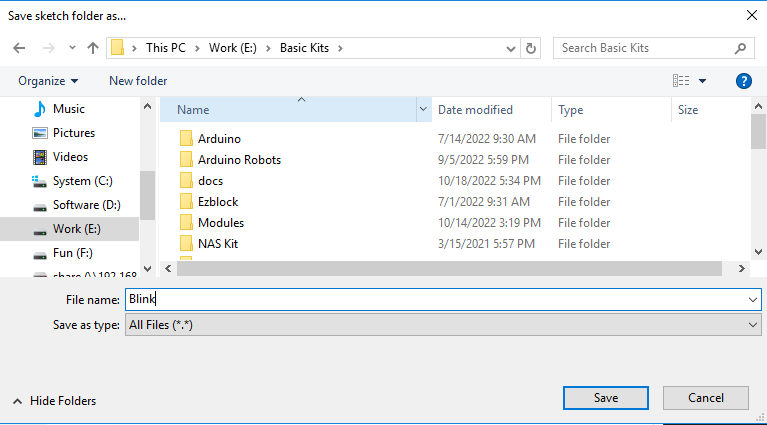
After successful saving, you will see that the name in the Arduino IDE has been updated.
Please continue with the next section to learn how to upload this created sketch to your Arduino board.