Scratch Projects
In this chapter, you will learn to use Scratch on this screen, which includes 10 examples.
If you are a user who has just used Scratch, we recommend that you try the teaching examples in order so that you can quickly get started with Scratch.
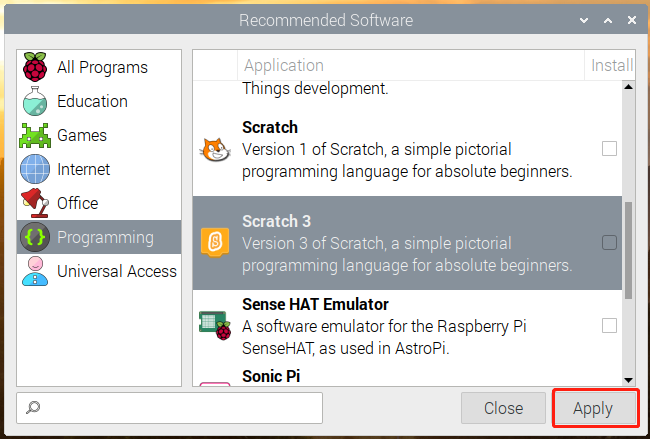
If the Raspberry Pi system you downloaded comes with recommended software, you can find Scratch 3 in Programming.
If you download a system with only a desktop, you can click Preferences -> Recommended Software -> Programming to install the Scratch 3.

Note
Before trying the teaching examples, you should have downloaded the relevant materials and code files.
Open a Terminal and enter the following command to download them from github.
git clone https://github.com/sunfounder/7-diy-touch-screen
Projects