Note
Hello, welcome to the SunFounder Raspberry Pi & Arduino & ESP32 Enthusiasts Community on Facebook! Dive deeper into Raspberry Pi, Arduino, and ESP32 with fellow enthusiasts.
Why Join?
Expert Support: Solve post-sale issues and technical challenges with help from our community and team.
Learn & Share: Exchange tips and tutorials to enhance your skills.
Exclusive Previews: Get early access to new product announcements and sneak peeks.
Special Discounts: Enjoy exclusive discounts on our newest products.
Festive Promotions and Giveaways: Take part in giveaways and holiday promotions.
👉 Ready to explore and create with us? Click [here] and join today!
Calibrate the Servo Angle
Warning
You will need to write a specific angle to the Servo before you install the Servo arm for each Servo. If you skip this step, complete the assembly and power up the Servos, they may become blocked or damaged, and you may even need to disassemble the robot and reassemble the Servo parts.
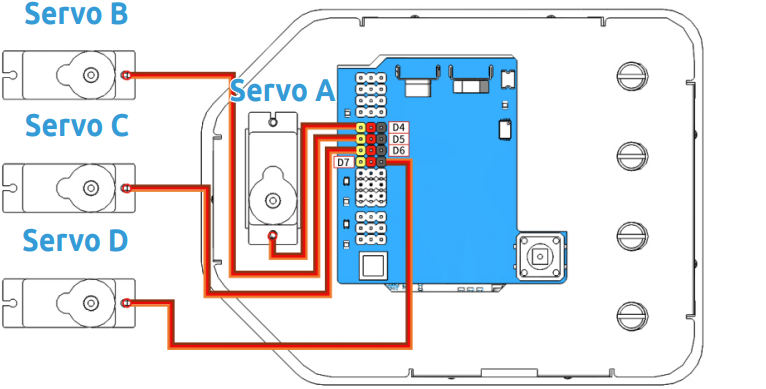
Step 1: Take out the 4 Servos and label them A, B, C and D. Connect them to D4-D7 to distinguish them later.
Servo A is connected to D4
Servo B is connected to D5
Servo C is connected to D6
Servo D is connected to D7
Now start uploading code to SunFounder R3 Board, this step is a one-time action, you don’t need to upload the code again during the assembly process.
Step 2: Connect the SunFounder R3 Board to your PC with the USB Type B cable that comes with the kit, the computer will usually recognize your board automatically and finally assign a port.
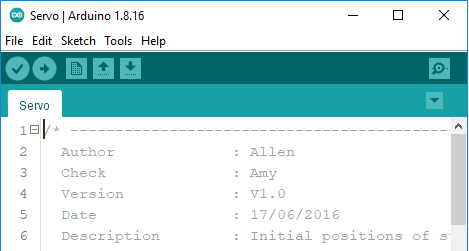
Step 3: Go to the folder DIY Control Robot Arm kit for Arduino-Rollarm/Arduino Code/Servo and open the file Servo.ino, make sure you have Download the Code.
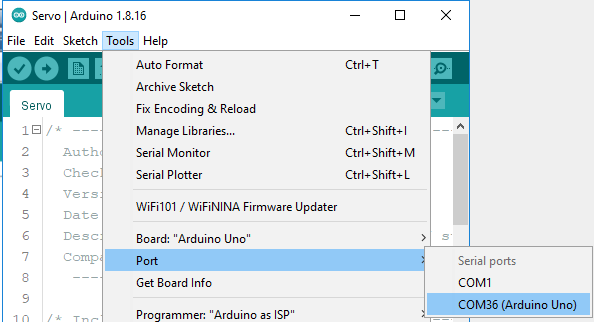
Step 4: Select the Board.
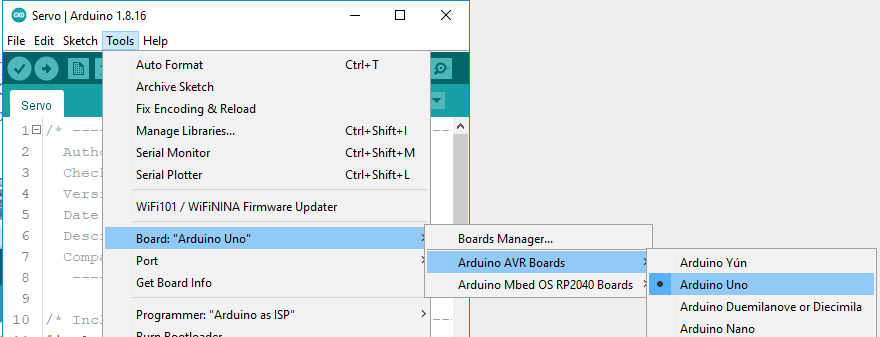
and Port, your port may not be the same as mine.
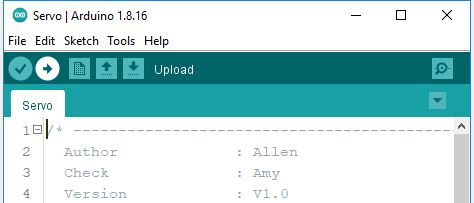
Step 5: Click Upload.
After the upload is completed successfully, you may hear the sound of gear moving (or may not, if the Servo shaft happens to be at 90 degrees at the beginning; but you GENTLY spin the Servo arm and you’ll find it’s unmovable). So now the Servo is adjusted to 90 degrees.
Note
After uploading the code this time, you can unplug the Type B cable and use the battery directly or plug the Type B cable directly into the power socket, the code on the SunFounder R3 board will run again, no need to burn the code from Arduino IDE again.
Don’t force to turn the Servo when power is on, so as not to damage it.
It is recommended that when assembling the Servo, you can unplug the other Servo cables so that you can have a better mounting position.
Now you can continue assembling Rollarm.