Installing Umbrel OS
Umbrel is an open-source, self-hosted home-server platform/OS that lets you run your own Bitcoin node, install a variety of one-click self-hosted apps — and turn your hardware into your personal home cloud. It’s an excellent way to start with self-custody and privacy.
Required Components
A Personal Computer
A NVMe SSD
A NVMe to USB Adapter
Micro SD Card and Reader
1. Install Raspberry Pi Imager
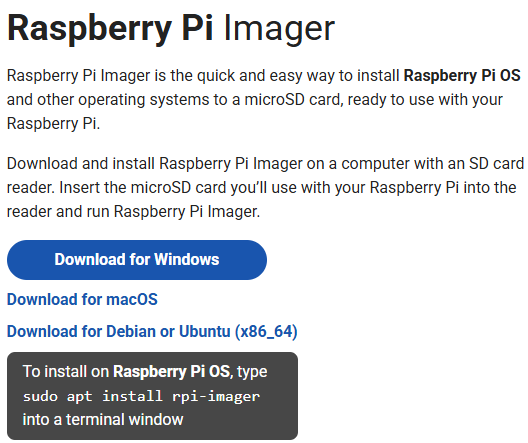
Visit the official Raspberry Pi Imager download page: Raspberry Pi Imager. Download the correct installer for your operating system.
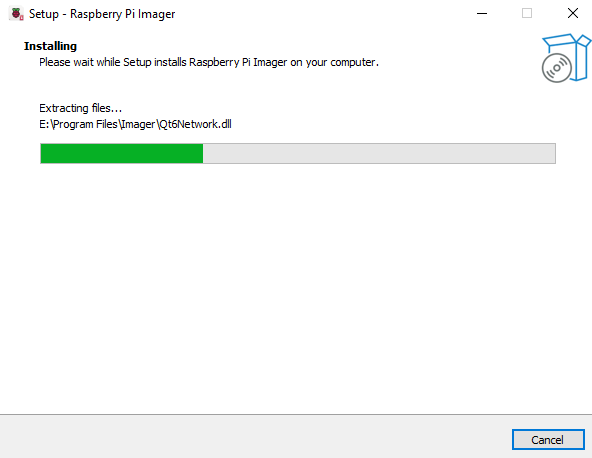
Follow the installation prompts (language, install path, confirmation). After installation, launch Raspberry Pi Imager from your desktop or applications menu.
2. Install the OS on the NVMe SSD
Now you are ready to install the operating system onto your NVMe SSD. Just follow the steps below carefully — this guide is written for beginners and is easy to follow.
Download the latest Umbrel OS image and extract the file. If you want to use a specific version, you can also visit the Umbrel OS Releases page.
Insert the NVMe SSD into your computer using an NVMe to USB adapter.
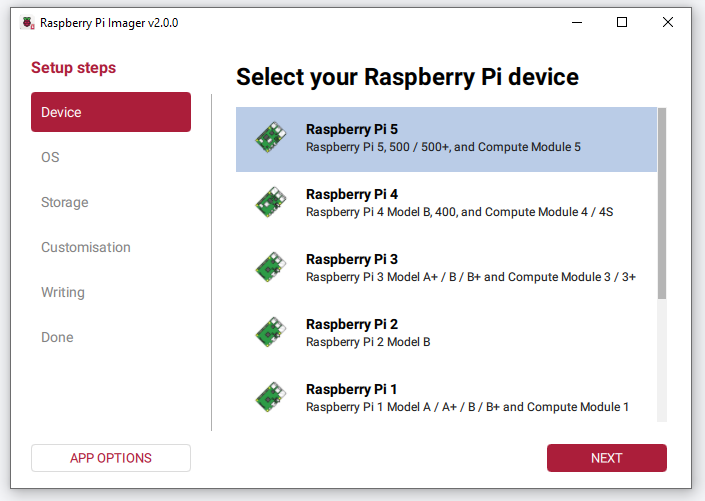
Open Raspberry Pi Imager. On the Device screen, select your Raspberry Pi 5 model from the list.
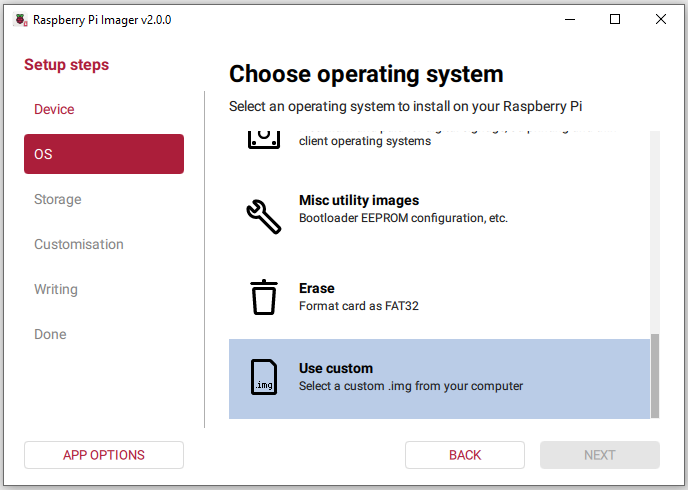
Go to the OS section, scroll to the bottom, and select Use custom.
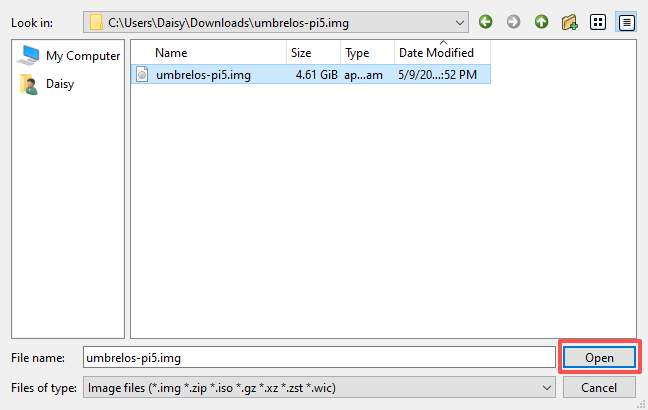
Select the Umbrel OS image file you downloaded and extracted earlier, then click Open.
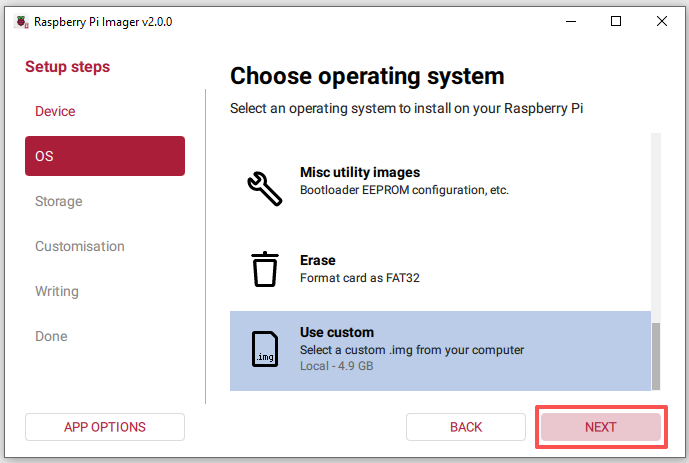
Click Next to continue.
In the Storage section, select your NVMe SSD. Make sure you choose the NVMe SSD and not another drive on your computer.

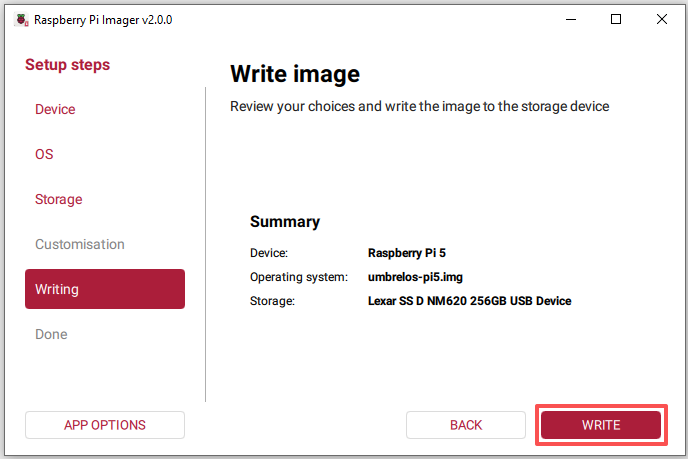
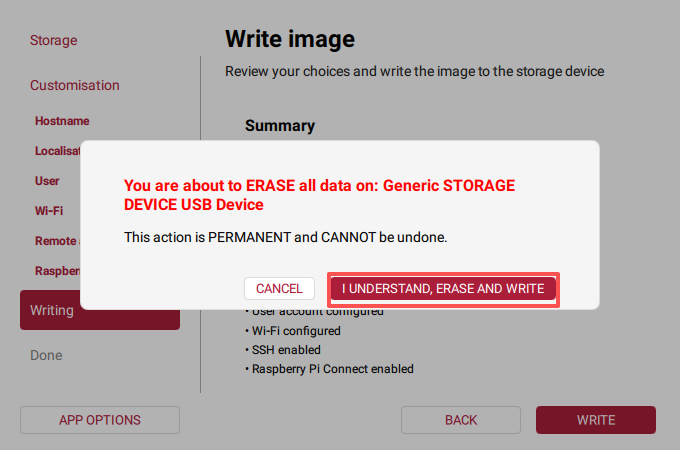
Review all settings carefully, then click WRITE.
If the NVMe SSD already contains data, Raspberry Pi Imager will warn you that all data will be erased. Double-check that the correct drive is selected, then click I UNDERSTAND, ERASE AND WRITE.
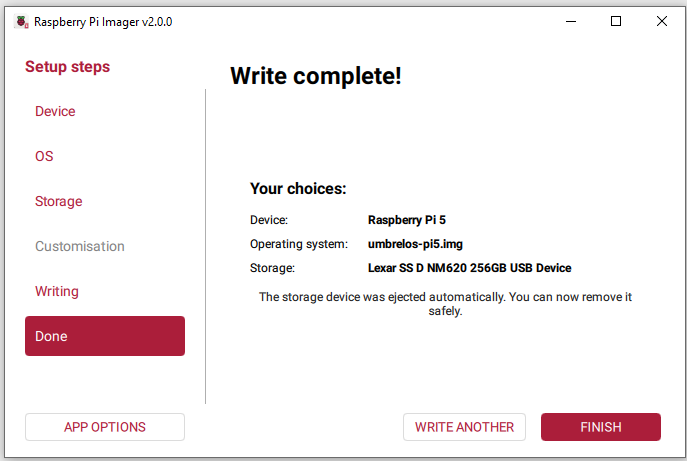
When the “Write Complete” message appears, the image has been written and verified successfully.