Assemble the PiPower
After getting familiar with the components in the package, we start to assemble PiPower.
In the next steps, there are a lot of details you need to notice, especially the assembly position of the battery and the clear acrylic back cover.
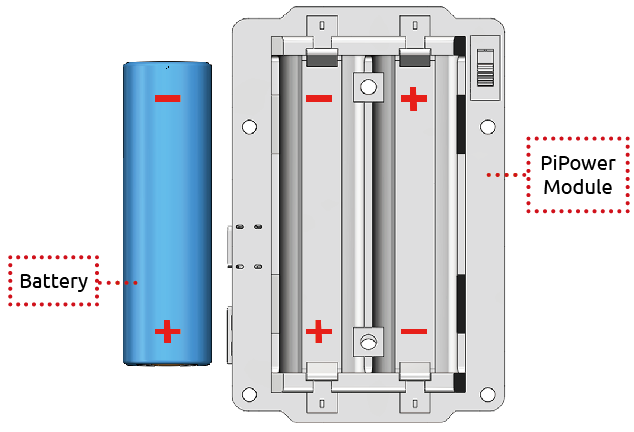
Place the Batterries
You can place the battery according to it: anode to anode; cathode to cathode.
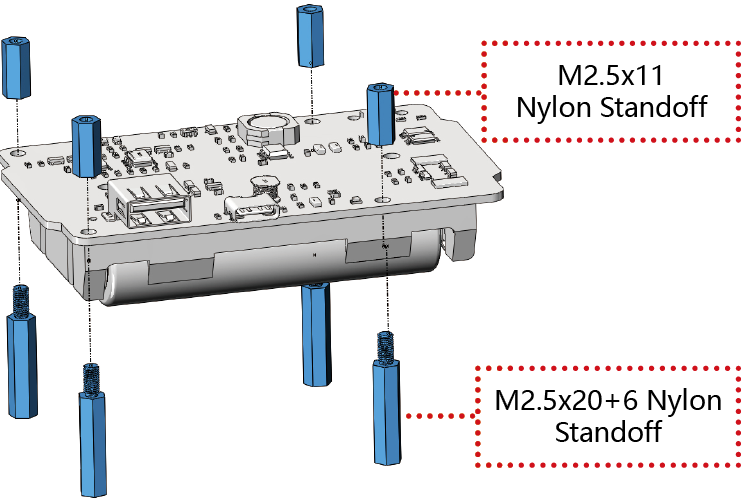
Assemble the PiPower Module
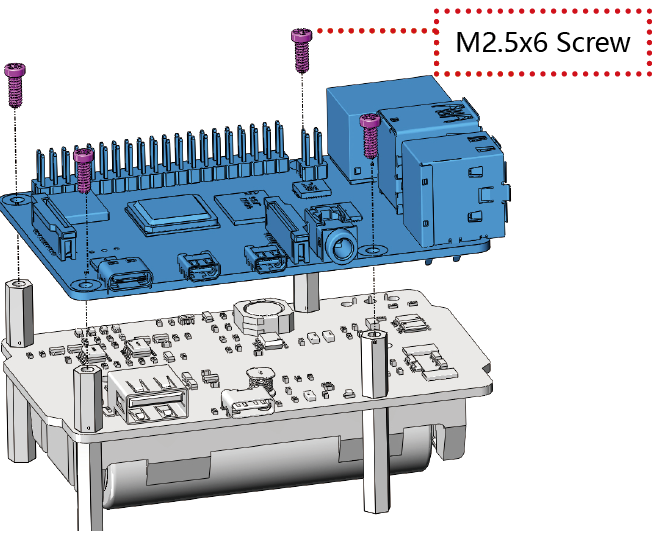
Assemble the Raspberry Pi
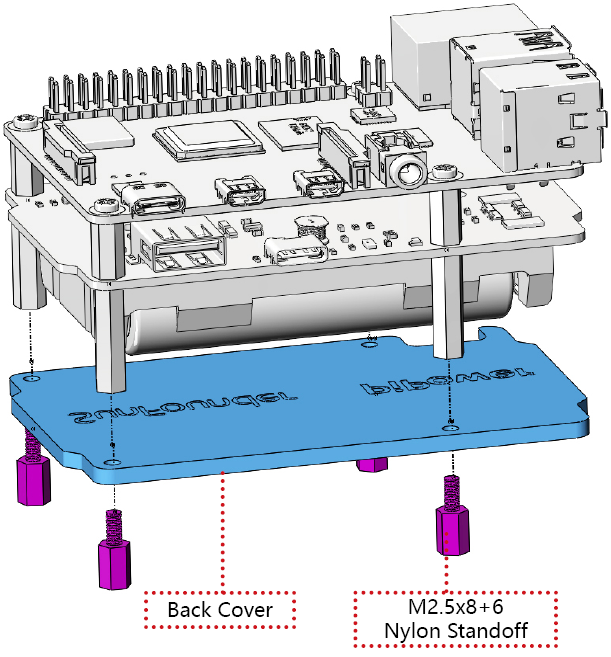
Assemble the Back Cover
Put the gap side of acrylic back cover under the switch of PiPower module so that you can easily power the PiPower on/off.
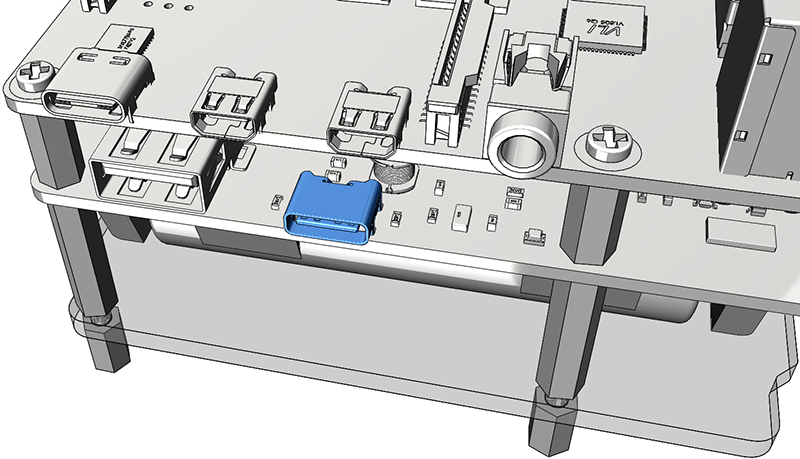
Plug the USB Cable
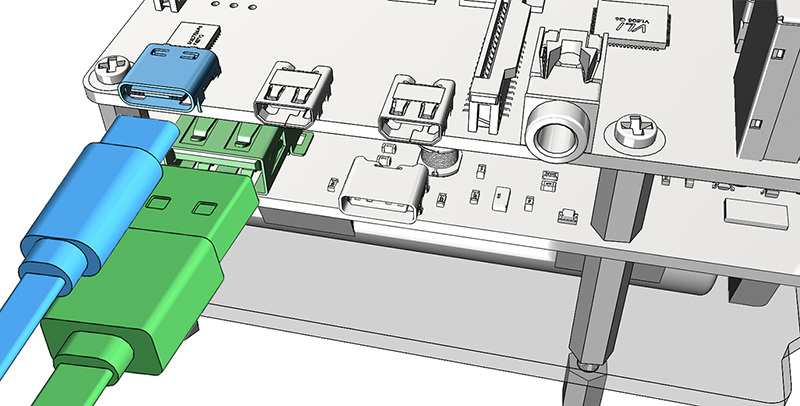
When the battery is about to be run out, you can charge the battery through the Type-C USB port of the PiPower module.
Warning
When you put the battery in for the first time or when the battery is unplugged and put in again, the battery will not work properly, at this time, you need to plug the Type C cable into the charging port to turn off the protection circuit, and the battery can be used normally.