2. Line Track
Let Pico-4wd walk its exclusive avenue! Use the black electrical tape to stick a line on a light-colored floor (or table). After running the script, you will see Pico-4wd tracking this line forward.
Note
The complete script
project_2_line.pyis in the pathpico_4wd_car\examples\funny_projects.In order to allow the car to move on the ground without the USB cable connected, you need to save this script as
main.pyto Raspberry Pi Pico, see 5. Run Script Offline(Important) for a tutorial.
Below are the steps to implement the line track function, and you can copy them into Thonny to run them.
1. Get line threshold
from grayscale import Grayscale
import motors as car
import lights
import time

# init grayscale module
gs = Grayscale(26, 27, 28)
gs.set_line_reference(10000)

try:
    while True:
        print(gs.get_value())
        time.sleep(0.2)
finally:
    pass
Run the script after copying it into Thonny.
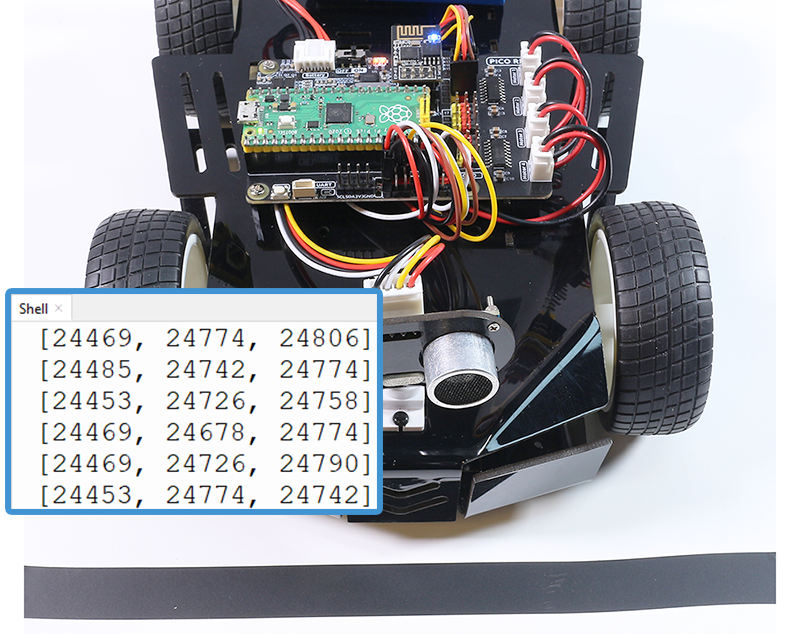
After powering up the Pico 4WD car, place the grayscale module in following environments to see how the data in the Shell changes (keeping the USB cable connected to the computer).
- White surface
You will find that the value of the white surface is generally large, for example mine is around 240,000.
- Black line
The value on the black line will be smaller, and now I’m at about 2000.
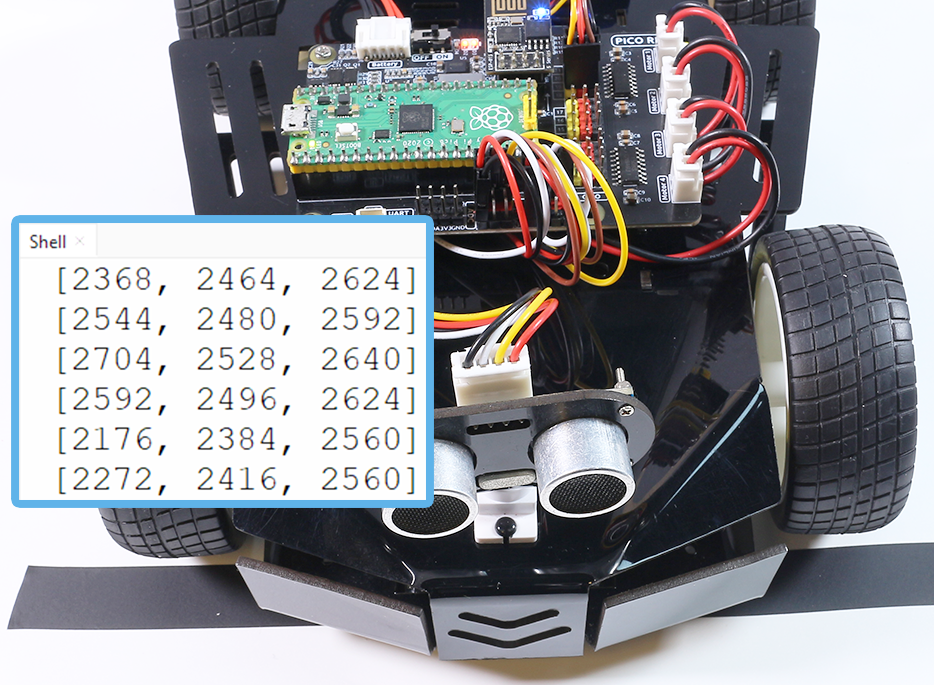
My car reads around 24000 in the white area and around 2000 in the black line, so I set
set_line_reference()to about the middle value of10000.
2. Tracking the line
When the detected grayscale value of the corresponding channel is less than
set_line_reference(10000), a1will be output, which means a black line is detected.Then all three sets of data (
[0, 1, 0]) will be output byget_line_status().The car is then moved according to the detection data from the three sensors.
from grayscale import Grayscale
import motors as car
import lights

gs = Grayscale(26, 27, 28)
gs.set_line_reference(10000)

MOTOR_POWER = 30

def line_track():
    while True:
        gs_data = gs.get_line_status()
        if gs_data == [0, 1, 0]:
            car.set_motors_power([MOTOR_POWER, MOTOR_POWER, MOTOR_POWER, MOTOR_POWER]) # forward
        elif gs_data == [0, 1, 1]:
            car.set_motors_power([MOTOR_POWER, 0, MOTOR_POWER, 0]) # turn right at a small angle
        elif gs_data == [0, 0, 1]:
            car.set_motors_power([MOTOR_POWER, -MOTOR_POWER, MOTOR_POWER, -MOTOR_POWER]) # turn right at a small angle
        elif gs_data == [1, 1, 0]:
            car.set_motors_power([0, MOTOR_POWER, 0, MOTOR_POWER]) # turn left at a small angle
        elif gs_data == [1, 0, 0]:
            car.set_motors_power([-MOTOR_POWER, MOTOR_POWER, -MOTOR_POWER, MOTOR_POWER]) # turn left at a small angle

try:
    line_track()
finally:
    car.move("stop")
3. Add light effects
Finally, while driving, let the two RGB Boards at the bottom light up according to the direction of the car moving.
For example, when moving forward, the bottom two RGB Boards are lit in green. When turning right, let the right RGB Board light up, and when turning left, let the left RGB Board light up.
from grayscale import Grayscale
import motors as car
import lights

gs = Grayscale(26, 27, 28)
gs.set_line_reference(10000)

MOTOR_POWER = 30

def line_track():
    while True:
        gs_data = gs.get_line_status()
        if gs_data == [0, 1, 0]:
            car.set_motors_power([MOTOR_POWER, MOTOR_POWER, MOTOR_POWER, MOTOR_POWER]) # forward
            lights.set_bottom_color([0, 100, 0])
        elif gs_data == [0, 1, 1]:
            car.set_motors_power([MOTOR_POWER, 0, MOTOR_POWER, 0]) # turn right at a small angle
            lights.set_off()
            lights.set_bottom_left_color([50, 50, 0])
        elif gs_data == [0, 0, 1]:
            car.set_motors_power([MOTOR_POWER, -MOTOR_POWER, MOTOR_POWER, -MOTOR_POWER]) # turn right at a small angle
            lights.set_off()
            lights.set_bottom_left_color([100, 5, 0])
        elif gs_data == [1, 1, 0]:
            car.set_motors_power([0, MOTOR_POWER, 0, MOTOR_POWER]) # turn left at a small angle
            lights.set_off()
            lights.set_bottom_right_color([50, 50, 0])
        elif gs_data == [1, 0, 0]:
            car.set_motors_power([-MOTOR_POWER, MOTOR_POWER, -MOTOR_POWER, MOTOR_POWER]) # turn left at a small angle
            lights.set_off()
            lights.set_bottom_right_color([100, 0, 0])

try:
    line_track()
finally:
    car.move("stop")
    lights.set_off()