Download and Run the Code
Download the Code Install 3 Libraries
We can download the files by using git clone in the command line.
Install robot-hat library first.
cd /home/pi/
git clone https://github.com/sunfounder/robot-hat.git
cd robot-hat
sudo python3 setup.py install
Note
Running setup.py will download some necessary components. You may fail to download due to network problems. You may need to download again at this time.
In the following cases, enter Y and press Enter.
Then download the code and install vilib library.
cd /home/pi/
git clone https://github.com/sunfounder/vilib.git
cd vilib
sudo python3 setup.py install
Then download the code and install picrawler library.
cd /home/pi/
git clone -b v2.0 https://github.com/sunfounder/picrawler.git
cd picrawler
sudo python3 setup.py install
This step will take a little time, so please be patient.
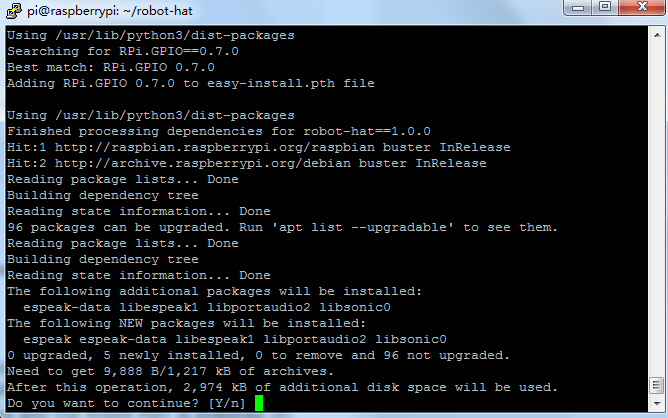
Finally, you need to run the script i2samp.sh to install the components required by the i2s amplifier, otherwise the pislot will have no sound.
cd /home/pi/picrawler
sudo bash i2samp.sh

Type y and press Enter to continue running the script.
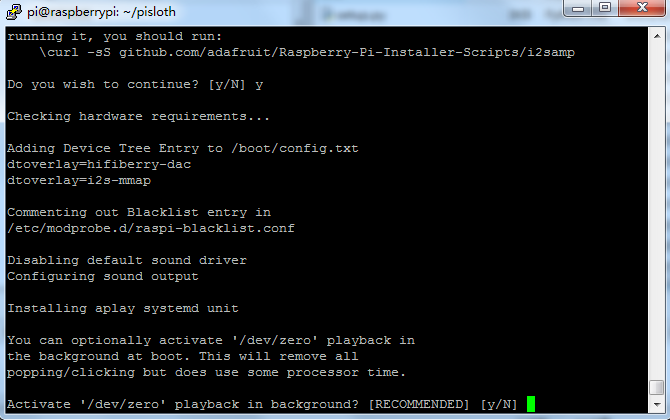
Type y and press Enter to run /dev/zero in the background.
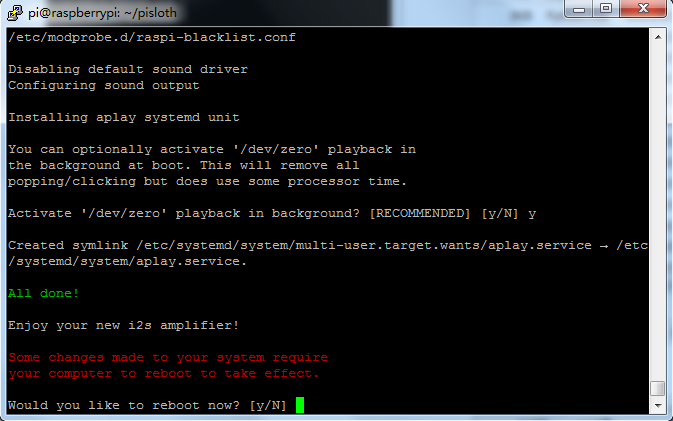
Type y and press Enter to restart the machine.
Note
If there is no sound after restarting, you may need to run the i2samp.sh script multiple times.
Run servo_zeroing.py
Because the servo is powered by the power supply on the Robot HAT, when you only supply power to the Raspberry Pi, the servo will not work. You need to make sure that the batterries are placed in the battery box and the Robot HAT is powered on.

Before you run any code, enable your Raspberry Pi’s I2C port, see: I2C Configuration.
Now,run the servo_zeroing.py in the examples/ folder.
cd /home/pi/picrawler/examples
sudo python3 servo_zeroing.py
To make sure you can see that the servo has been set to 0°, you can insert a rocker arm in the servo shaft first and then turn the servo to another angle.
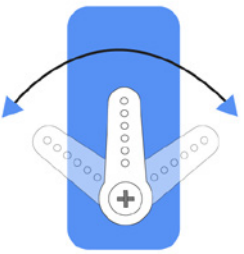
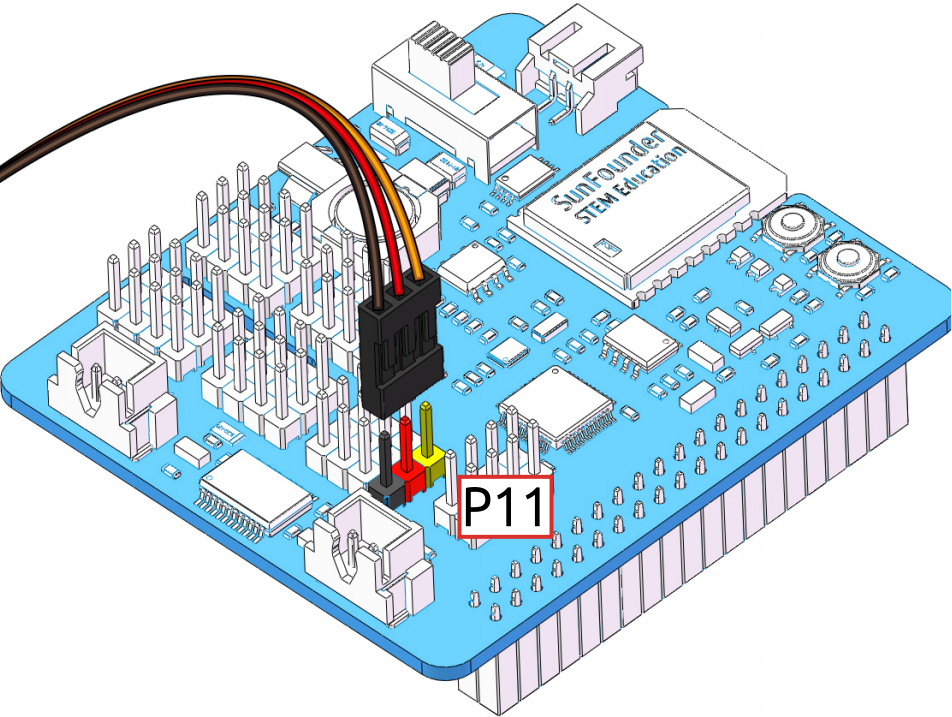
Now follow the diagram below and insert the servo to the P11 position.
So now if the servo arm returns after the servo arm returns, this function will take effect. If not, If not, please check the insertion direction of the servo cable and re-run the code.
Note
Before assembling each servo, you need to plug the servo pin into P11 and keep the power on.