Temperature and Humidity Acquisition
In this project, we use DHT11 to read the surrounding temperature and humidity, and then display them on Cloud4RPi.
Experimental Procedures
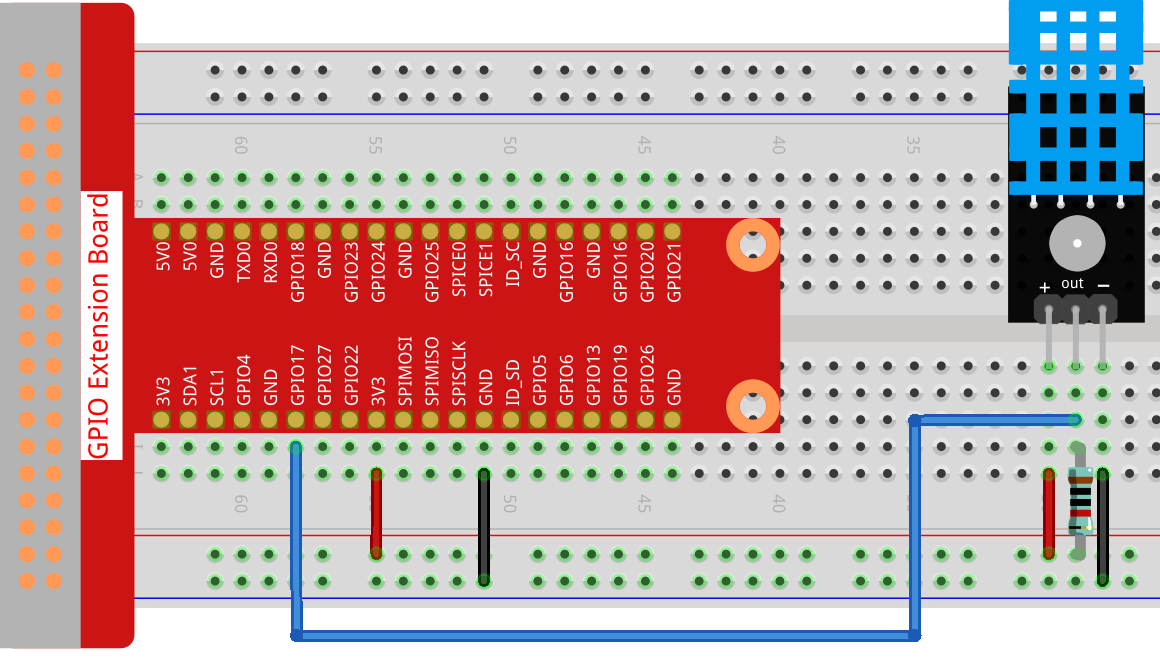
Build the circuit.
Open the code.
cd /home/pi/cloud4rpi-raspberrypi-python
sudo nano temperature_and_humidity_acquisition.py
Find the line below and fill in the correct device token.
DEVICE_TOKEN = '__YOUR_DEVICE_TOKEN__'
Run the code.
sudo python3 temperature_and_humidity_acquisition.py
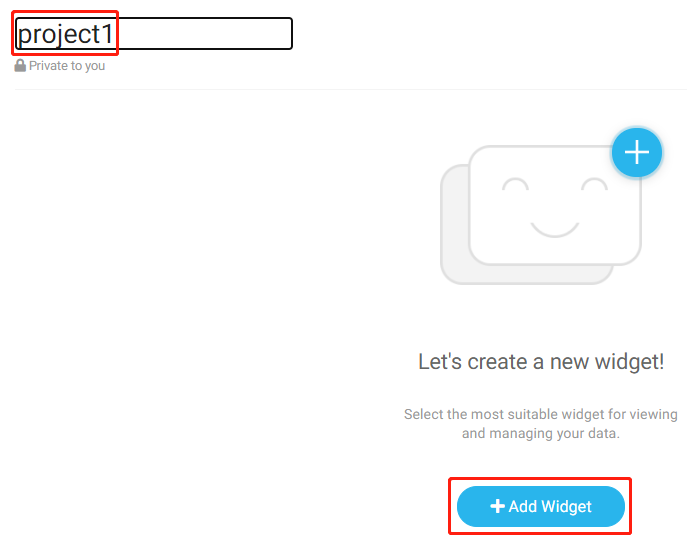
Go to Cloud4RPi, add a new Control Panel named project1, and click Add Widget.
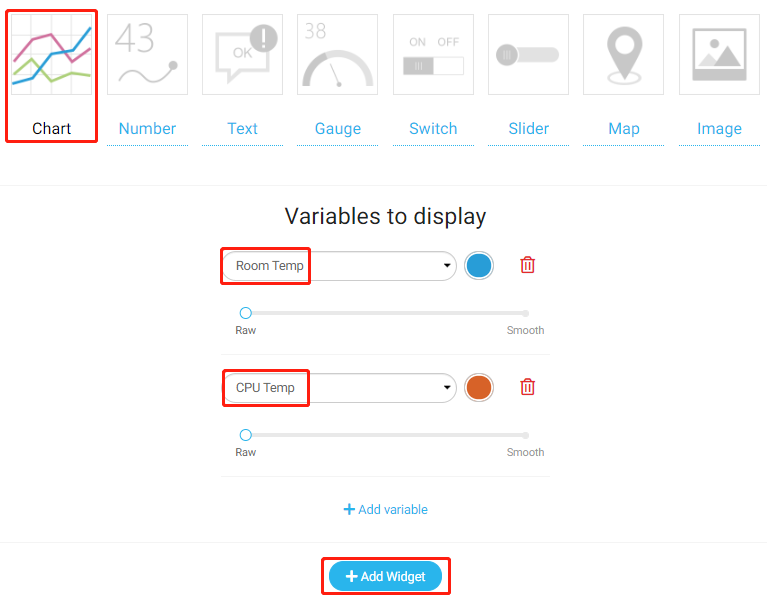
Select a Chart widget with both Room Temp and CPU Temp as the variables to be displayed.
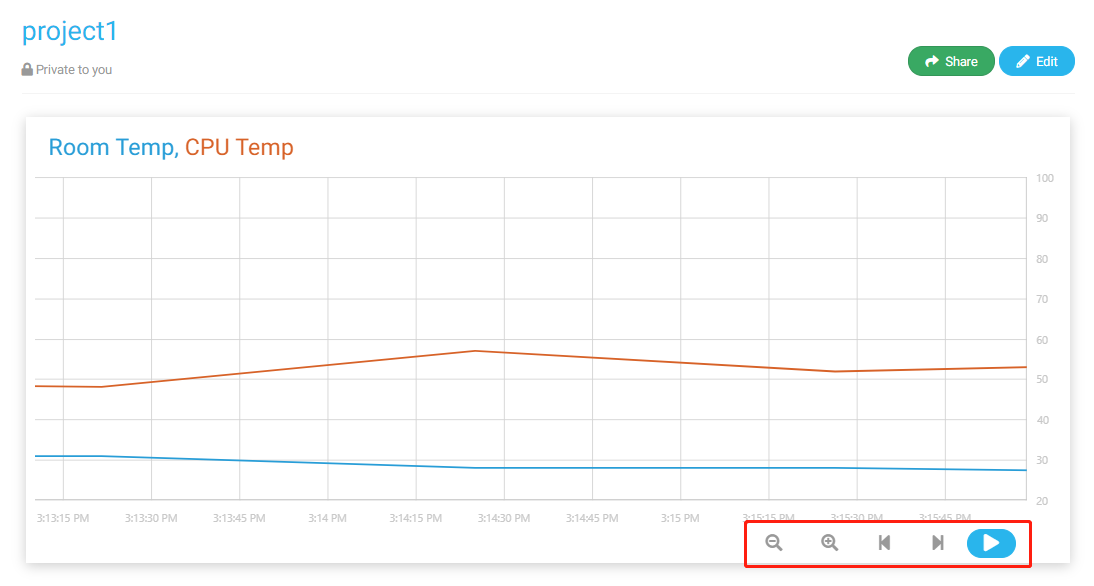
Once added, you will see the temperature (Room Temp) and humidity (CPU Temp) curves over time, and you can adjust the display window by clicking on the options at the bottom right.
Code Explanation
dht11 = DHT11.DHT11(17)
Instantiate a dht11 object.
def getTem():
    result = dht11.get_result()
    while True:
        if result:
            break
        else:
            result = dht11.get_result()
    return result[1]
The temperature (result[1]) is obtained by this function, and the function will not be interrupted until the reading is successful.
def getHum():
result = dht11.get_result()
while True:
    if result:
        break
    else:
        result = dht11.get_result()
return result[0]
The humidity (result[0]) is obtained by this function, and the function will not be interrupted until the reading is successful.
variables = {
    'Room Temp': {
        'type': 'numeric',
        'bind': getTem
    },
    'CPU Temp': {
        'type': 'numeric',
        'bind': getHum
    },
}
The temperature is stored in the 'bind' of the 'Room Temp' key, and the humidity is stored in the 'bind' of the 'CPU Temp' key. When Cloud4RPi receives the variables dictionary, it will convert it into a JavaScript object that can be recognized by the web page.