1.4 Install the ESP32 Board (Important)
To program the ESP32 microcontroller, you need to install the ESP32 board package in the Arduino IDE. Follow the step-by-step guide below:
Install the ESP32 Board
In the Board Manager window, type ESP32 in the search bar. Click the Install button to start the installation process. This will download and install the ESP32 board package.
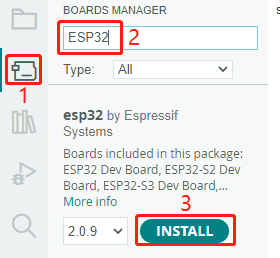
Congratulations! You have successfully installed the ESP32 board package in the Arduino IDE.
Upload the Code
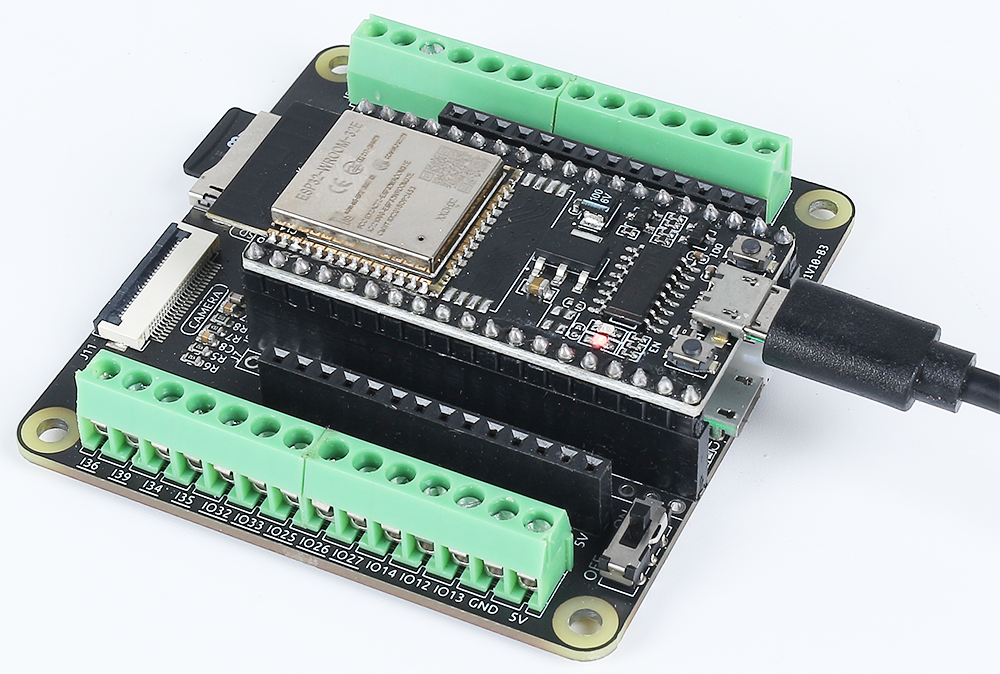
Now, connect the ESP32 WROOM 32E to your computer using a Micro USB cable or USB Type-C cable.
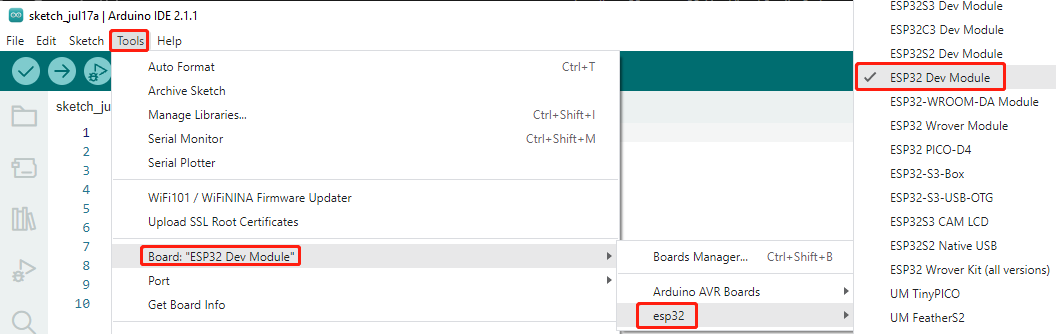
Then select the correct board, ESP32 Dev Module, by clicking Tools -> Board -> esp32.
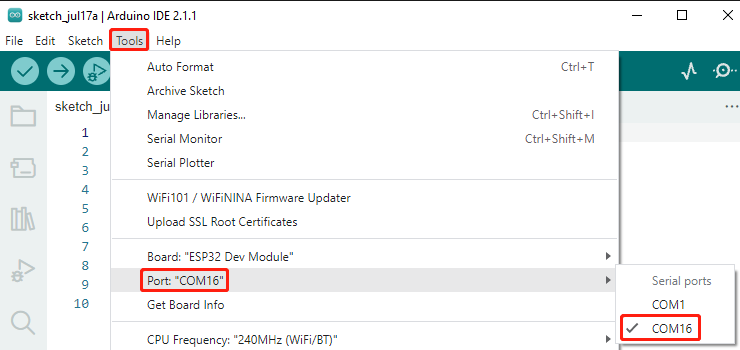
If your ESP32 is connected to the computer, you can choose the correct port by clicking Tools -> Port.
In addition, Arduino 2.0 introduced a new way to quickly select the board and port. For ESP32, it is usually not recognized automatically, so you need to click on Select other board and port.
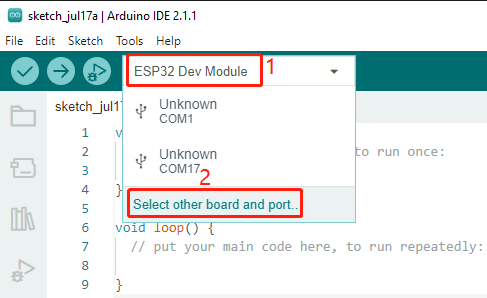
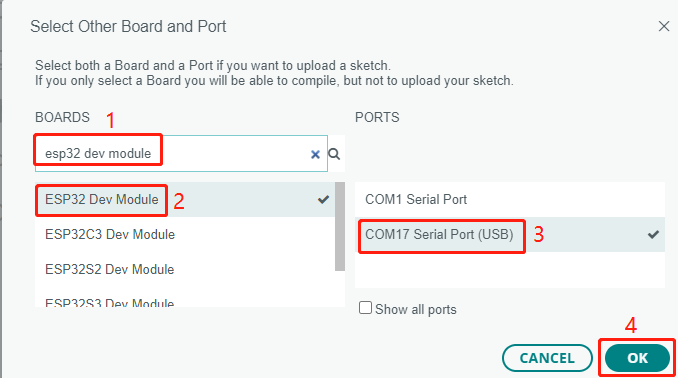
In the search box, type ESP32 Dev Module and select it when it appears. Then, choose the correct port and click OK.
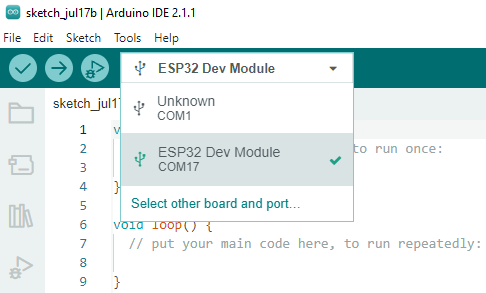
Afterwards, you can select it through this quick access window. Note that during later use, it may happen that ESP32 is not available in the quick access window, and you will need to repeat the previous two steps.
Both methods allow you to select the correct board and port, so choose whichever is more convenient for you. Now everything is ready to upload the code to the ESP32.