Setup Your Home Assistant
Step1
This step is about enabling the I2C interface to start the Pironman OLED.
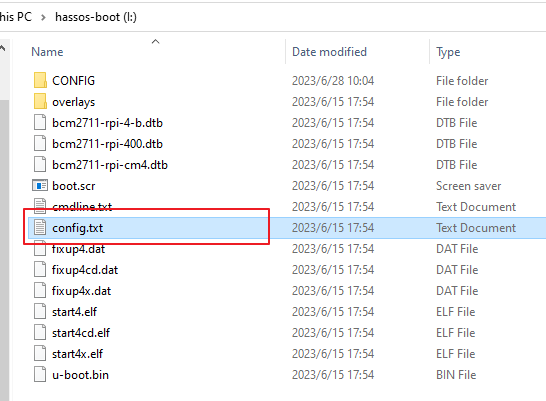
Open File Explorer and access the SD card named Hassio-boot
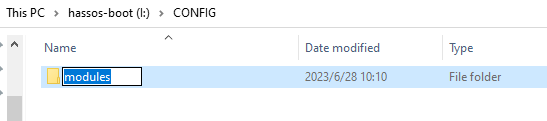
Create a new folder named CONFIG in the root partition.

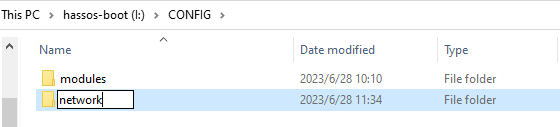
Inside the CONFIG folder, create a folder named modules.
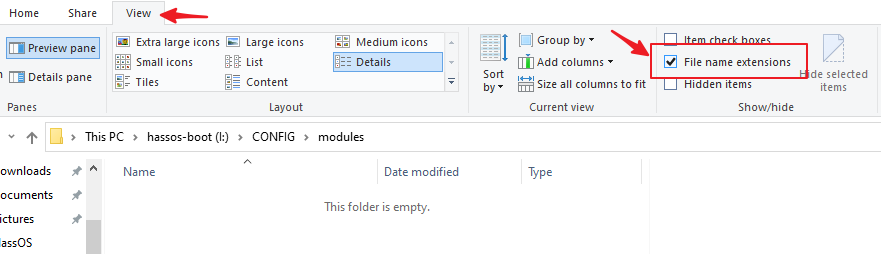
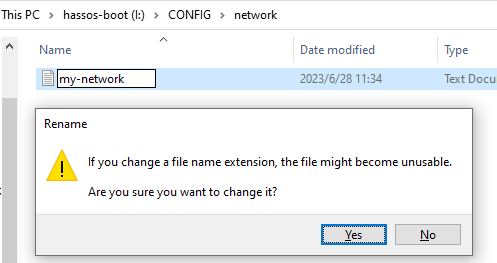
Enable file extension display.
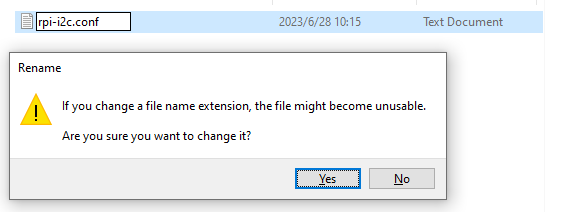
Create a text file inside the modules folder and rename it to rpi-i2c.conf . You will be prompted to confirm the extension change, select “Yes”.
Open rpi-i2c.conf with Notepad and add the following content:
i2c-dev
Save and close the file.
Step2
This step involves configuring the RGB LED.
Open the file named config.txt in the Hassio-boot directory.
Add the following content at the bottom:
dtparam=i2c_vc=on
dtparam=i2c_arm=on
dtoverlay=gpio-poweroff,gpio_pin=26,active_low=0
dtoverlay=gpio-ir,gpio_pin=13
Due to the usage of GPIO12 by WS2812, which is also employed for audio output, it’s necessary to disable the audio by adding the following command to the config.txt file.
dtparam=audio=off
Save and close the file.
Step3
Next, we will configure WiFi for Pironman.
Note
If you intend to use a wired connection for network access, you can skip this step.
Create a folder named network inside the CONFIG folder.
Inside the network folder, create a new text file named my-network (without extension).
In the my-network file, write the following text, replacing MY_SSID and MY_WLAN_SECRET_KEY with your own network’s SSID and password:
[connection]
id=my-network
uuid=72111c67-4a5d-4d5c-925e-f8ee26efb3c3
type=802-11-wireless

[802-11-wireless]
mode=infrastructure
ssid=MY_SSID
# Uncomment below if your SSID is not broadcasted
#hidden=true

[802-11-wireless-security]
auth-alg=open
key-mgmt=wpa-psk
psk=MY_WLAN_SECRET_KEY

[ipv4]
method=auto

[ipv6]
addr-gen-mode=stable-privacy
method=auto
Save and exit the file.
Step4
Remove the microSD card from your computer and insert it into the Raspberry Pi. Then, connect the power (and Ethernet cable if needed).
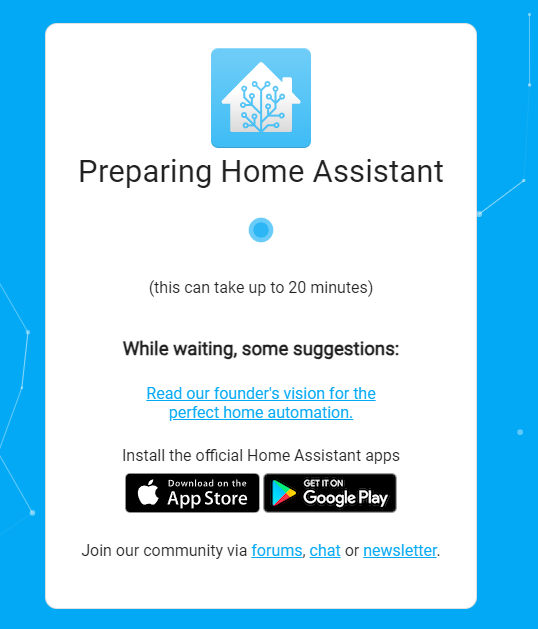
Go back to your computer and navigate to homeassistant.local:8123 ,
or if that doesn’t work, you can find the IP address by checking your router.
During the first use of Home Assistant, you may need to wait for some time as it performs initial setup.
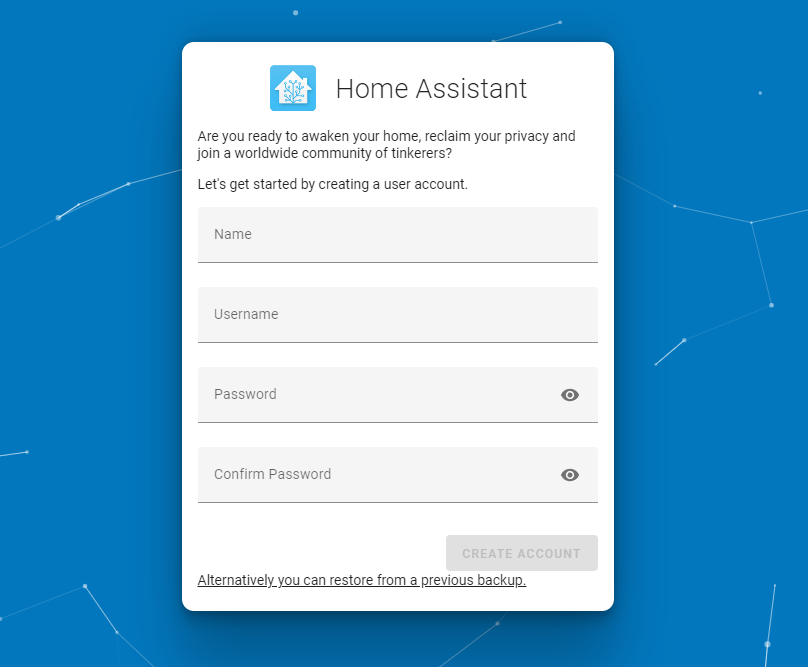
Step5
Next, you will be prompted to create the first account.
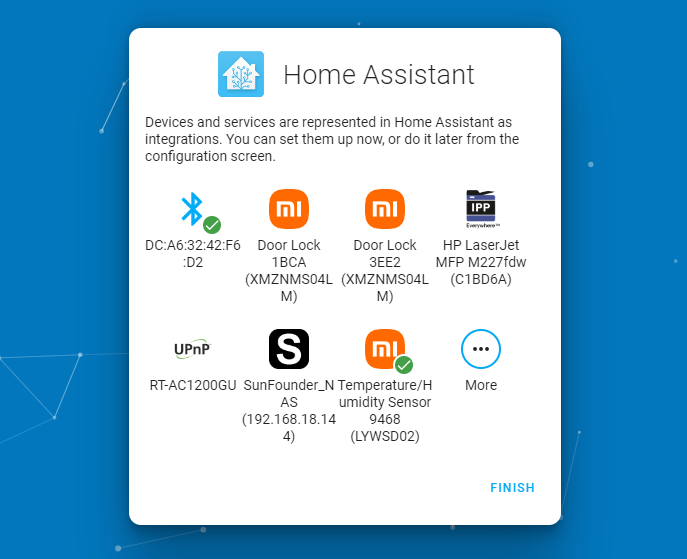
The system will prompt you to install some detected devices, but for now, you can skip this by clicking FINISH.
Step6
Now we will install the Pironman addon for Home Assistant.
Please click the button below to quickly add it. Then proceed to step7 .

Alternatively, follow the steps below to install manually:
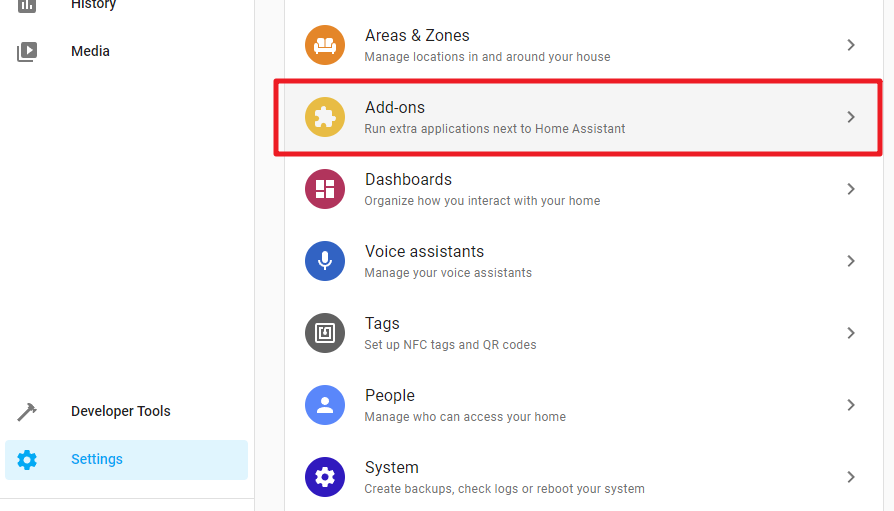
In Home Assistant, navigate to Settings -> Addons.
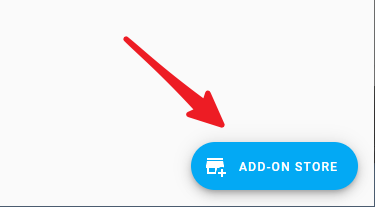
Click the “Addon Store” button in the lower right corner.
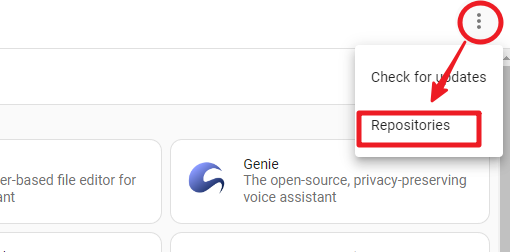
Click the menu button in the top right corner and select “Repositories”.
Type the repository URL:
https://github.com/sunfounder/home-assistant-addon, and click Add. After adding the SunFounder repository, close the popup window.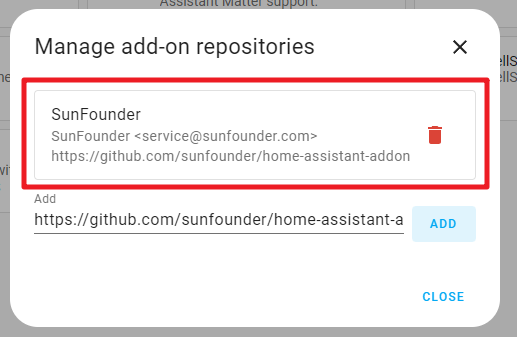
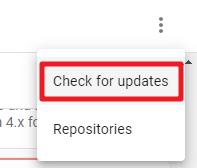
Click the menu button again, and click “Check for updates”.
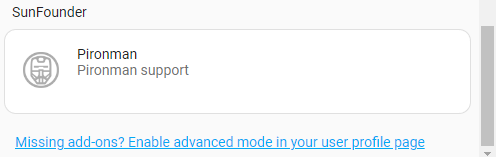
After a few seconds, the Pironman addon will appear at the end of the addon store. If not, try refreshing the page.
Step7
Enter the Pironman addon and click Install. This process may take a few minutes.

Currently, you need to disable protection mode to allow the addon to access hardware information. Find “Protection Mode” and turn it off. Then, start (or restart) the addon.
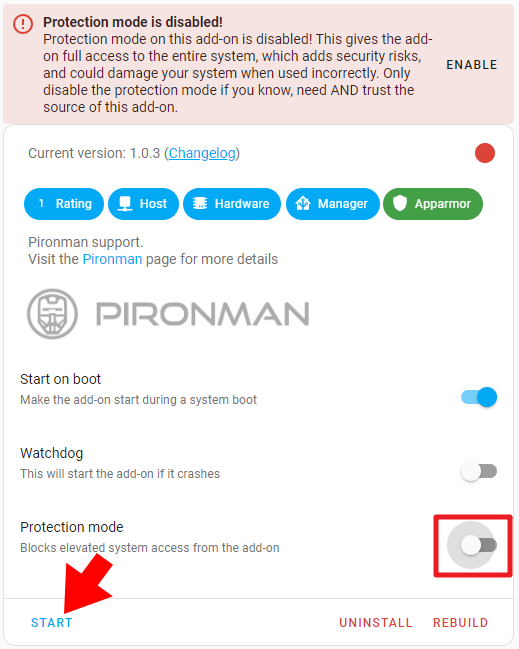
At this point, you should see the Pironman’s lighting effect and the OLED display light up. This indicates that the configuration is complete.
Troubleshooting
If your OLED or RGB strip fails to start properly, please go to the “Log” page.
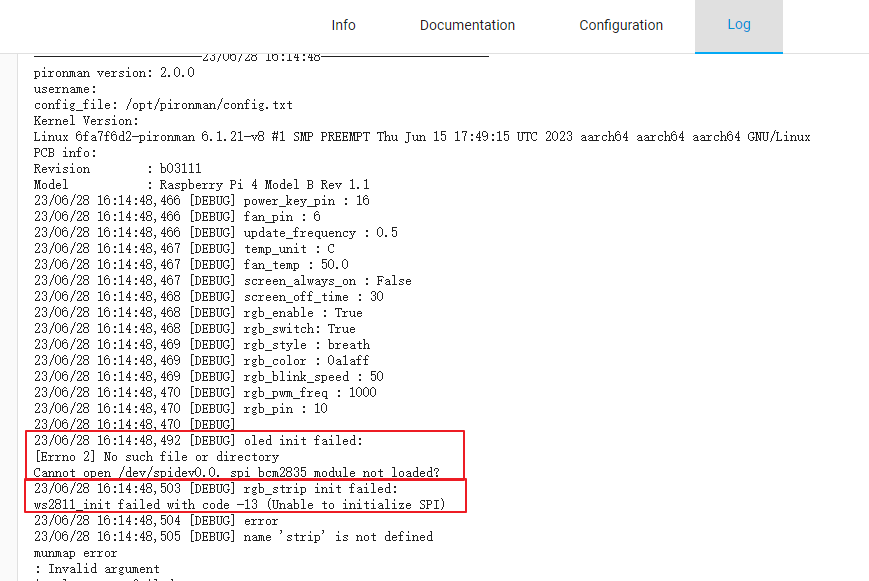
[DEBUG] oled init failed:
[Errno 2] No such file or directory
Cannot open /dev/spidev0.0. spi_bcm2835 module not loaded?
[DEBUG] rgb_strip init failed:
ws2811_init failed with code -13 (Unable to initialize SPI)
If you see the above logs, it means the configuration was not successful. Please follow the steps below:
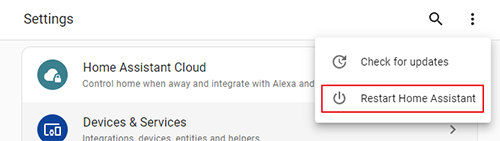
First, shut down Home Assistant.
Warning
If you force power off, it may damage HassOS. Follow the shutdown steps below:
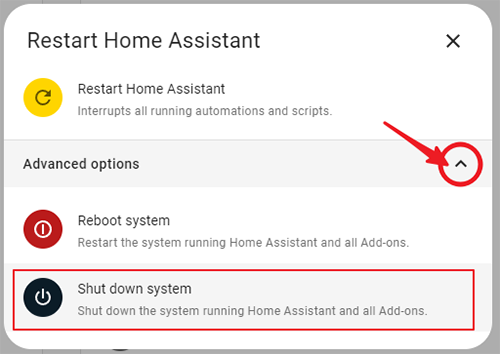
Then, wait for one minute before unplugging the power.
Repeat Step 1 and Step 2 of this section (Setup Your Home Assistant) .
Insert the SD card back into Pironman, connect the power, and wait for a minute or two. Then, in your browser, navigate to
http://homeassistant.local:8123/. Click on START in the Pironman Addon.Wait for a moment, and you should see the Pironman (RGB strip & OLED) light up.
Addon Configuration
You can customize the Pironman effects on the Configuration page.
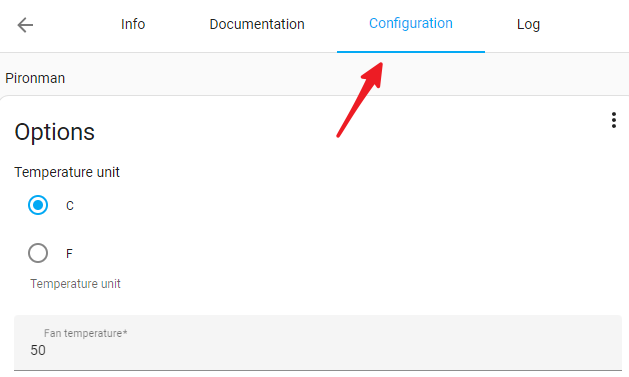
Here, you can modify:
The temperature display unit on the OLED.
The duration of the OLED screen brightness.
The temperature at which the fan will start working.
The color and blinking mode of the RGB strip.
After making the desired changes, click “SAVE” to apply the settings.