Computer Vision
This project will officially enter the field of computer vision!
Run the Code
cd /home/pi/picrawler/examples
sudo python3 display.py
View the Image
After the code runs, the terminal will display the following prompt:
No desktop !
* Serving Flask app "vilib.vilib" (lazy loading)
* Environment: production
WARNING: Do not use the development server in a production environment.
Use a production WSGI server instead.
* Debug mode: off
* Running on http://0.0.0.0:9000/ (Press CTRL+C to quit)
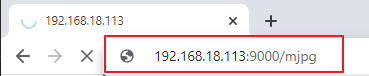
Then you can enter http://<your IP>:9000/mjpg in the browser to view the video screen. such as: https://192.168.18.113:9000/mjpg
After the program runs, you will see the following information in the final:
Input key to call the function!
q: Take photo
1: Color detect : red
2: Color detect : orange
3: Color detect : yellow
4: Color detect : green
5: Color detect : blue
6: Color detect : purple
0: Switch off Color detect
r:Scan the QR code
f: Switch ON/OFF face detect
s: Display detected object information
Please follow the prompts to activate the corresponding functions.
Take Photo
Type
qin the terminal and press Enter. The picture currently seen by the camera will be saved (if the color detection function is turned on, the mark box will also appear in the saved picture). You can see these photos from the/home/pi/Pictures/PiCrawler/directory of the Raspberry Pi. You can use tools such as Filezilla Software to transfer photos to your PC.Color Detect
Entering a number between
1~6will detect one of the colors in “red, orange, yellow, green, blue, purple”. Enter0to turn off color detection.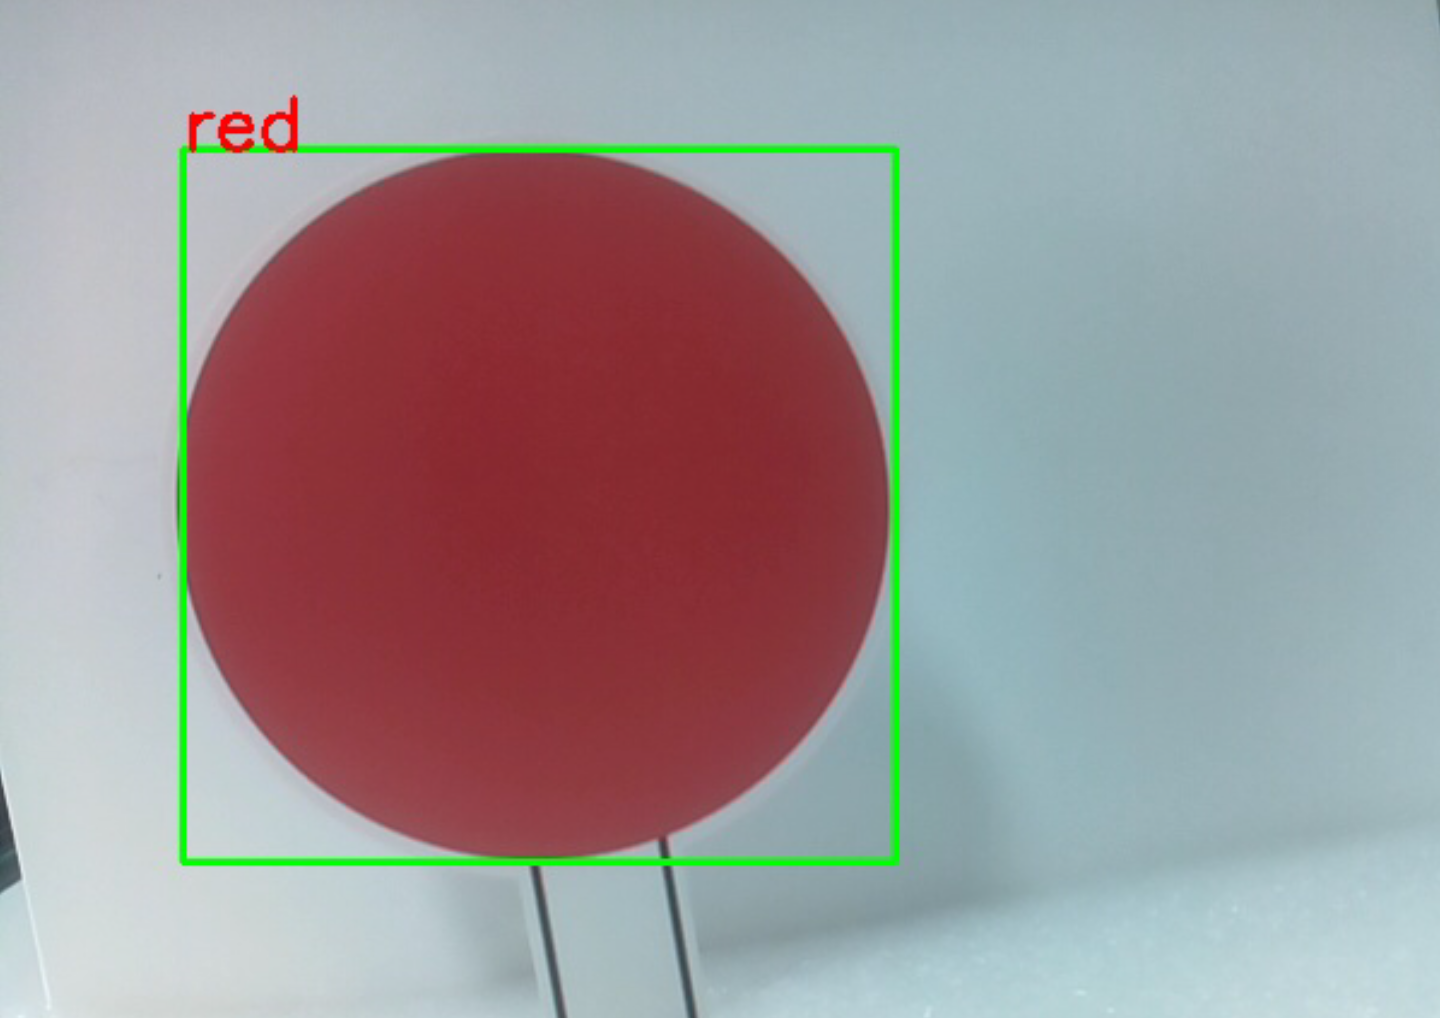
Note
You can download and print the
PDF Color Cardsfor color detection.Face Detect
Type
fto turn on face detection.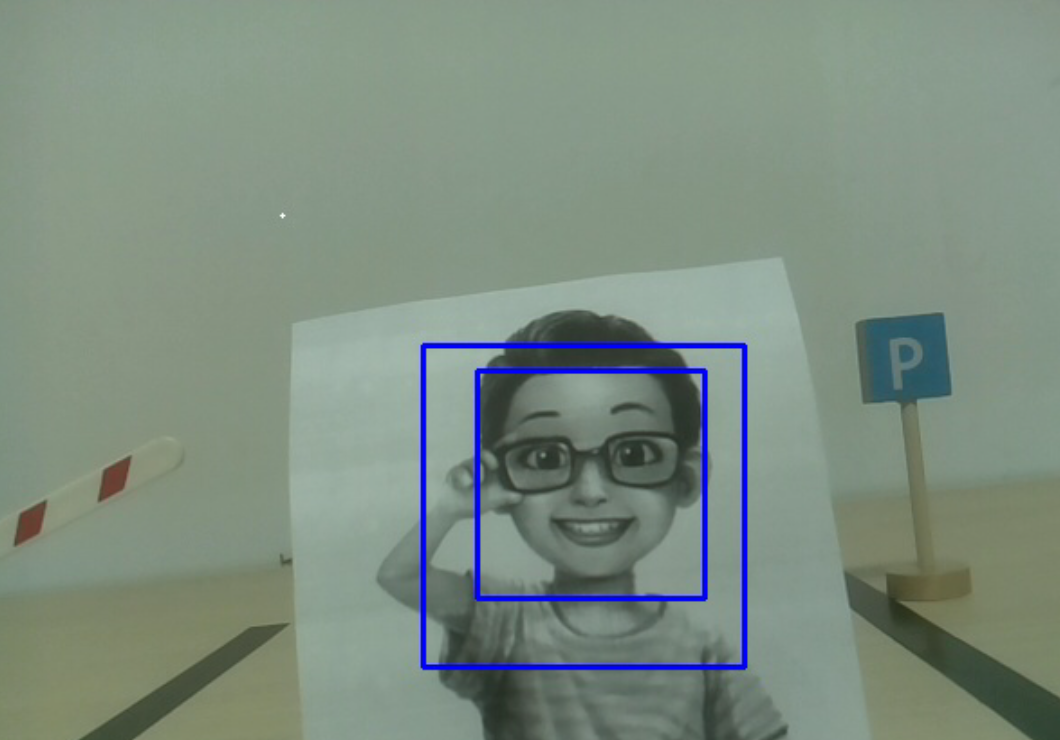
QR Code Detect
Enter
rto open the QR code recognition. No other operations can be performed before the QR code is recognized. The decoding information of the QR code will be printed in the terminal.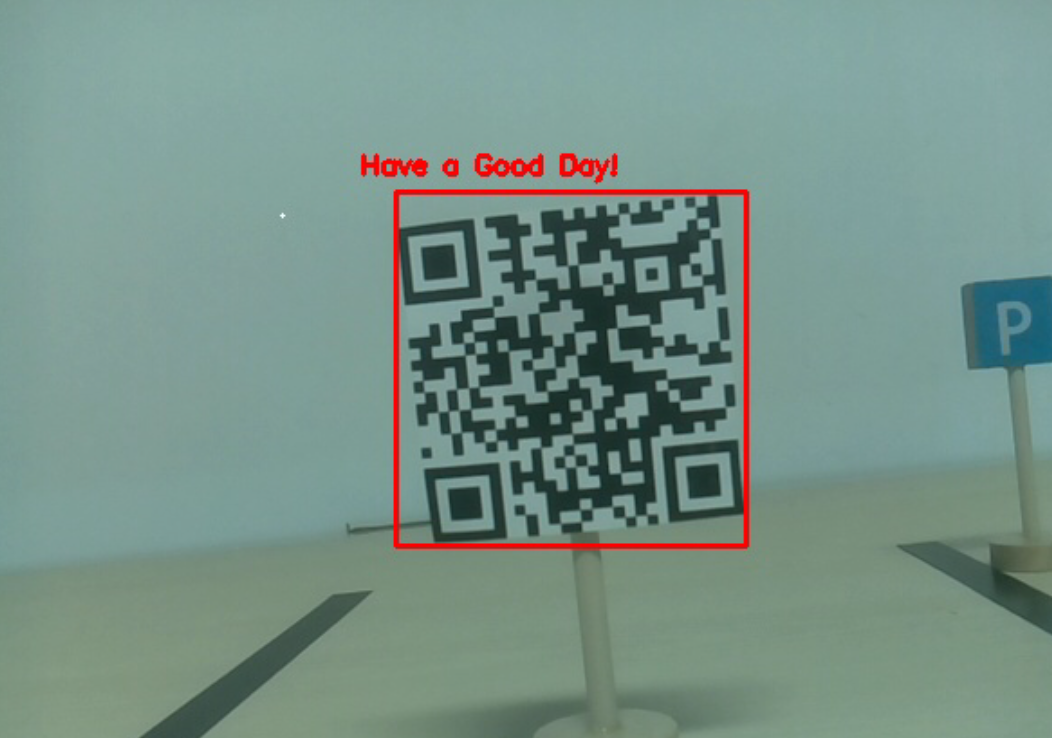
Display Information
Entering
swill print the information of the face detection (and color detection) target in the terminal. Including the center coordinates (X, Y) and size (Weight, height) of the measured object.
Code
from pydoc import text
from vilib import Vilib
from time import sleep, time, strftime, localtime
import threading
import readchar


flag_face = False
flag_color = False
qr_code_flag = False

manual = '''
Input key to call the function!
    q: Take photo
    1: Color detect : red
    2: Color detect : orange
    3: Color detect : yellow
    4: Color detect : green
    5: Color detect : blue
    6: Color detect : purple
    0: Switch off Color detect
    r:Scan the QR code
    f: Switch ON/OFF face detect
    s: Display detected object information
'''

color_list = ['close', 'red', 'orange', 'yellow',
        'green', 'blue', 'purple',
]

def face_detect(flag):
    print("Face Detect:" + str(flag))
    Vilib.face_detect_switch(flag)


def qrcode_detect():
    global qr_code_flag
    if qr_code_flag == True:
        Vilib.qrcode_detect_switch(True)
        print("Waitting for QR code")

    text = None
    while True:
        temp = Vilib.detect_obj_parameter['qr_data']
        if temp != "None" and temp != text:
            text = temp
            print('QR code:%s'%text)
        if qr_code_flag == False:
            break
        sleep(0.5)
    Vilib.qrcode_detect_switch(False)


def take_photo():
    _time = strftime('%Y-%m-%d-%H-%M-%S',localtime(time()))
    name = 'photo_%s'%_time
    path = "/home/pi/Pictures/PiCrawler/"
    Vilib.take_photo(name, path)
    print('photo save as %s%s.jpg'%(path,name))


def object_show():
    global flag_color, flag_face

    if flag_color is True:
        if Vilib.detect_obj_parameter['color_n'] == 0:
            print('Color Detect: None')
        else:
            color_coodinate = (Vilib.detect_obj_parameter['color_x'],Vilib.detect_obj_parameter['color_y'])
            color_size = (Vilib.detect_obj_parameter['color_w'],Vilib.detect_obj_parameter['color_h'])
            print("[Color Detect] ","Coordinate:",color_coodinate,"Size",color_size)

    if flag_face is True:
        if Vilib.detect_obj_parameter['human_n'] == 0:
            print('Face Detect: None')
        else:
            human_coodinate = (Vilib.detect_obj_parameter['human_x'],Vilib.detect_obj_parameter['human_y'])
            human_size = (Vilib.detect_obj_parameter['human_w'],Vilib.detect_obj_parameter['human_h'])
            print("[Face Detect] ","Coordinate:",human_coodinate,"Size",human_size)


def main():
    global flag_face, flag_color, qr_code_flag
    qrcode_thread = None

    Vilib.camera_start(vflip=False,hflip=False)
    Vilib.display(local=True,web=True)
    print(manual)

    while True:
        # readkey
        key = readchar.readkey()
        key = key.lower()
        # take photo
        if key == 'q':
            take_photo()
        # color detect
        elif key != '' and key in ('0123456'):  # '' in ('0123') -> True
            index = int(key)
            if index == 0:
                flag_color = False
                Vilib.color_detect('close')
            else:
                flag_color = True
                Vilib.color_detect(color_list[index]) # color_detect(color:str -> color_name/close)
            print('Color detect : %s'%color_list[index])
        # face detection
        elif key =="f":
            flag_face = not flag_face
            face_detect(flag_face)
        # qrcode detection
        elif key =="r":
            qr_code_flag = not qr_code_flag
            if qr_code_flag == True:
                if qrcode_thread == None or not qrcode_thread.is_alive():
                    qrcode_thread = threading.Thread(target=qrcode_detect)
                    qrcode_thread.setDaemon(True)
                    qrcode_thread.start()
            else:
                if qrcode_thread != None and qrcode_thread.is_alive():
                # wait for thread to end
                    qrcode_thread.join()
                    print('QRcode Detect: close')
        # show detected object information
        elif key == "s":
            object_show()

        sleep(0.5)


if __name__ == "__main__":
    main()
How it works?
The first thing you need to pay attention to here is the following function. These two functions allow you to start the camera.
Vilib.camera_start()
Vilib.display()
Functions related to “object detection”:
Vilib.face_detect_switch(True): Switch ON/OFF face detectionVilib.color_detect(color): For color detection, only one color detection can be performed at the same time. The parameters that can be input are:"red","orange","yellow","green","blue","purple"Vilib.color_detect_switch(False): Switch OFF color detectionVilib.qrcode_detect_switch(False): Switch ON/OFF QR code detection, Returns the decoded data of the QR code.Vilib.gesture_detect_switch(False): Switch ON/OFF gesture detectionVilib.traffic_sign_detect_switch(False): Switch ON/OFF traffic sign detection
The information detected by the target will be stored in the detect_obj_parameter = Manager().dict() dictionary.
In the main program, you can use it like this:
Vilib.detect_obj_parameter['color_x']
The keys of the dictionary and their uses are shown in the following list:
color_x: the x value of the center coordinate of the detected color block, the range is 0~320color_y: the y value of the center coordinate of the detected color block, the range is 0~240color_w: the width of the detected color block, the range is 0~320color_h: the height of the detected color block, the range is 0~240color_n: the number of detected color patcheshuman_x: the x value of the center coordinate of the detected human face, the range is 0~320human_y: the y value of the center coordinate of the detected face, the range is 0~240human_w: the width of the detected human face, the range is 0~320human_h: the height of the detected face, the range is 0~240human_n: the number of detected facestraffic_sign_x: the center coordinate x value of the detected traffic sign, the range is 0~320traffic_sign_y: the center coordinate y value of the detected traffic sign, the range is 0~240traffic_sign_w: the width of the detected traffic sign, the range is 0~320traffic_sign_h: the height of the detected traffic sign, the range is 0~240traffic_sign_t: the content of the detected traffic sign, the value list is [‘stop’,’right’,’left’,’forward’]gesture_x: The center coordinate x value of the detected gesture, the range is 0~320gesture_y: The center coordinate y value of the detected gesture, the range is 0~240gesture_w: The width of the detected gesture, the range is 0~320gesture_h: The height of the detected gesture, the range is 0~240gesture_t: The content of the detected gesture, the value list is [“paper”,”scissor”,”rock”]qr_date: the content of the QR code being detectedqr_x: the center coordinate x value of the QR code to be detected, the range is 0~320qr_y: the center coordinate y value of the QR code to be detected, the range is 0~240qr_w: the width of the QR code to be detected, the range is 0~320qr_h: the height of the QR code to be detected, the range is 0~320