Calibrate the PiCrawler
After you connect the PiCrawler, there will be a calibration step. This is because of possible deviations in the installation process or limitations of the servos themselves, making some servo angles slightly tilted, so you can calibrate them in this step.
But if you think the assembly is perfect and no calibration is needed, you can also skip this step.
Note
If you want to recalibrate the robot during use, please follow the steps below.
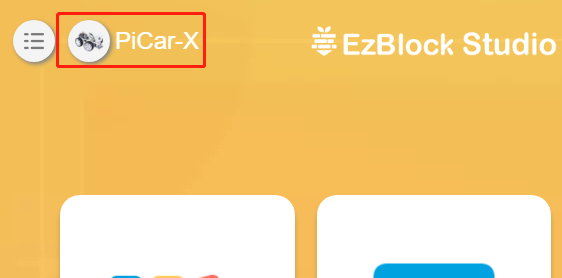
You can open the product detail page by clicking the connect icon in the upper left corner.
Click the Settings button.
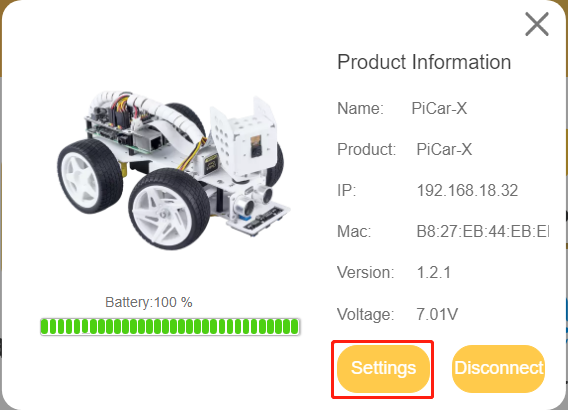
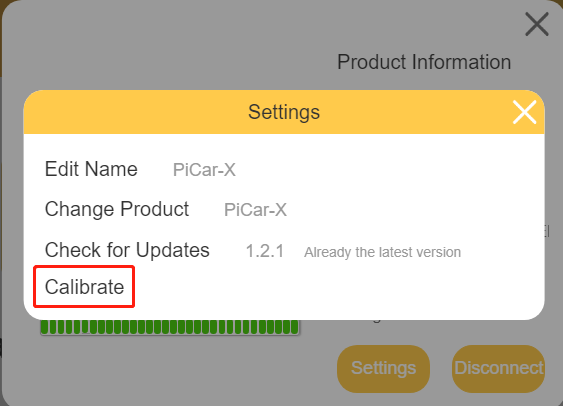
On this page, you can change the product name, product type, view the app version or calibrate the robot. Once you click on Calibrate you can go to the calibration page.
The calibration steps are as follows:
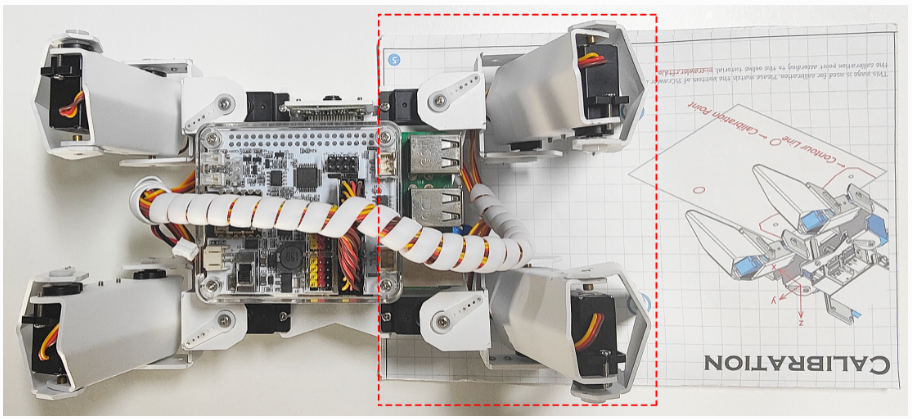
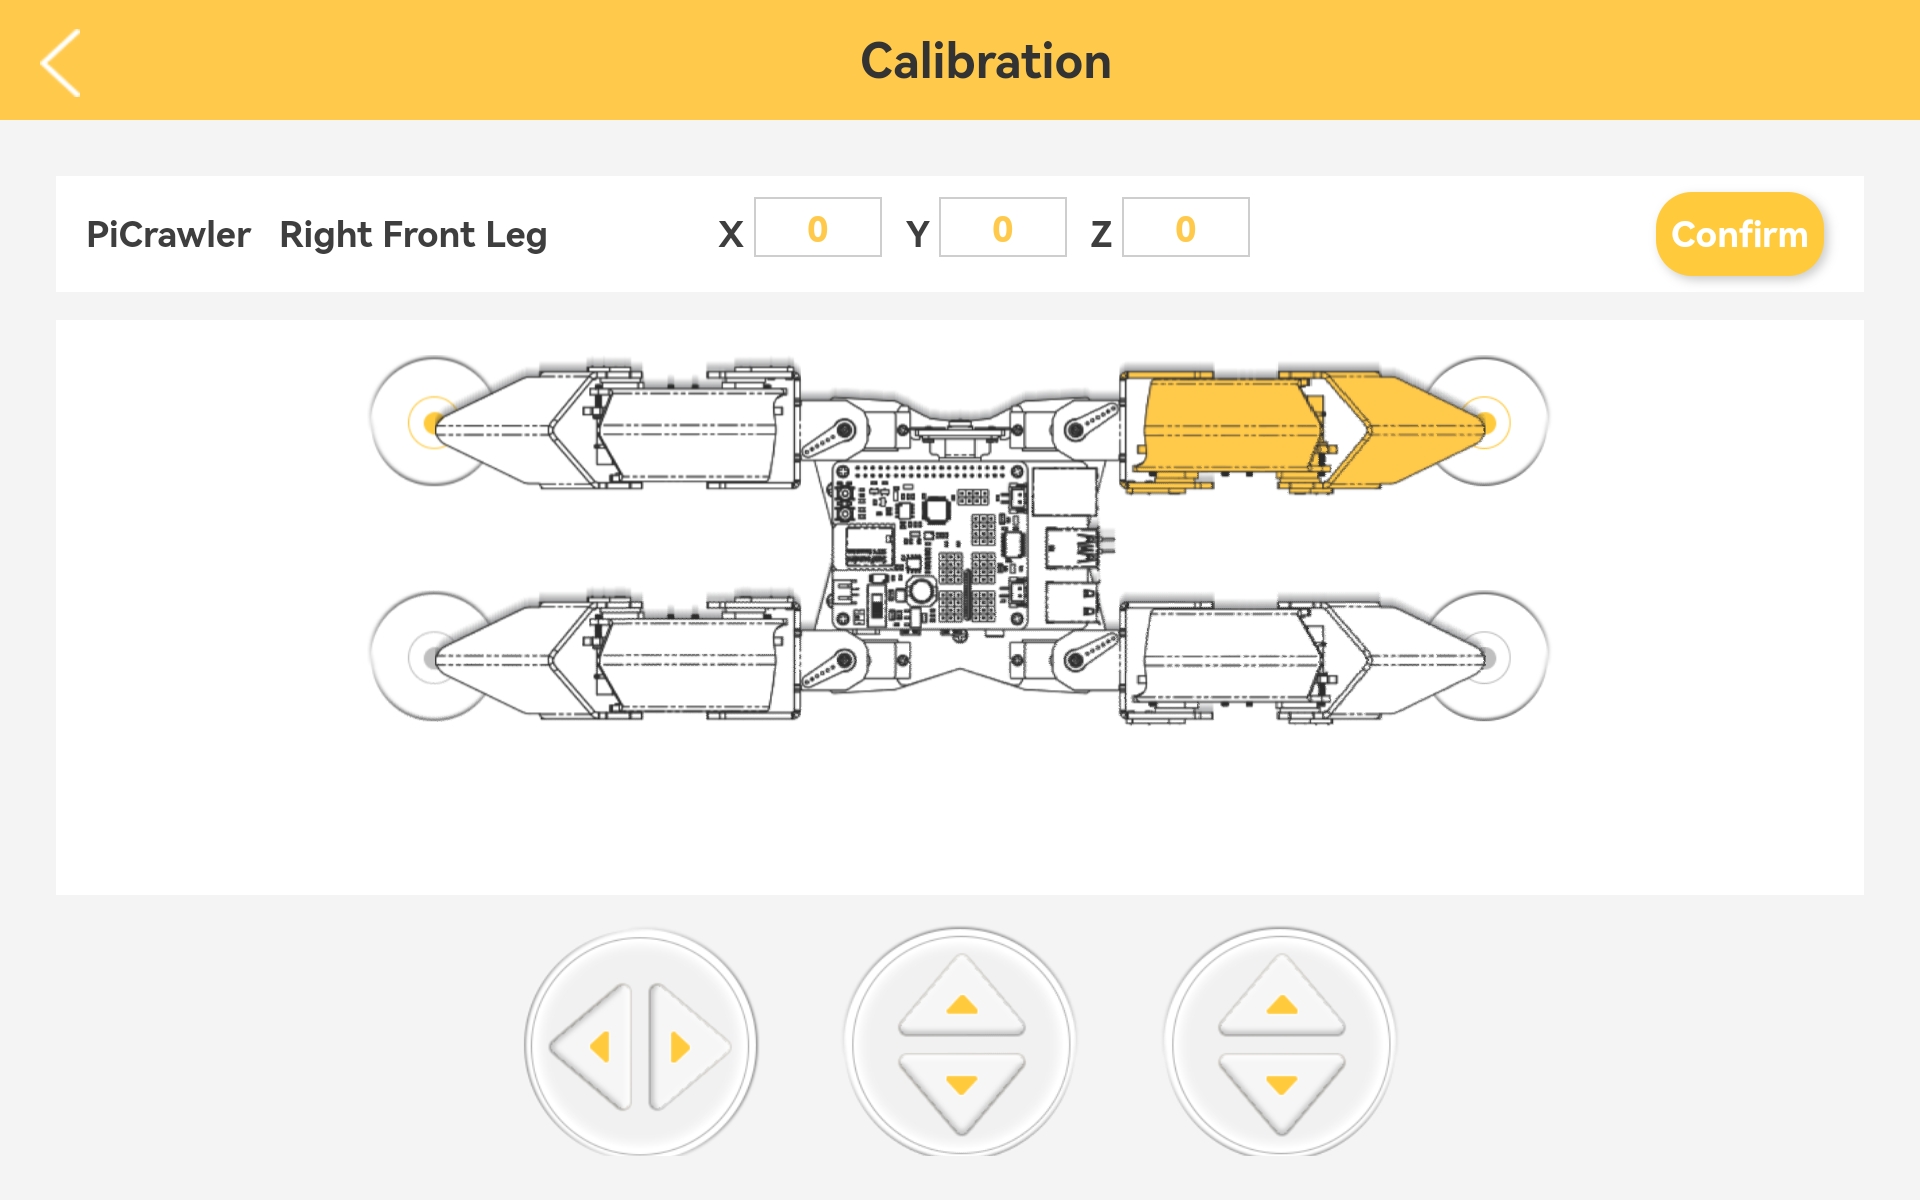
Take out the assembly leaflet, turn it to the last page, and lay it flat on the table. Then place the PiCrawler as shown below, aligning its bottom with the outline on the calibration chart.

Go back to EzBlock Studio, select one foot on the left, then click the 3 sets of X, Y and Z buttons, and let the toes slowly align with the calibration point.
The calibration buttons are used for fine-tuning, and you need to press these buttons multiple times to see the pin position change.
It is recommended to click the up button of Z axis to lift the foot up first, then go to adjust X and Y.
Align the other foot on the left in the same way.

After calibrating the left two feet, change the calibration paper to the right, and calibrate the right two feet according to the above method.