4. Run Script Online (Important)
In each project you will be prompted to copy the code into Thonny or open the xxx.py script in the pico_4wd_car-v2.0\examples path. Then run it.
If you are not familiar with operating on Thonny, you can refer to the following tutorial to learn how to open, create, run or save scripts.
However, you must first download the package and upload the library, as described in 3. Upload the Libraries to Pico (Optional).
Note
Here online refers to having the Raspberry Pi Pico plugged into your computer and running the script by clicking the  button or pressing
 F5.
The next project 5. Run Script Offline(Important) will show you how to make the script run when the Raspberry Pi Pico is booted.
Open and Run Script Directly
Open Thonny IDE and plug the Pico into your computer with a micro USB cable and click on the “MicroPython (Raspberry Pi Pico).COMxx” interpreter in the bottom right corner.

Open Script
For example,
grayscale_2_get_value.py.If you double click on it, a new window will open on the right. You can open more than one script at the same time.
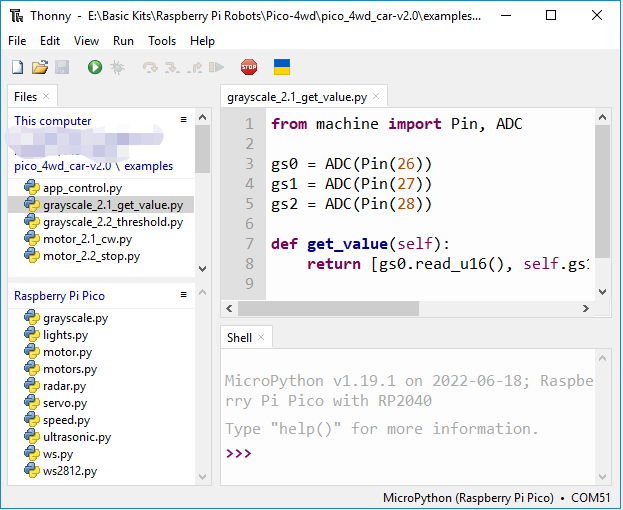
Run the Script
To run the script, click the
button or press F5.If the code contains any information that needs to be printed, it will appear in the Shell; otherwise, only the
%Run -c $EDITOR_CONTENTmessage will appear.
Stop Running
To stop the running code, click the
 button. The %RUN -c $EDITOR_CONTENT command will disappear after stopping.
Save or Save as
You can save changes made to the open script by pressing Ctrl+S or clicking the Save button on Thonny.
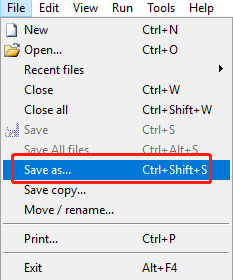
The code can be saved as a separate file within the Raspberry Pi Pico by clicking on File -> Save As.
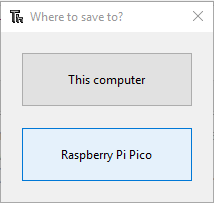
Select Raspberry Pi Pico.
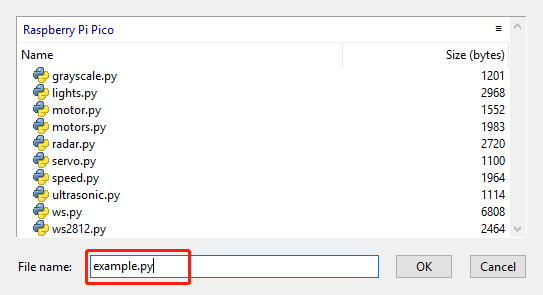
Then click OK after entering the file name and extension .py. On the Raspberry Pi Pico drive, you will see your saved file.
Note
Regardless of what name you give your code, it’s best to describe what type of code it is, and not give it a meaningless name like
abc.py. When you save the code asmain.py, it will run automatically when the power is turned on.
Create File and Run it
You can also create a new script to copy the code from the project page and run it.
Open Thonny IDE and plug the Pico into your computer with a micro USB cable and click on the “MicroPython (Raspberry Pi Pico).COMxx” interpreter in the bottom right corner.
Create a new file
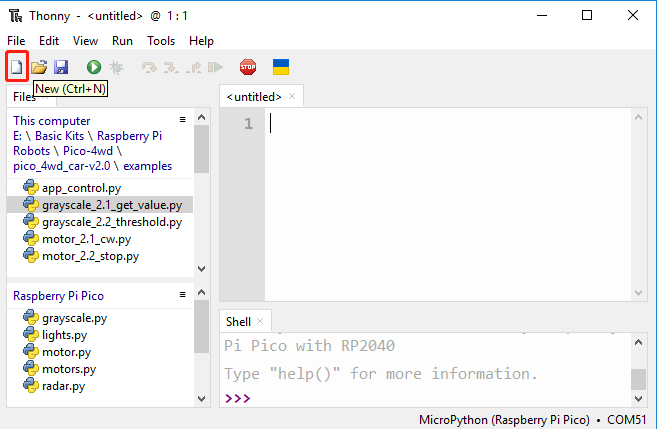
Open Thonny IDE, click New button to create a new blank file.
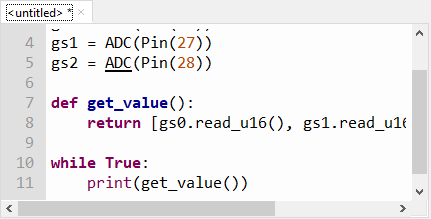
Copy Code
Copy the code from the project to the Thonny IDE.
Run the script
To run the script, click the
button or press F5.If the code contains any information that needs to be printed, it will appear in the Shell; otherwise, only the
%Run -c $EDITOR_CONTENTmessage will appear.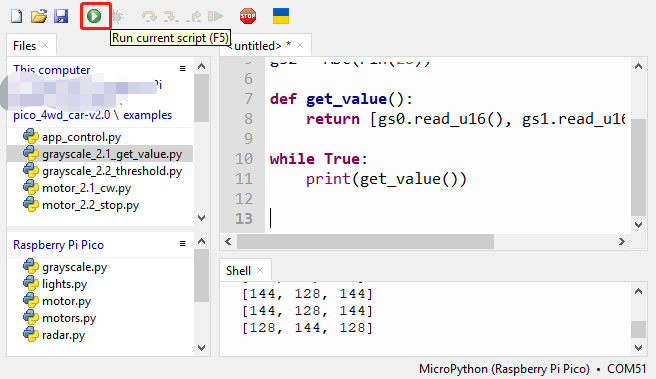
Stop Running
To stop the running code, click the
button. The %RUN -c $EDITOR_CONTENT command will disappear after stopping.Save
The script can be saved as a separate file within the Raspberry Pi Pico or This Computer by by pressing Ctrl+S or clicking the Save button on Thonny.
Then click OK after entering the file name and extension
.py.
Note
Regardless of what name you give your code, it’s best to describe what type of code it is, and not give it a meaningless name like
abc.py. When you save the code asmain.py, it will run automatically when the power is turned on.