Installing the OS
Required Components
Raspberry Pi 4B/Zero 2 w/3B 3B+/2B/Zero W
1 x Personal Computer
1 x Micro SD card
Steps
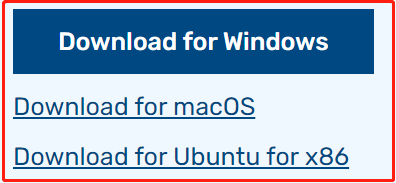
Go to the Raspberry Pi software download page: Raspberry Pi Imager. Select the Imager version for your operating system. After downloading, open the file to start the installation.
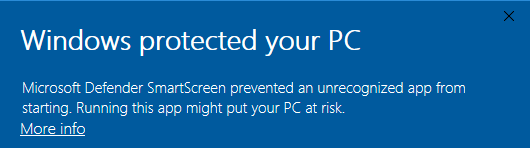
Upon launching the installer, your OS might display a security warning. For instance, Windows may show a caution message. If this occurs, select More info and then Run anyway. Follow the on-screen instructions to install the Raspberry Pi Imager.
Insert your SD card into the computer or laptop SD card slot.
Open the Raspberry Pi Imager application either by clicking its icon or executing
rpi-imagerin your terminal.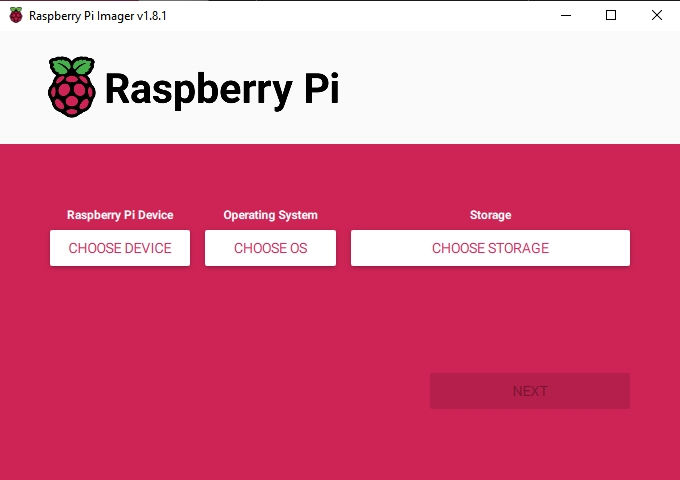
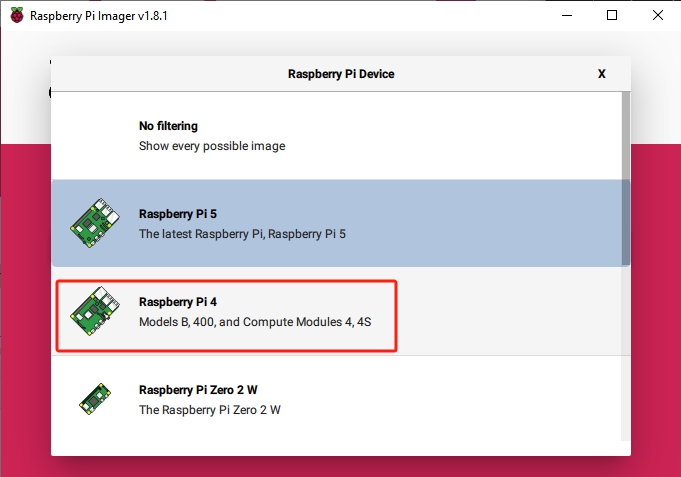
Click CHOOSE DEVICE and select your specific Raspberry Pi model from the list (Note: Raspberry Pi 5 is not applicable).
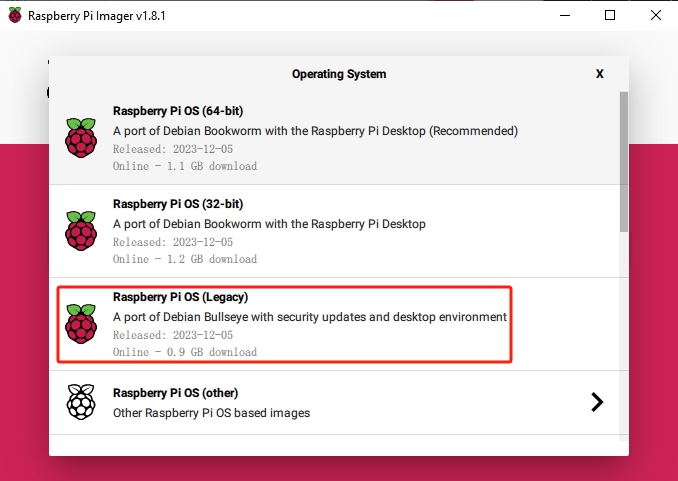
Select CHOOSE OS and then choose Raspberry Pi OS (Legacy).
Warning
Please do not install the Bookworm version as the speaker will not work.
You need to install the Raspberry Pi OS (Legacy) version - Debian Bullseye.
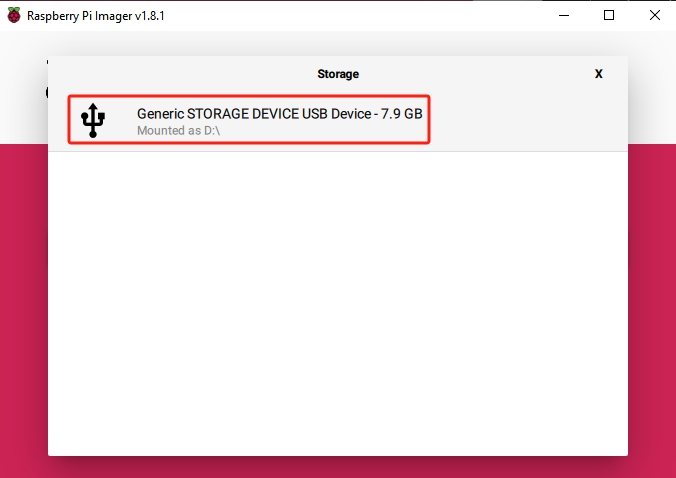
Click Choose Storage and pick the correct storage device for the installation.
Note
Be sure to select the correct device, especially if multiple storage devices are connected. Disconnect others if you’re unsure.
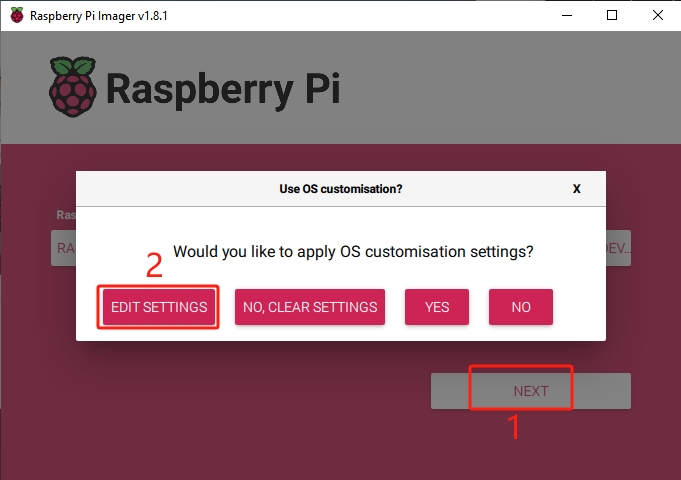
Press NEXT and select EDIT SETTINGS to customize your OS settings.
Set your Raspberry Pi’s hostname.
Note
The hostname is what your Raspberry Pi uses to identify itself on the network. You can connect to your Pi using <hostname>.local or <hostname>.lan.
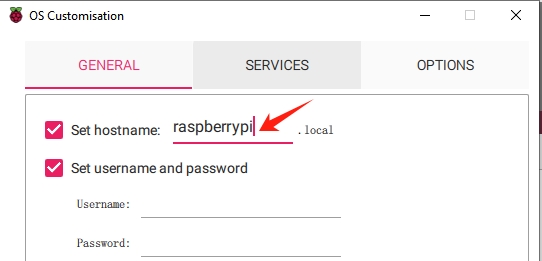
Create a Username and Password for the Raspberry Pi’s administrator account.
Note
Setting a unique username and password is crucial for security, as the Raspberry Pi does not have a default password.

Set up wireless LAN by inputting your network’s SSID and Password.
Note
Wireless LAN countryshould be set the two-letter ISO/IEC alpha2 code for the country in which you are using your Raspberry Pi.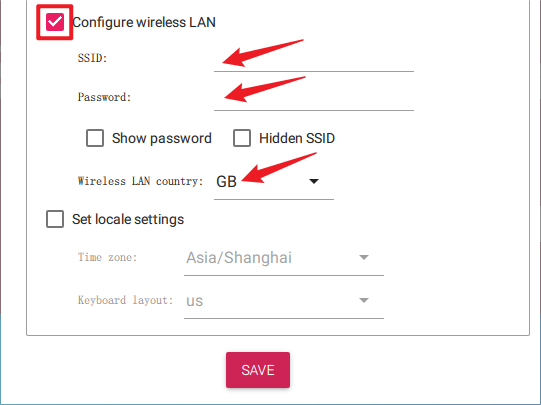
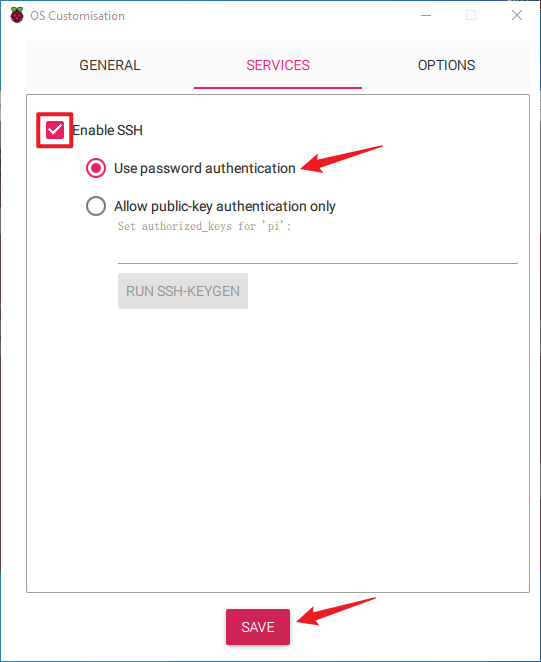
Click SERVICES and enable SSH for password-based remote access. Remember to click Save.
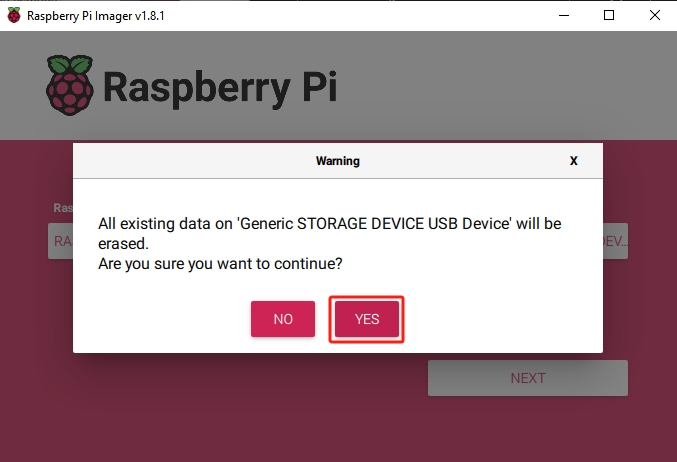
Confirm your choices by clicking Yes.
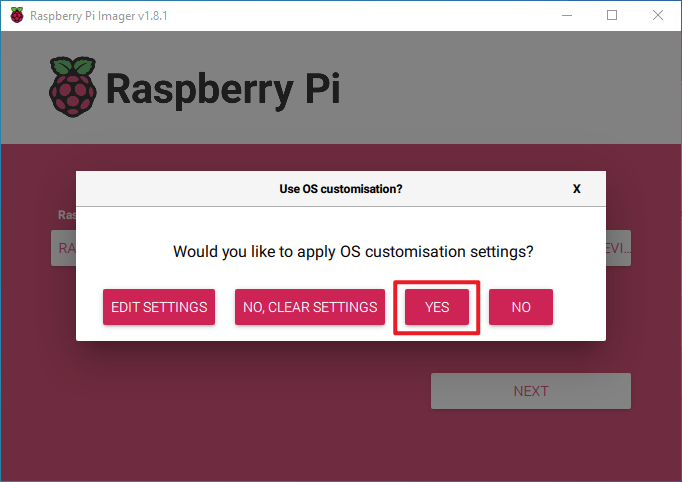
If your SD card has existing files, back them up to avoid data loss. Click Yes to proceed if no backup is necessary.
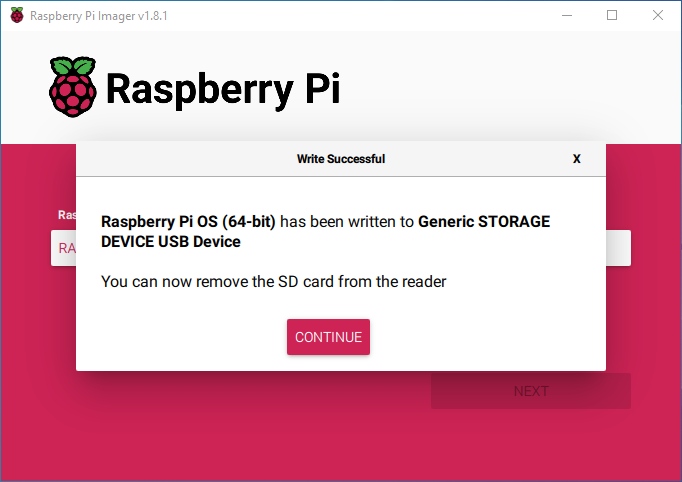
Wait as the OS is written to the SD card. Once completed, a confirmation window will appear.