Windows Users
Login Raspberry Pi Remotely
If you are using win10, you can use follow way to login Raspberry Pi remotely.
Type
powershellin the search box of your Windows desktop, right click on theWindows PowerShell, and selectRun as administratorfrom the menu that appears.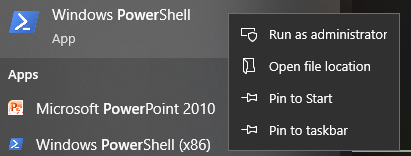
Then, check the IP address of your Raspberry Pi by typing in
ping -4 <hostname>.local.ping -4 raspberrypi.local
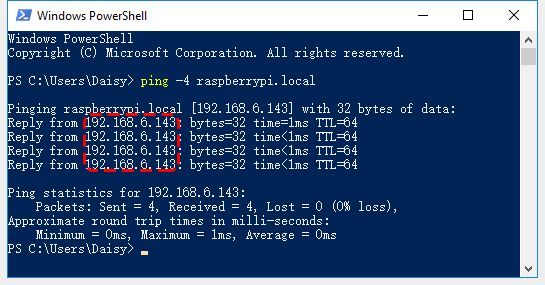
As shown above, you can see the Raspberry Pi’s IP address after it has been connected to the network.
If terminal prompts
Ping request could not find host pi.local. Please check the name and try again.. Please follow the prompts to make sure the hostname you fill in is correct.Still can’t get the IP? Check your network or WiFi configuration on the Raspberry Pi.
At this point you will be able to log in to your Raspberry Pi using the
ssh <username>@<hostname>.local(orssh <username>@<IP address>).ssh pi@raspberrypi.local
Warning
If a prompt appears
The term 'ssh' is not recognized as the name of a cmdlet....It means your system is too old and does not have ssh tools pre-installed, you need to manually Install OpenSSH via Powershell.
Or use a third party tool like PuTTY.
The following message will be displayed only when you log in for the first time, so enter
yes.The authenticity of host 'raspberrypi.local (2400:2410:2101:5800:635b:f0b6:2662:8cba)' can't be established. ED25519 key fingerprint is SHA256:oo7x3ZSgAo032wD1tE8eW0fFM/kmewIvRwkBys6XRwg. This key is not known by any other names Are you sure you want to continue connecting (yes/no/[fingerprint])?
Input the password you set before. (Mine is
raspberry.)Note
When you input the password, the characters do not display on window accordingly, which is normal. What you need is to input the correct password.
We now get the Raspberry Pi connected and are ready to go to the next step.

Remote Desktop
If you’re not satisfied with using the command window to access your Raspberry Pi, you can also use the remote desktop feature to easily manage files on your Raspberry Pi using a GUI.
Here we use VNC® Viewer.
Enable VNC service
The VNC service has been installed in the system. By default, VNC is disabled. You need to enable it in config.
Input the following command:
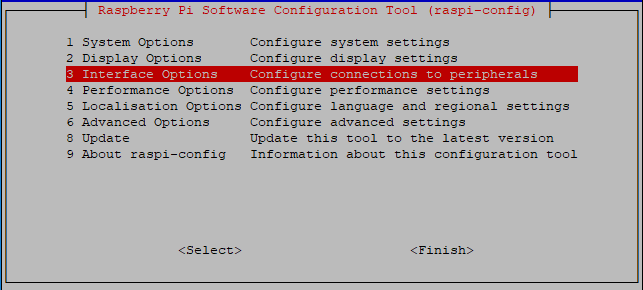
sudo raspi-config
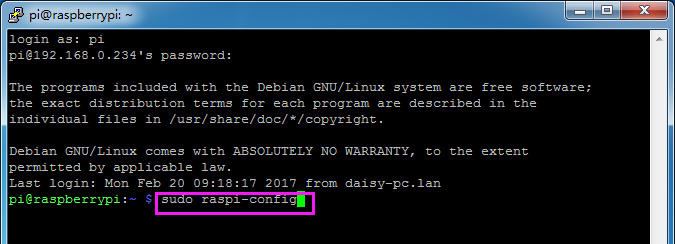
Choose 3 Interfacing Options by press the down arrow key on your keyboard, then press the Enter key.
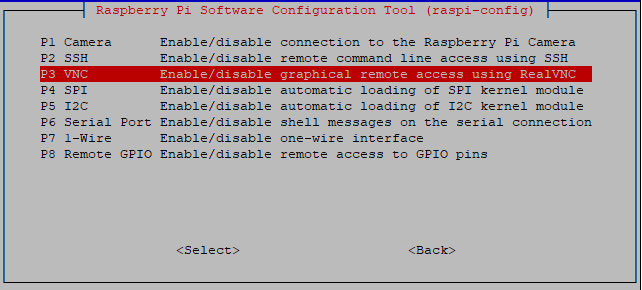
Then P3 VNC.
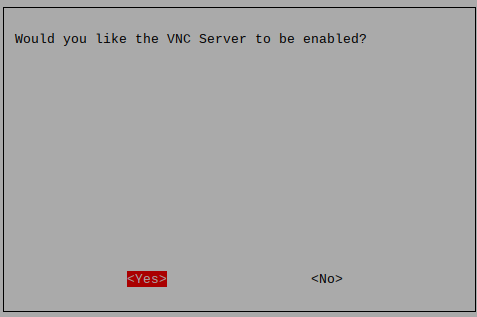
Use the arrow keys on the keyboard to select <Yes> -> <OK> -> <Finish> to complete the setup.
Login to VNC
You need to download and install the VNC Viewer on personal computer.
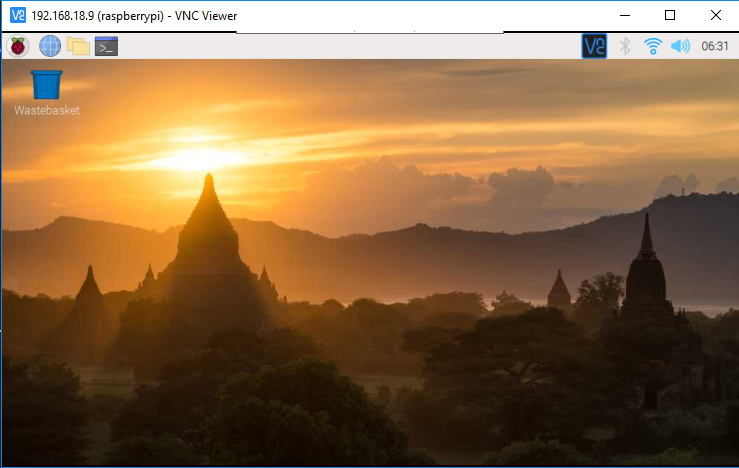
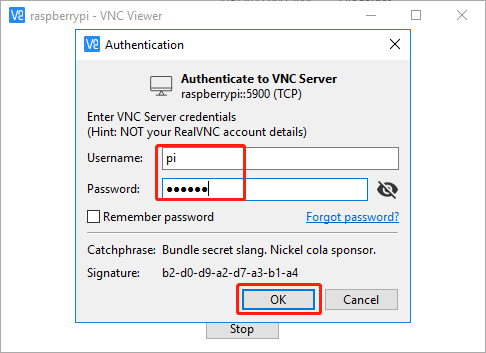
Open it once the installation is complete. Then, enter the host name or IP address and press Enter.
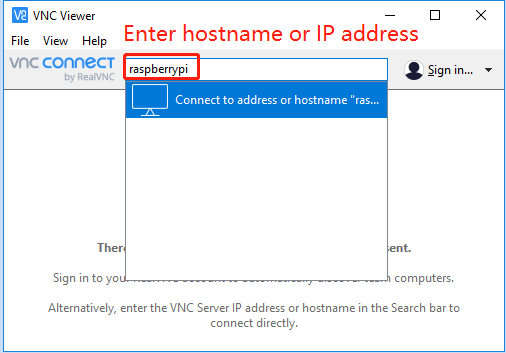
After entering your Raspberry Pi name and password, click OK.
Now you can see the desktop of the Raspberry Pi.