Preparations
Before you start using the kit, you need to complete the following steps.
Burning Firmware
Install Python3
Go to the Python official website and choose the version of python3 for your PC. Many Linux and Mac OS X computers should have Pyhon3 installed automatically.
Choose Customize installation.
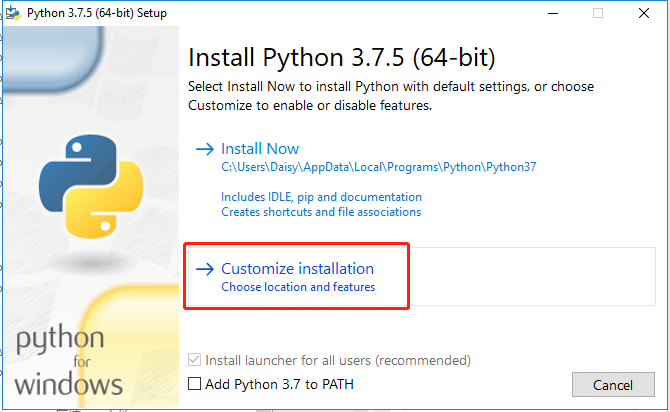
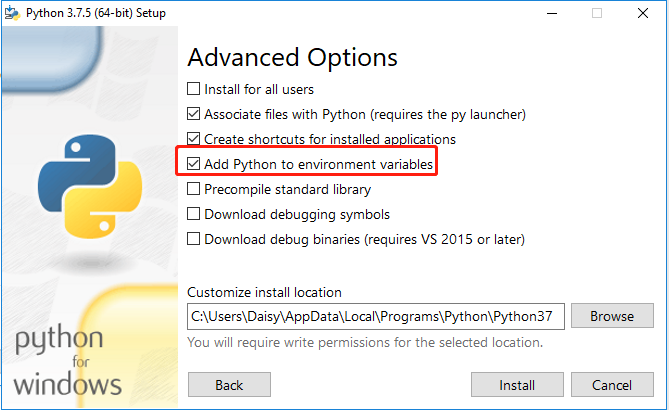
Then click Next, check “Add Python to environment variables” in Advanced Options.
Download Firmware Burning Tool
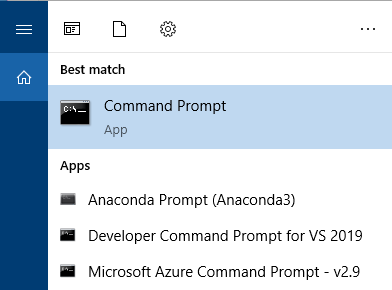
Open a Command Prompt (For windows users) or terminal (For Linux users).
Execute the following command to download esptool, a tool for burning firmware.
pip install esptool
Download the Firmware
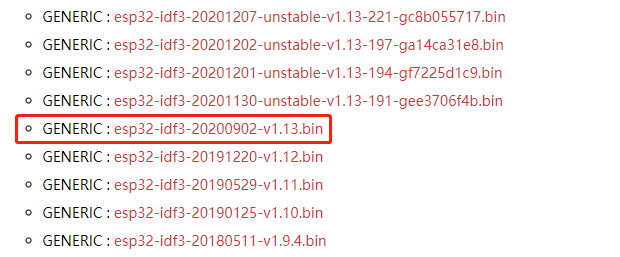
Go to the MicroPython website. Download the general firmware to a local folder (The default path is C:/Users/username/Downloads), here is recommended to download esp32-idf3-20200902-v1.13.bin.
Note
If you are just starting with MicroPython, then the best choice is to choose Stable Firmware version.If you are an experienced MicroPython ESP32 advanced user, you can try the unstable version.
Install Driver
When you connect the ESP32 RDP board to the computer with a Type-C USB cable, the computer may not be able to recognize it. In this case, you need to install the driver manually.
Right-click the This PC icon, and then click Properties -> Device Manager -> Ports to check the COM port information.

If the COM port(COMxx) does not appear, you need to download CP210x USB to UART Bridge VCP Drivers and install it.

Check the COM port information again. If the COM port(COMxx) can be displayed, the driver installation is successful.

Erase and Burn
Open the folder where you downloaded the firmware, the default path is C:/Users/username/Downloads, and execute the following command to erase the ESP32 RDP’s flash.
esptool.py --port COM12 erase_flash
Then execute the following command to burn the firmware to the ESP32 RDP.
Note
Change the COM port and firmware name to yours.
esptool.py --chip esp32 --port COM12 write_flash -z 0x1000 esp32-idf3-20200902-v1.13.bin
Download the ESP-4WD Package
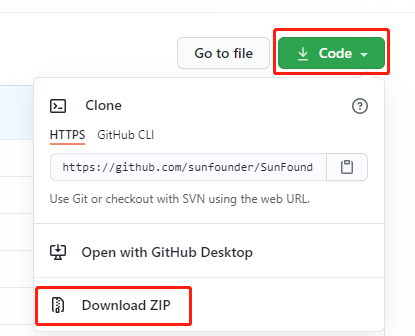
Click here to download the ESP-4WD car kit codes. After unzipping the zip file you have downloaded, you will see all the relevant files for the ESP-4WD car kit.
Install Thonny
Thonny is an integrated development environment for running the Micropython code that controls the ESP-4WD car.
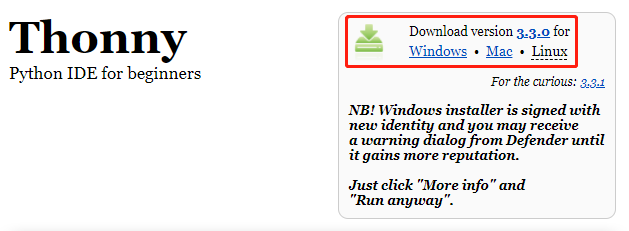
You can download it by visiting the Thonny website. Once open the page, you will see a light gray box in the upper right corner, click on the link that applies to your operating system.
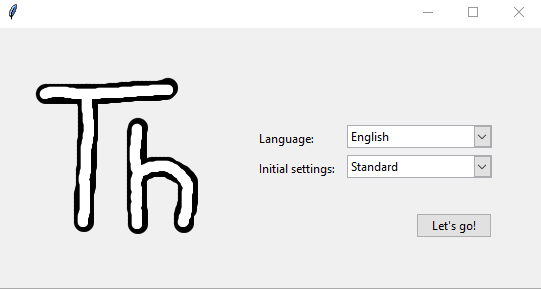
Open Thonny.

Select Language and Initial settings.
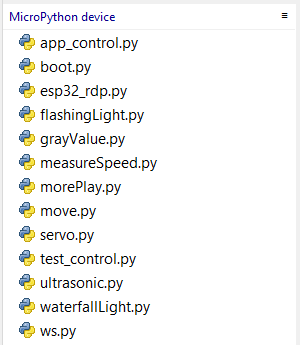
Upload Files to ESP32 RDP.
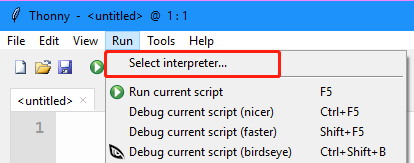
Click Run -> Select interpreter.
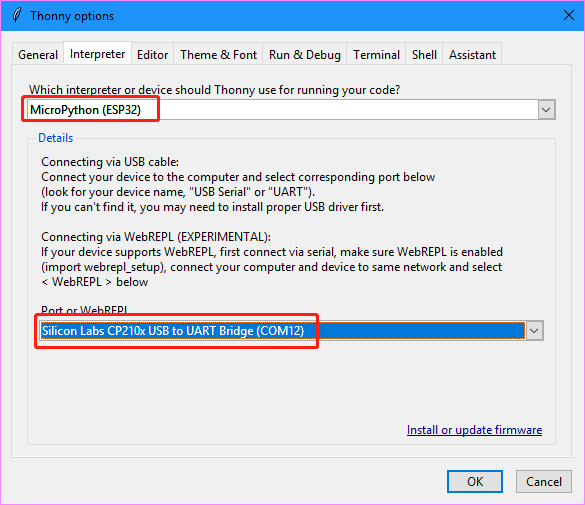
Select the interpreter MicroPython (ESP32) and then select COM port (the ESP32 RDP must be plugged into the computer first).
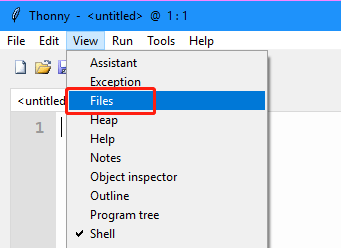
Click View -> Files.
Go to the folder where you store the downloaded ESP-4WD package, find the files esp32_rdp.py and ws.py under the path /esp-4wd/Micropython/esp_rdp/src,
then select both files and right click on them to upload them to the MicroPython device.

Use the same method to upload all Micropython files in the examples folder.
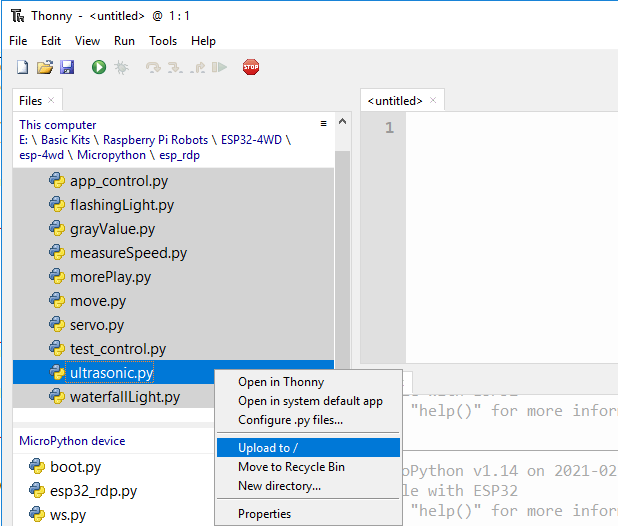
You can see the uploaded files in the MicroPython device window.