Smart Light
In this project, we will learn to control the brightness of LED with Cloud4RPi’s Silder widget.
Experimental Procedures
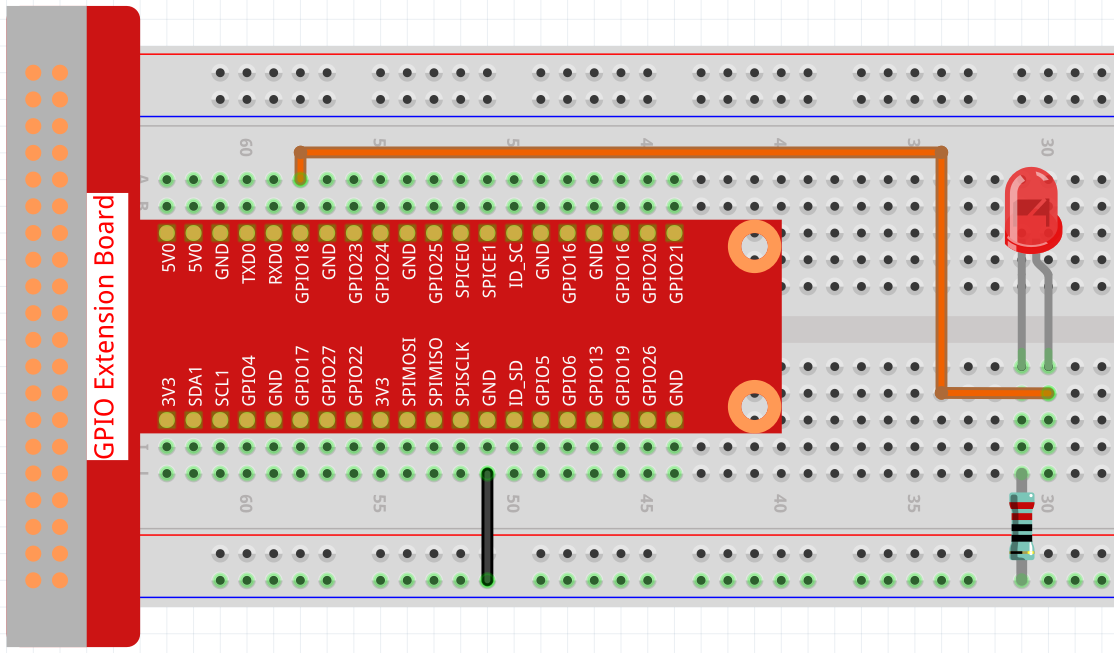
Build the circuit.
Open the code.
cd ~/cloud4rpi-raspberrypi-python
sudo nano smart_light.py
Find the line below and fill in the correct device token.
DEVICE_TOKEN = '__YOUR_DEVICE_TOKEN__'
Run the code.
sudo python3 smart_light.py
Go to Cloud4RPi, add a new Control Panel named project3, and click Add Widget to add a Slider widget.
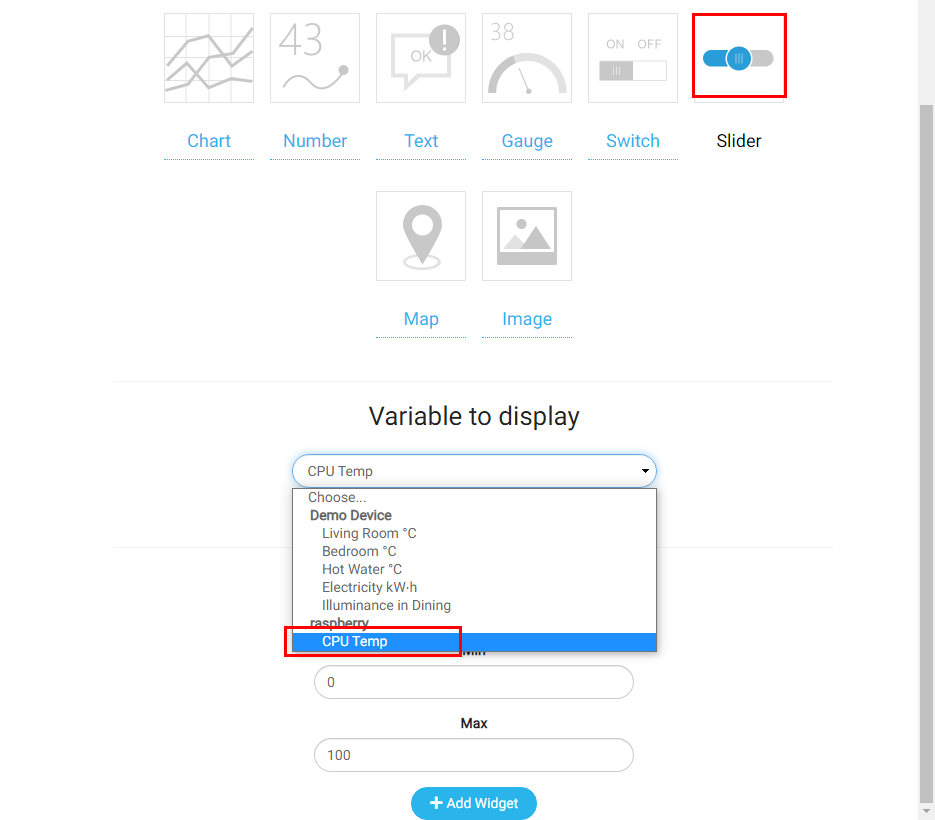
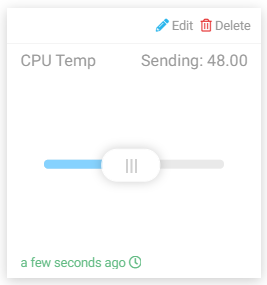
Once added, you can use the Slider widget to control the brightness of the LED.
Code Explanation
led_val = GPIO.PWM(LED_PIN, 2000)
led_val.start(0)
Call the GPIO.PWM() function to define LED_PIN as PWM pin and set the frequency of PWM pin to 2000Hz, then use the start() function to set the initial duty cycle to 0.
led_val.ChangeDutyCycle(value)
The value sent by Slider widget to Raspberry Pi is used as PWM duty cycle to change the brightness of the LED.
variables = {
    'CPU Temp': {
        'type': 'numeric',
        'value': 0,
        'bind': led_control
    },
}
By setting the value of the 'value' key, we can set the initial value of the Slider widget, then always read the value of the 'value' key and send the current level of LED_PIN (the value returned by the function led_control) to Cloud4RPi.