1.2 Configuring the Blynk
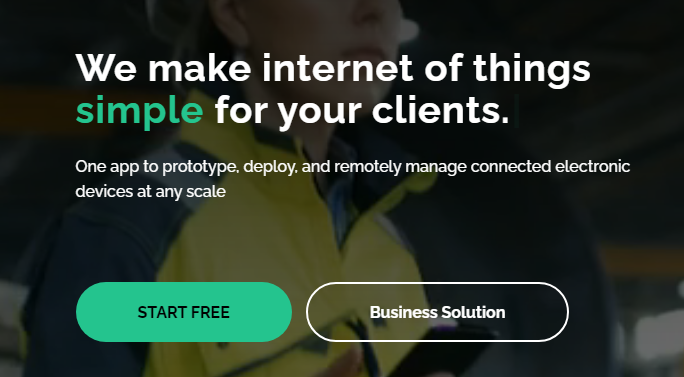
Go to the BLYNK and click START FREE.
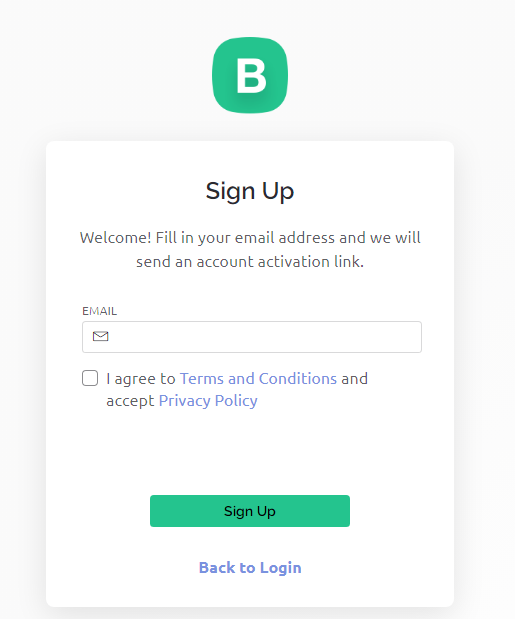
Fill in your email address to register an account.
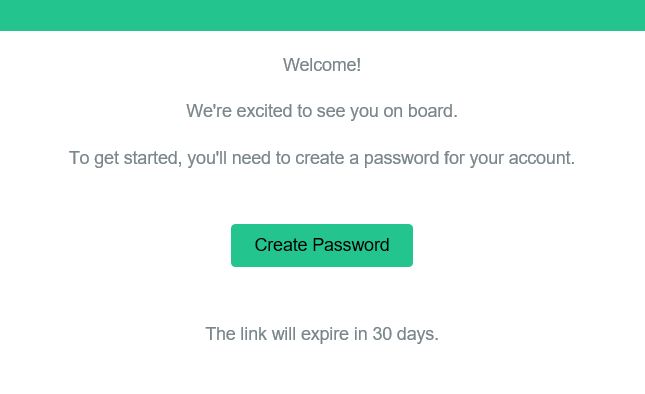
Go to your email address to complete your account registration.
Afterwards, Blynk Tour will appear and you can read it to learn the basic information about the Blynk.

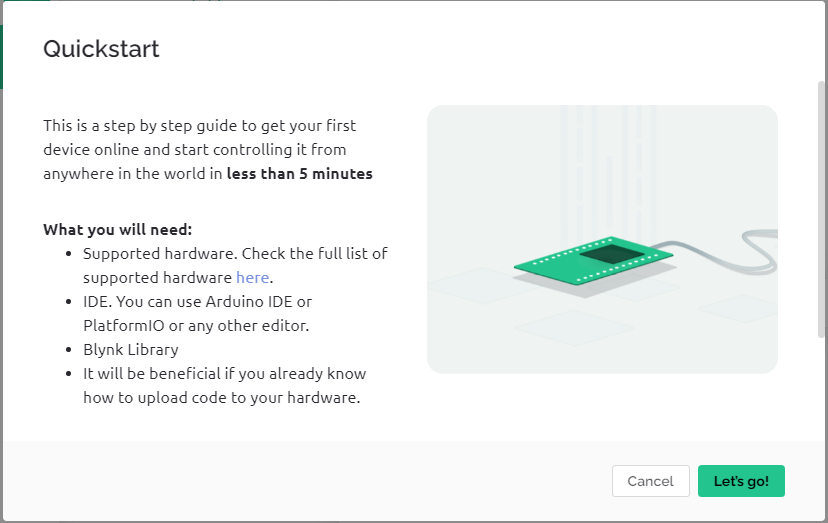
Next we need to create a template and device with this Quick Start, click Let’s go.
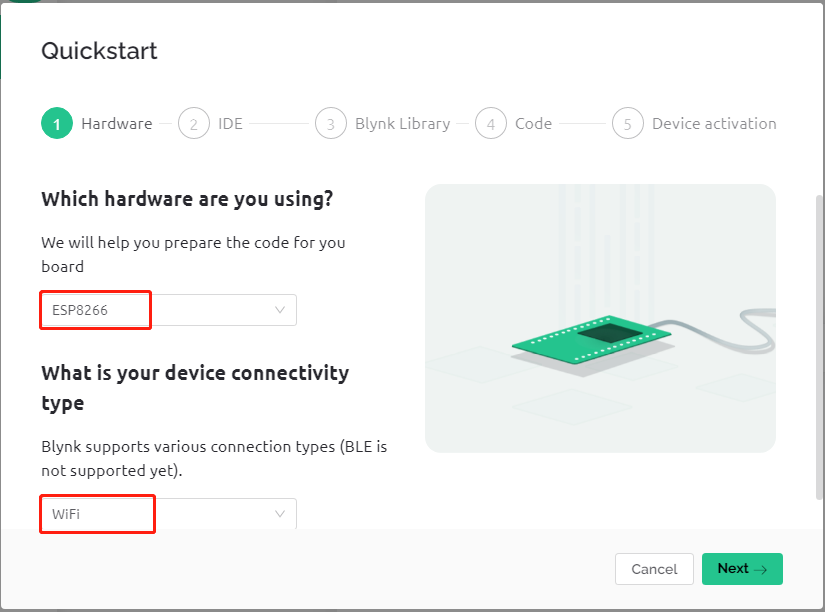
Select the hardware and connection type.
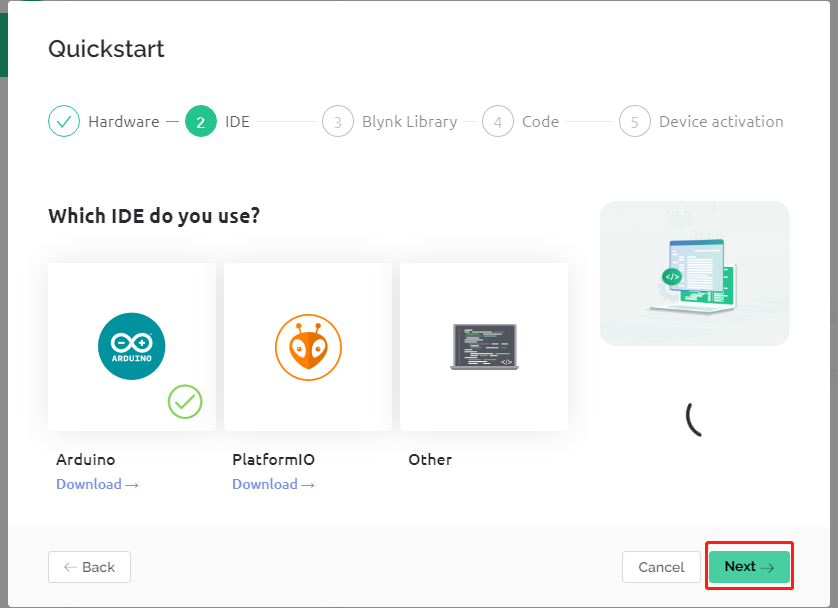
Here you are told which IDE you need to prepare, we recommend the Arduino IDE.
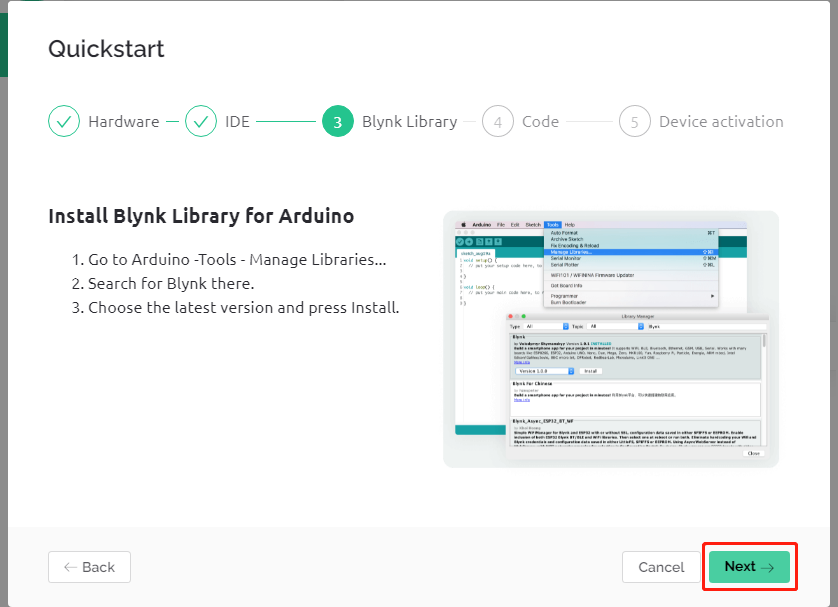
Here is the library you need to add, but the recommended library here is a bit problematic, we need to add other libraries manually (we will mention it later). Click Next here, and a new template and device will be created.
The next steps are to upload the relevant code and connect your board to Blynk, but since there is a problem with the library provided earlier, you need to add other libraries again. So click Cancel here to stop Quick Start.
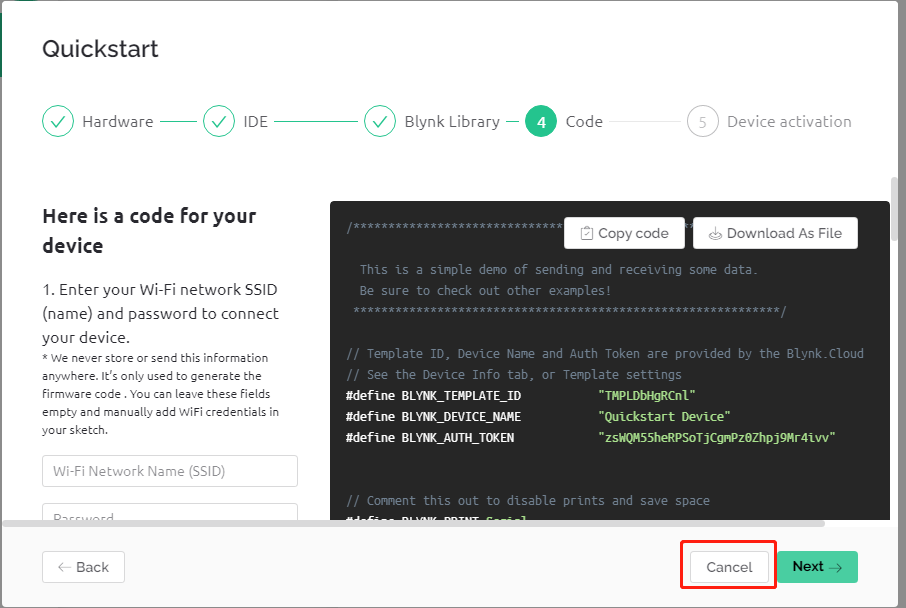
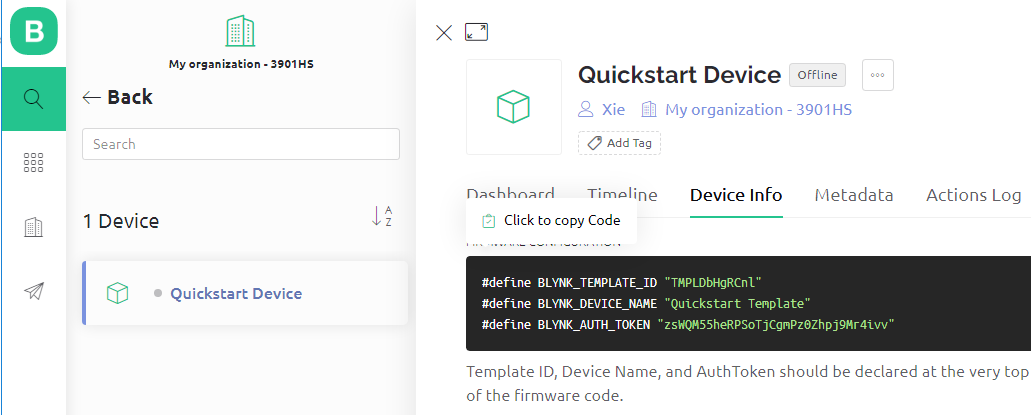
Click the Search button and you will see the new device you just created.
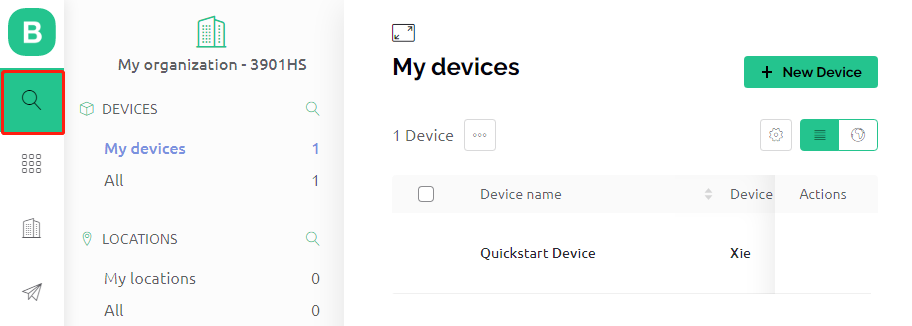
Go to this Quickstart Device and you will see
TEMPLATE_ID,DEVICE_NAMEandAUTH_TOKENon the Device info page, and you will need to copy them later.